Stage 5: 3rd Arrow Cave to Sheoak Col
Looking east from the saddle between 3rd Arrow and 2nd Arrow towards Central Gully, with North Buttress on the left and Central Buttress on the right.
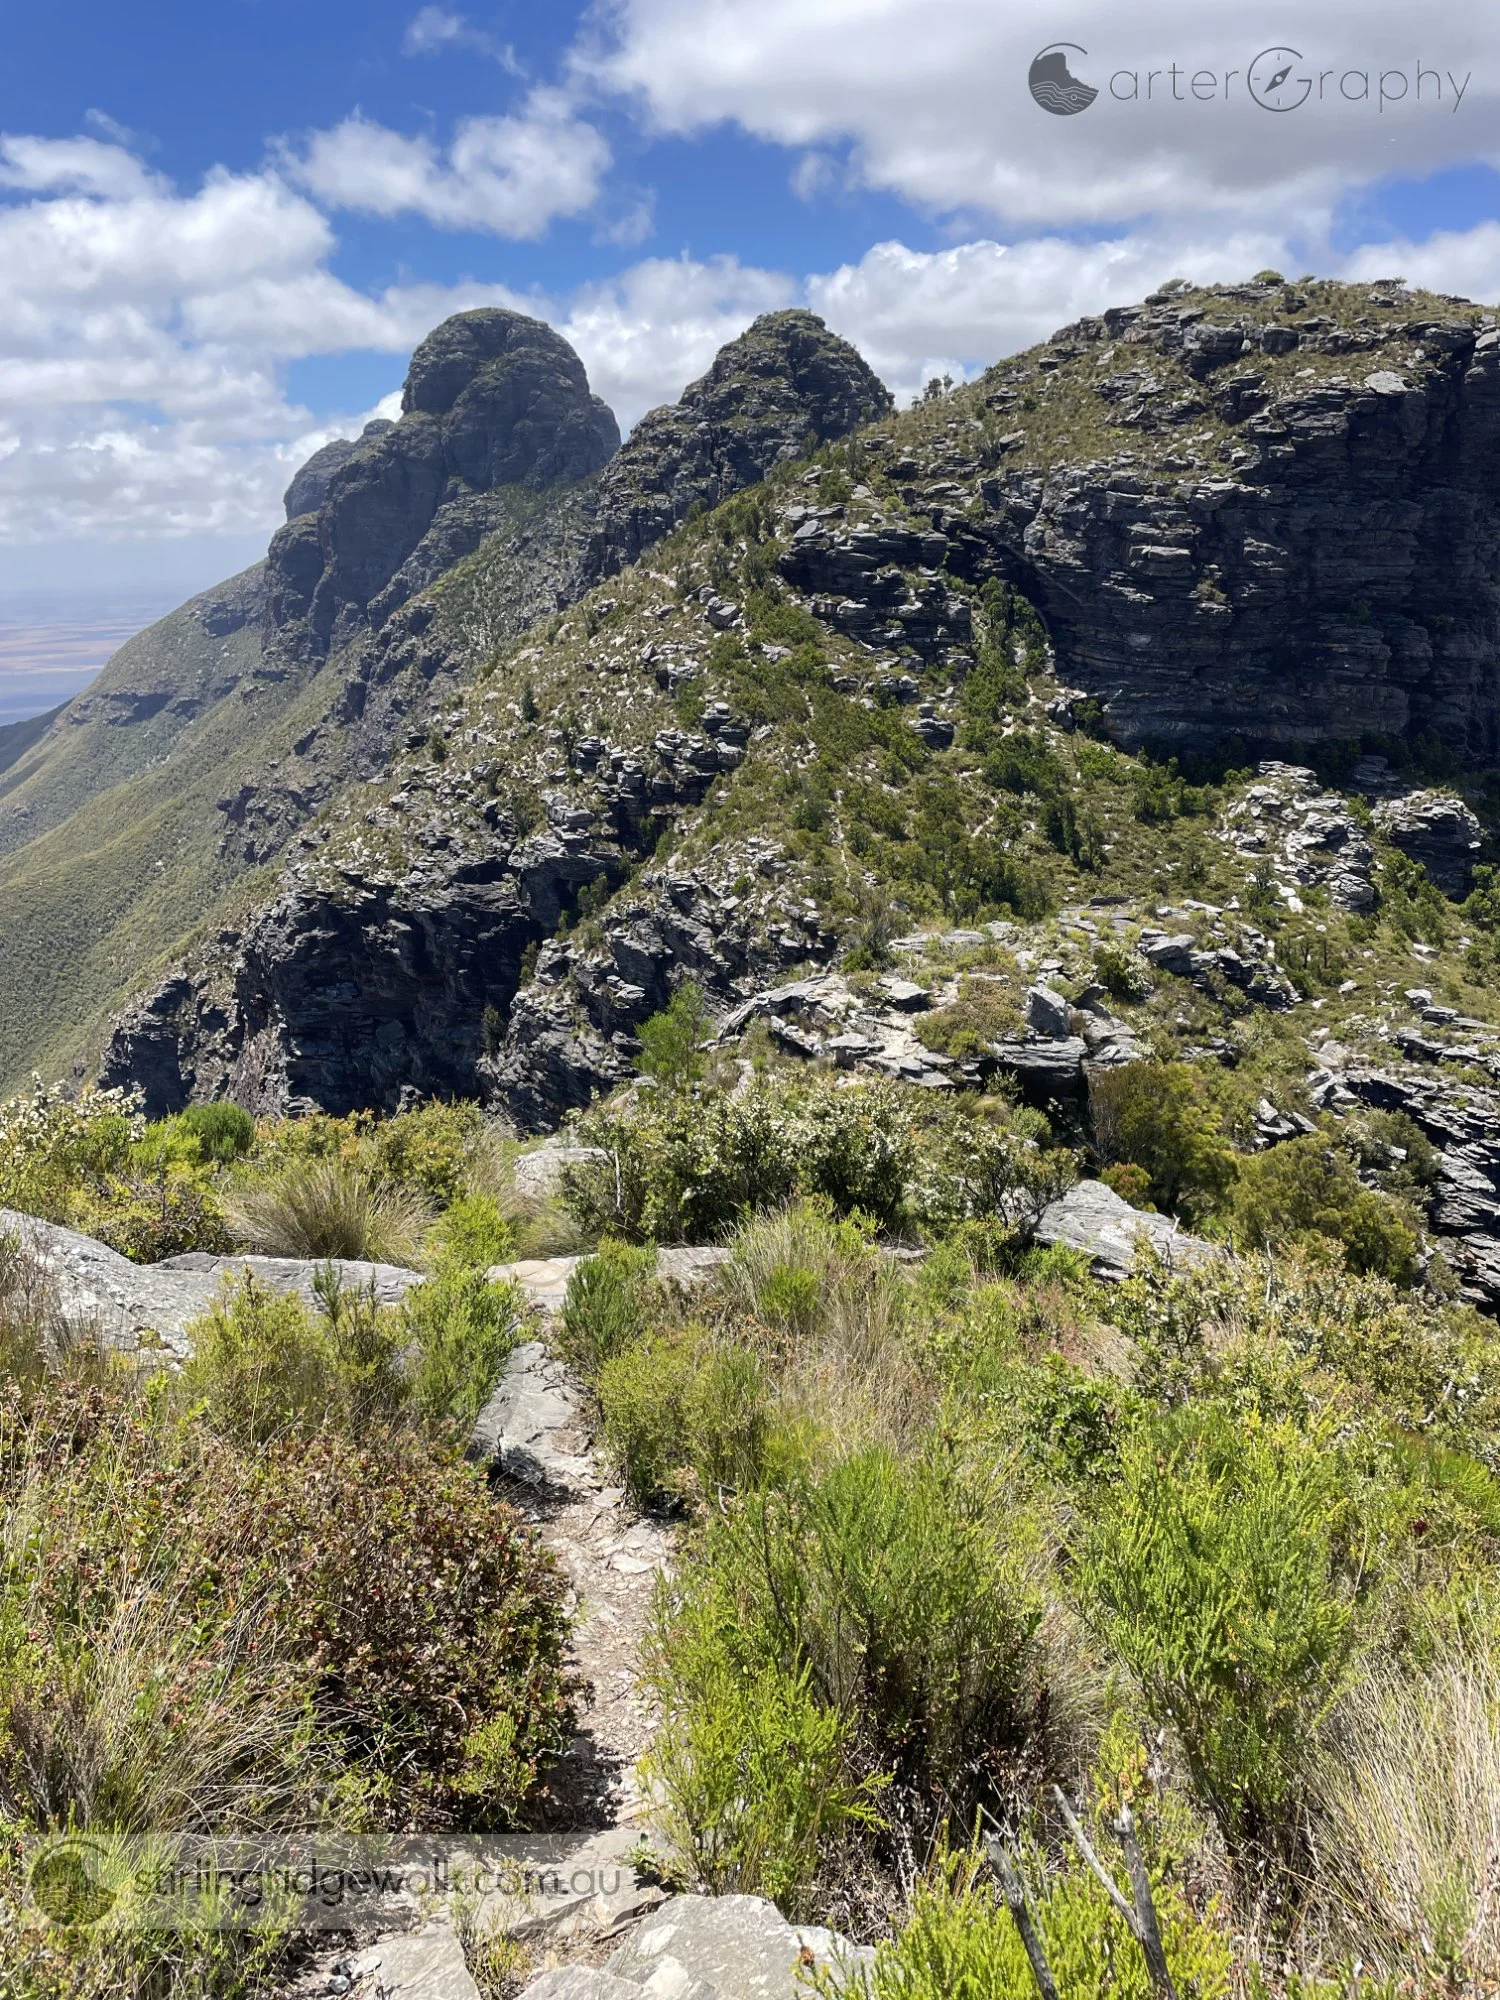
Looking east while ascending towards 1st Arrow. The tracks can be seen descending the north west flank of 2nd Arrow in the foreground, with 3rd Arrow beyond and Pyungoorup Peak forming the distant backdrop.
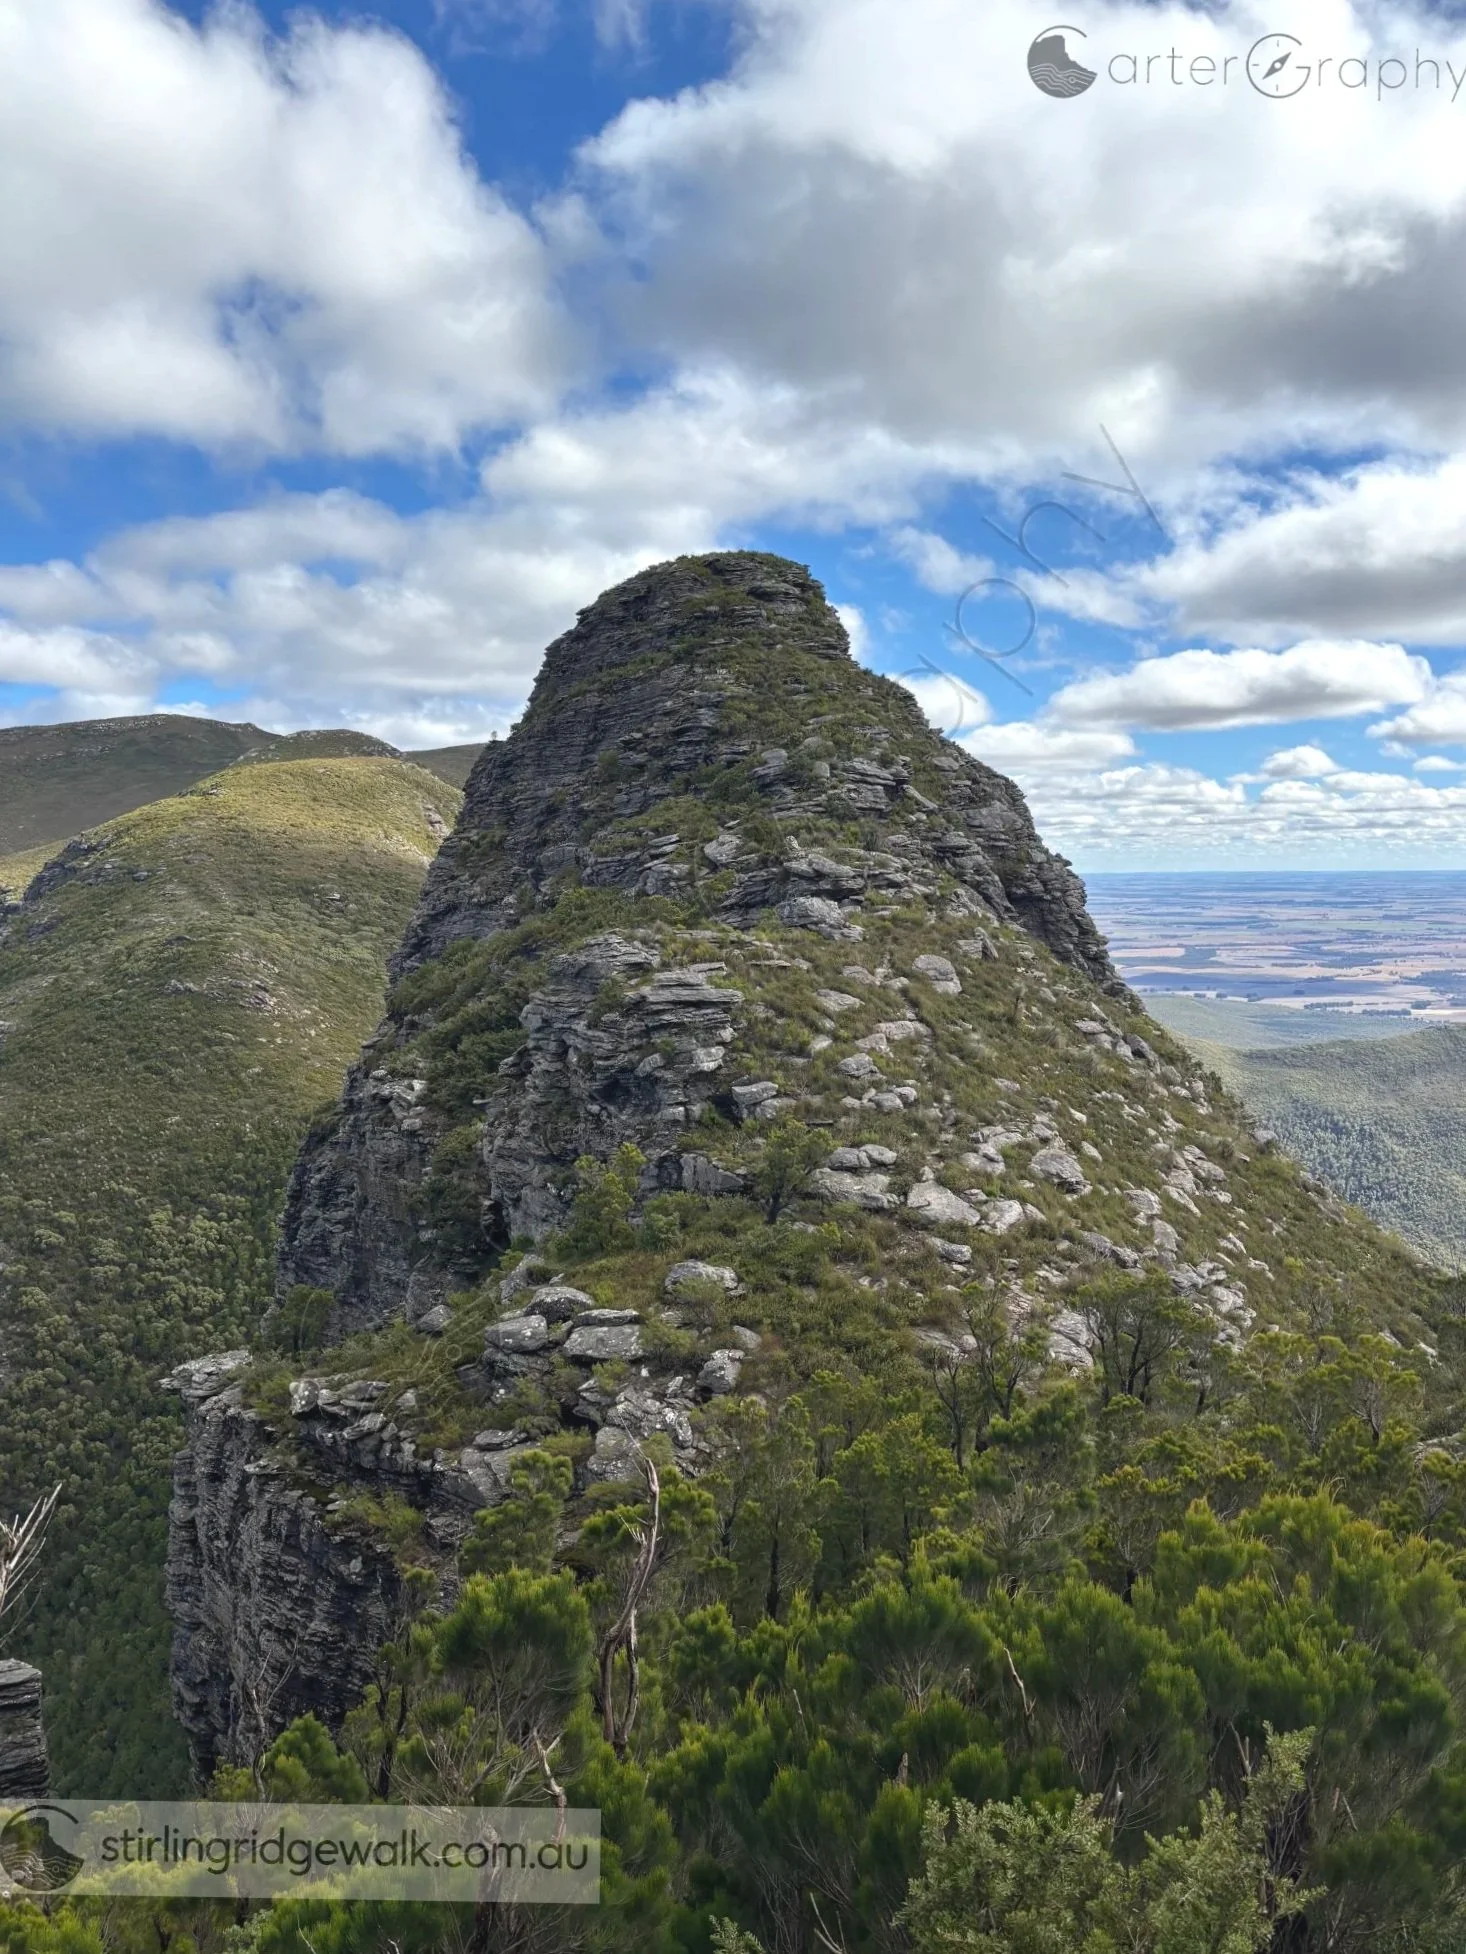
Looking west towards 1st Arrow while descending the north west flank of 2nd Arrow, with Isongerup Peak rising in the background.
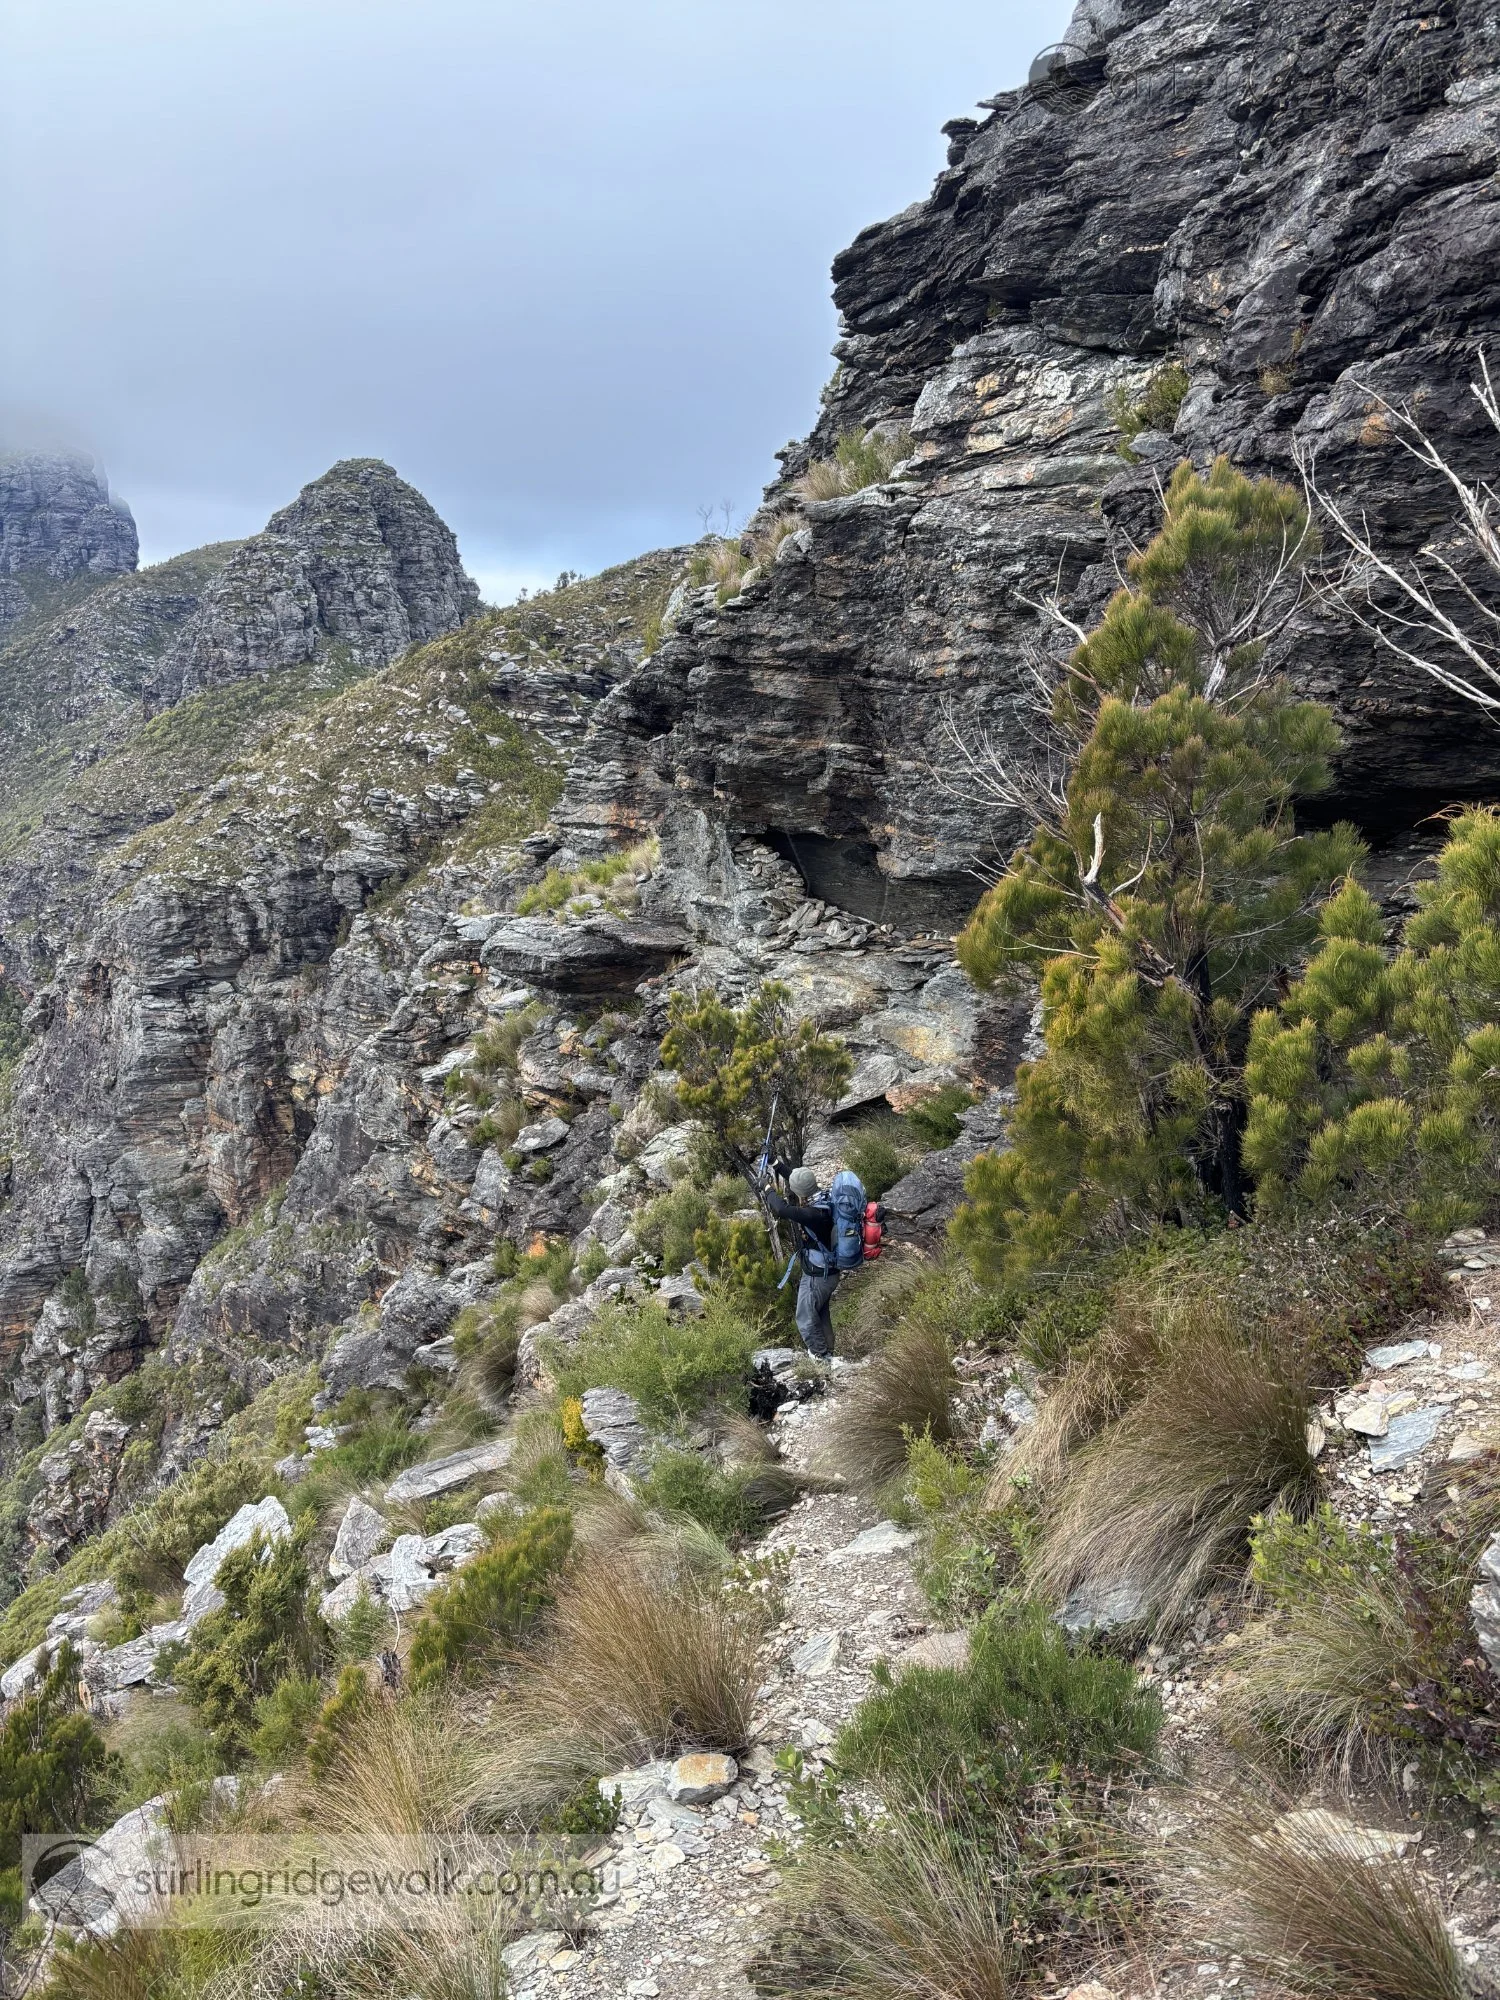
A walker passing First Arrow Cave after descending from the summit of 1st Arrow, with 2nd Arrow and 3rd Arrow visible beyond and Pyungoorup Peak partly obscured by cloud in the upper left background.
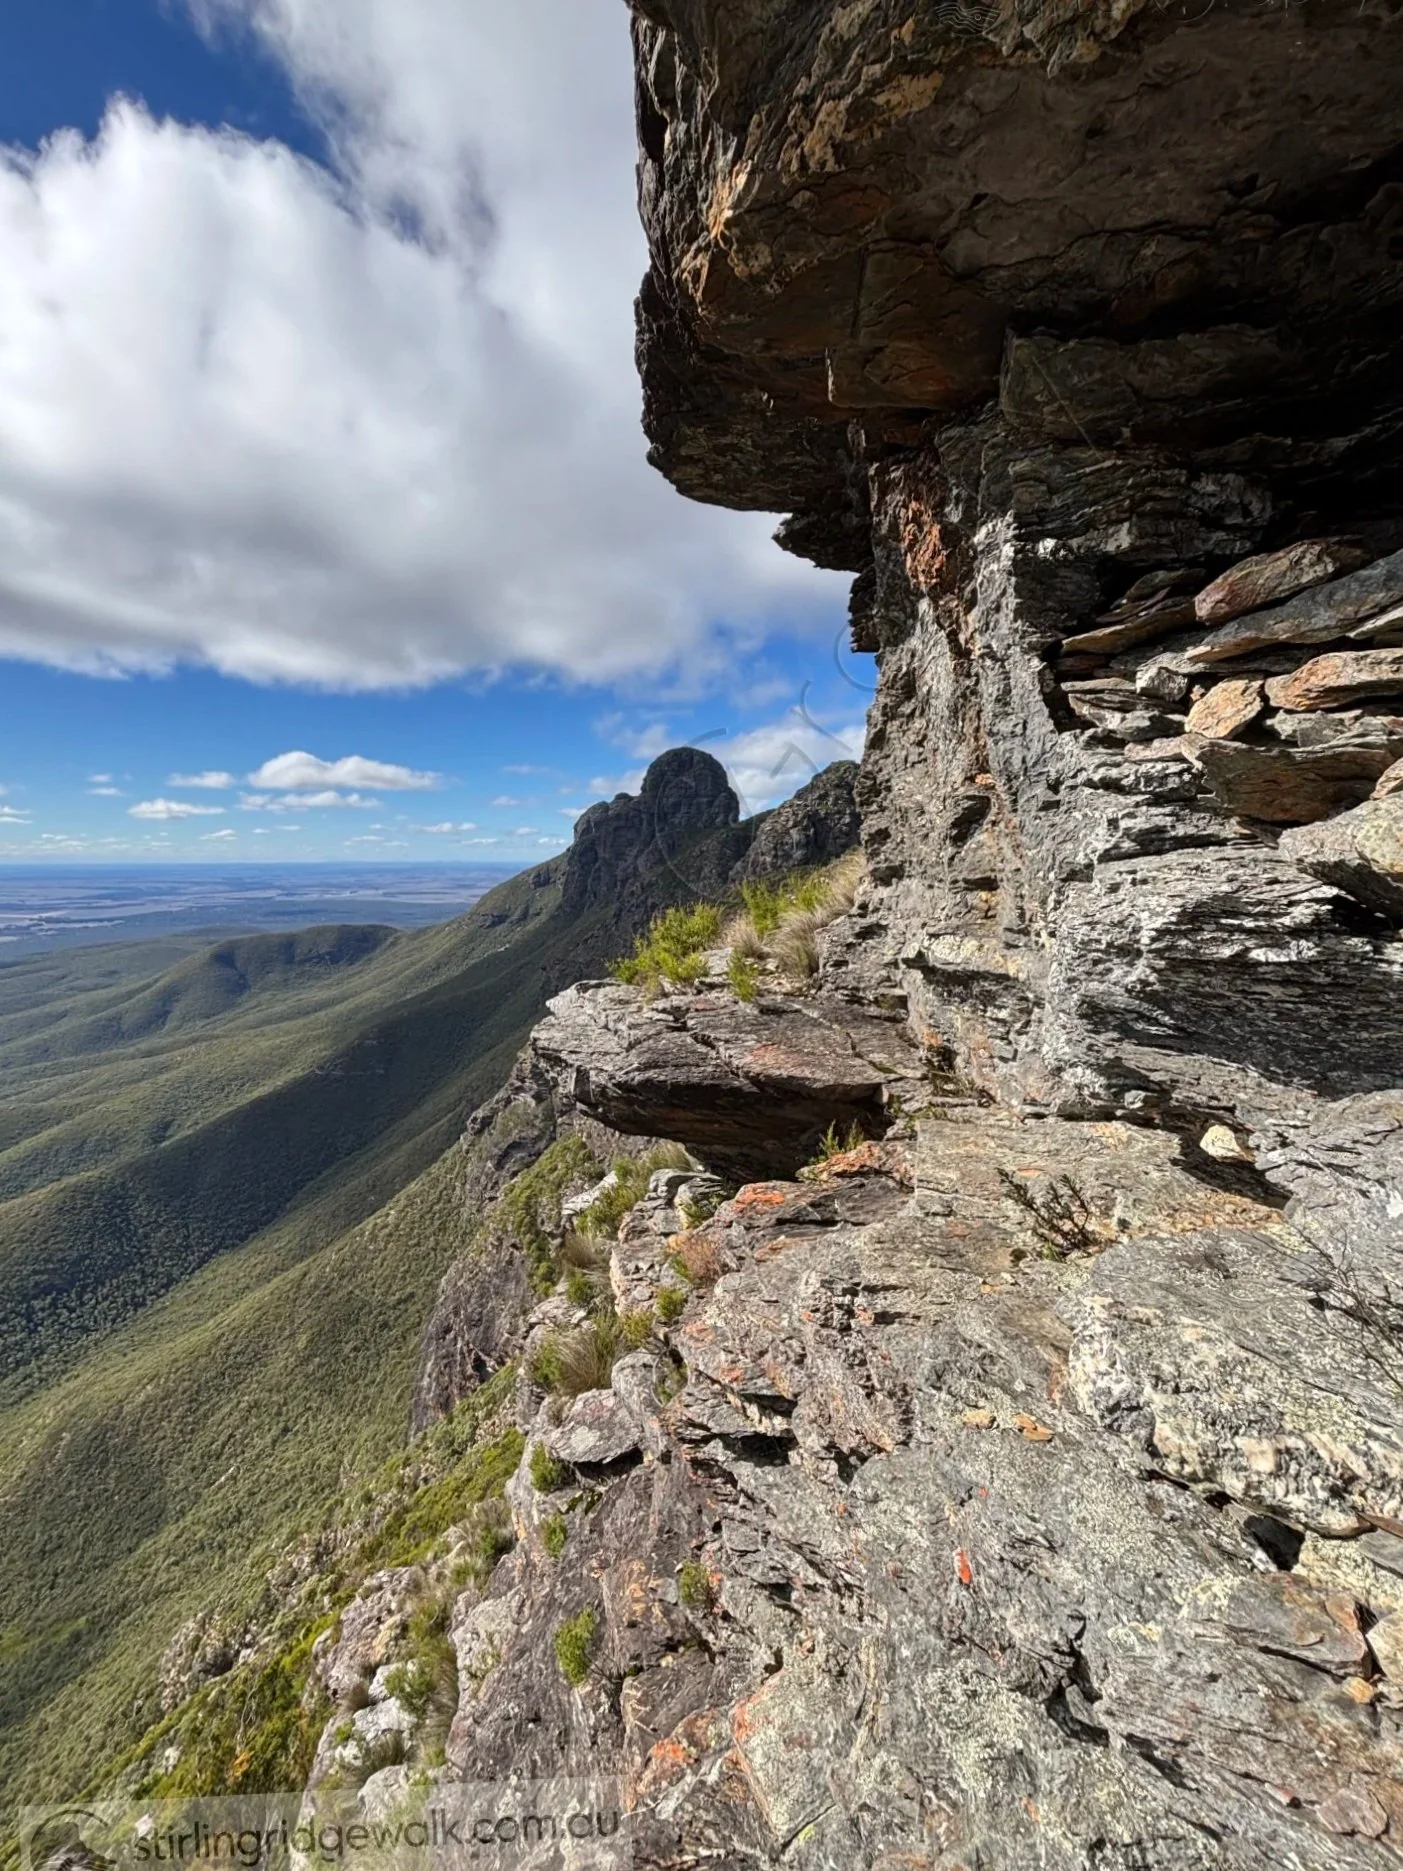
Looking west from 1st Arrow Cave, with Pyungoorup Peak in the background.
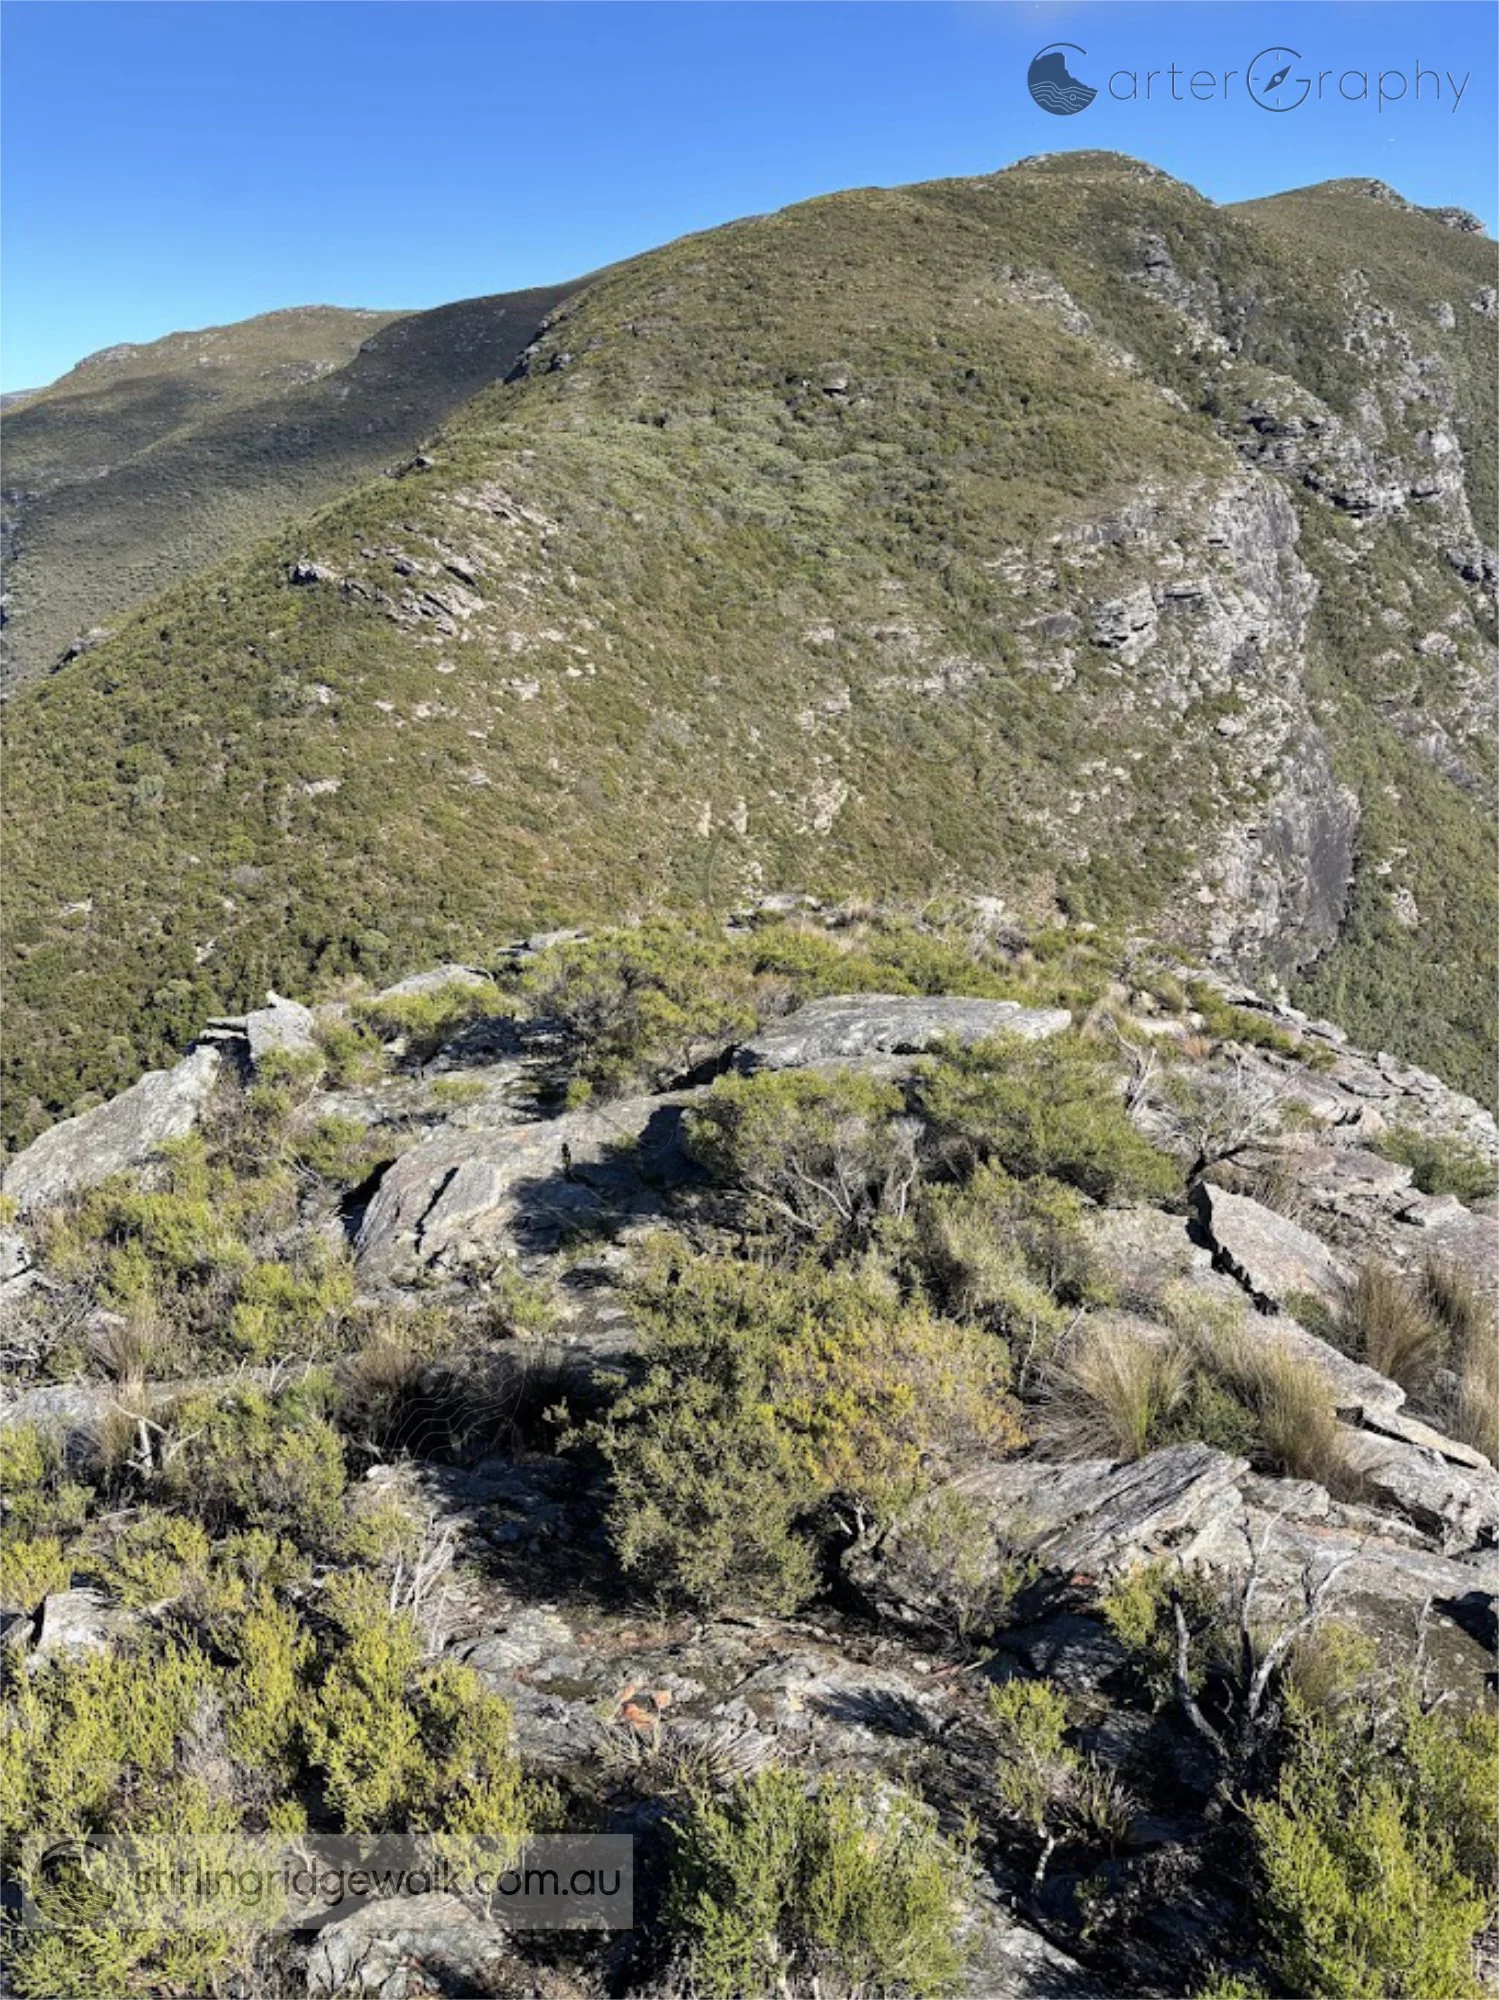
Taken from the Intermediate Ridge, looking west towards Isongerup Peak in the background, with the prominent ridge leading out from Sheoak Col towards Isongerup Peak clearly visible. Sheoak Col is not visible from here.
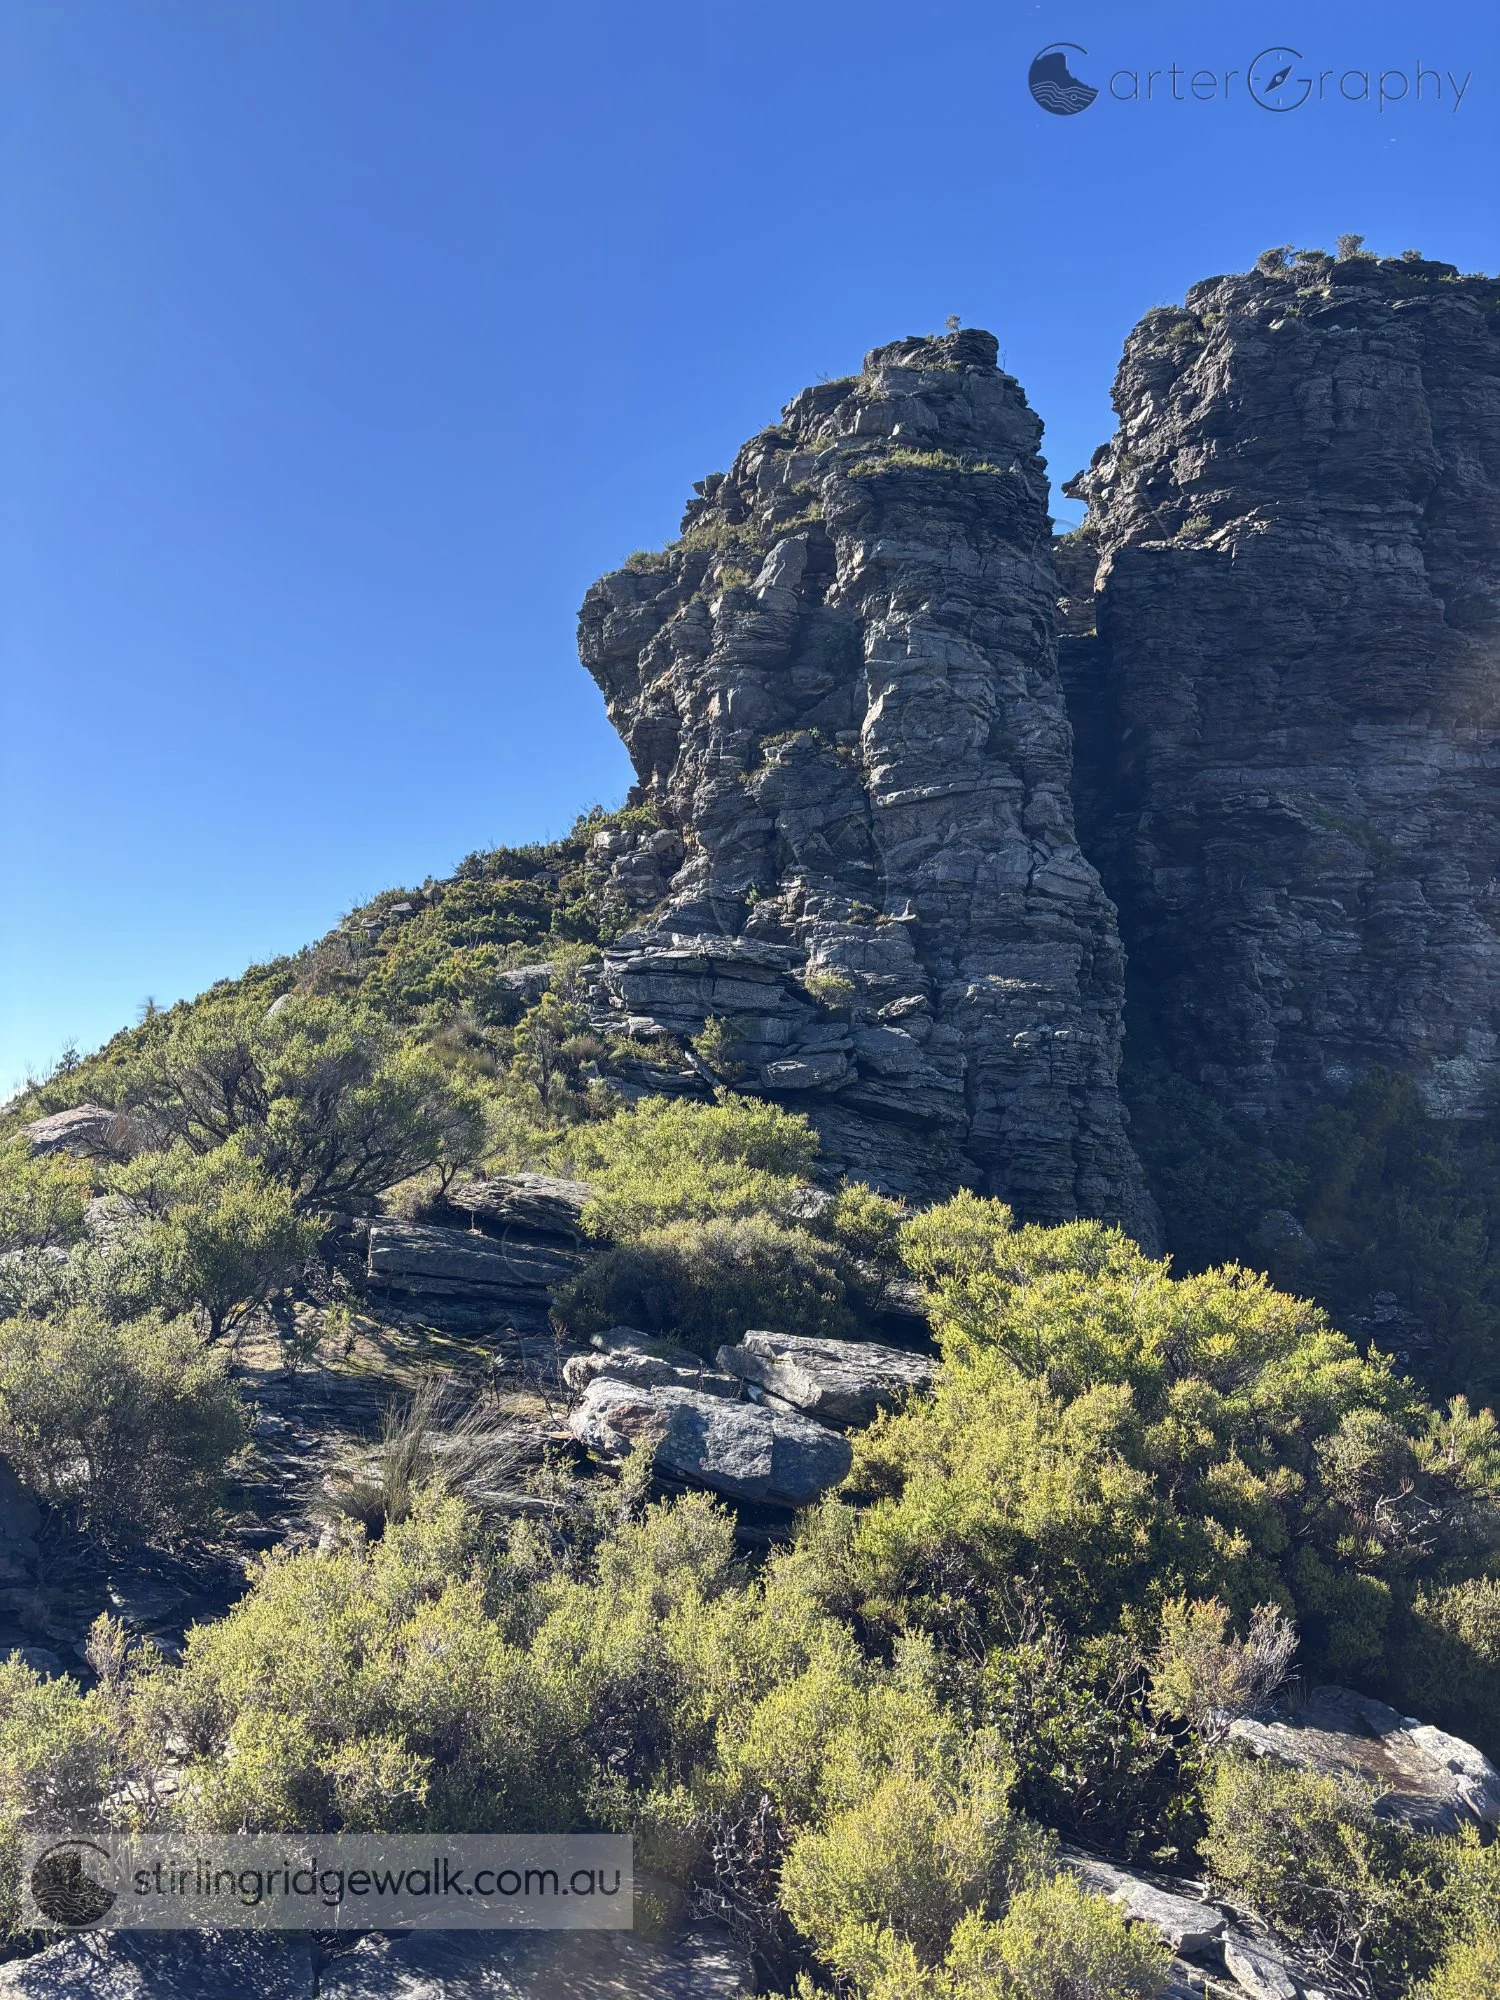
Looking east from the intermediate ridge towards the North West Pinnacle, with the summit of 1st Arrow rising to the right.
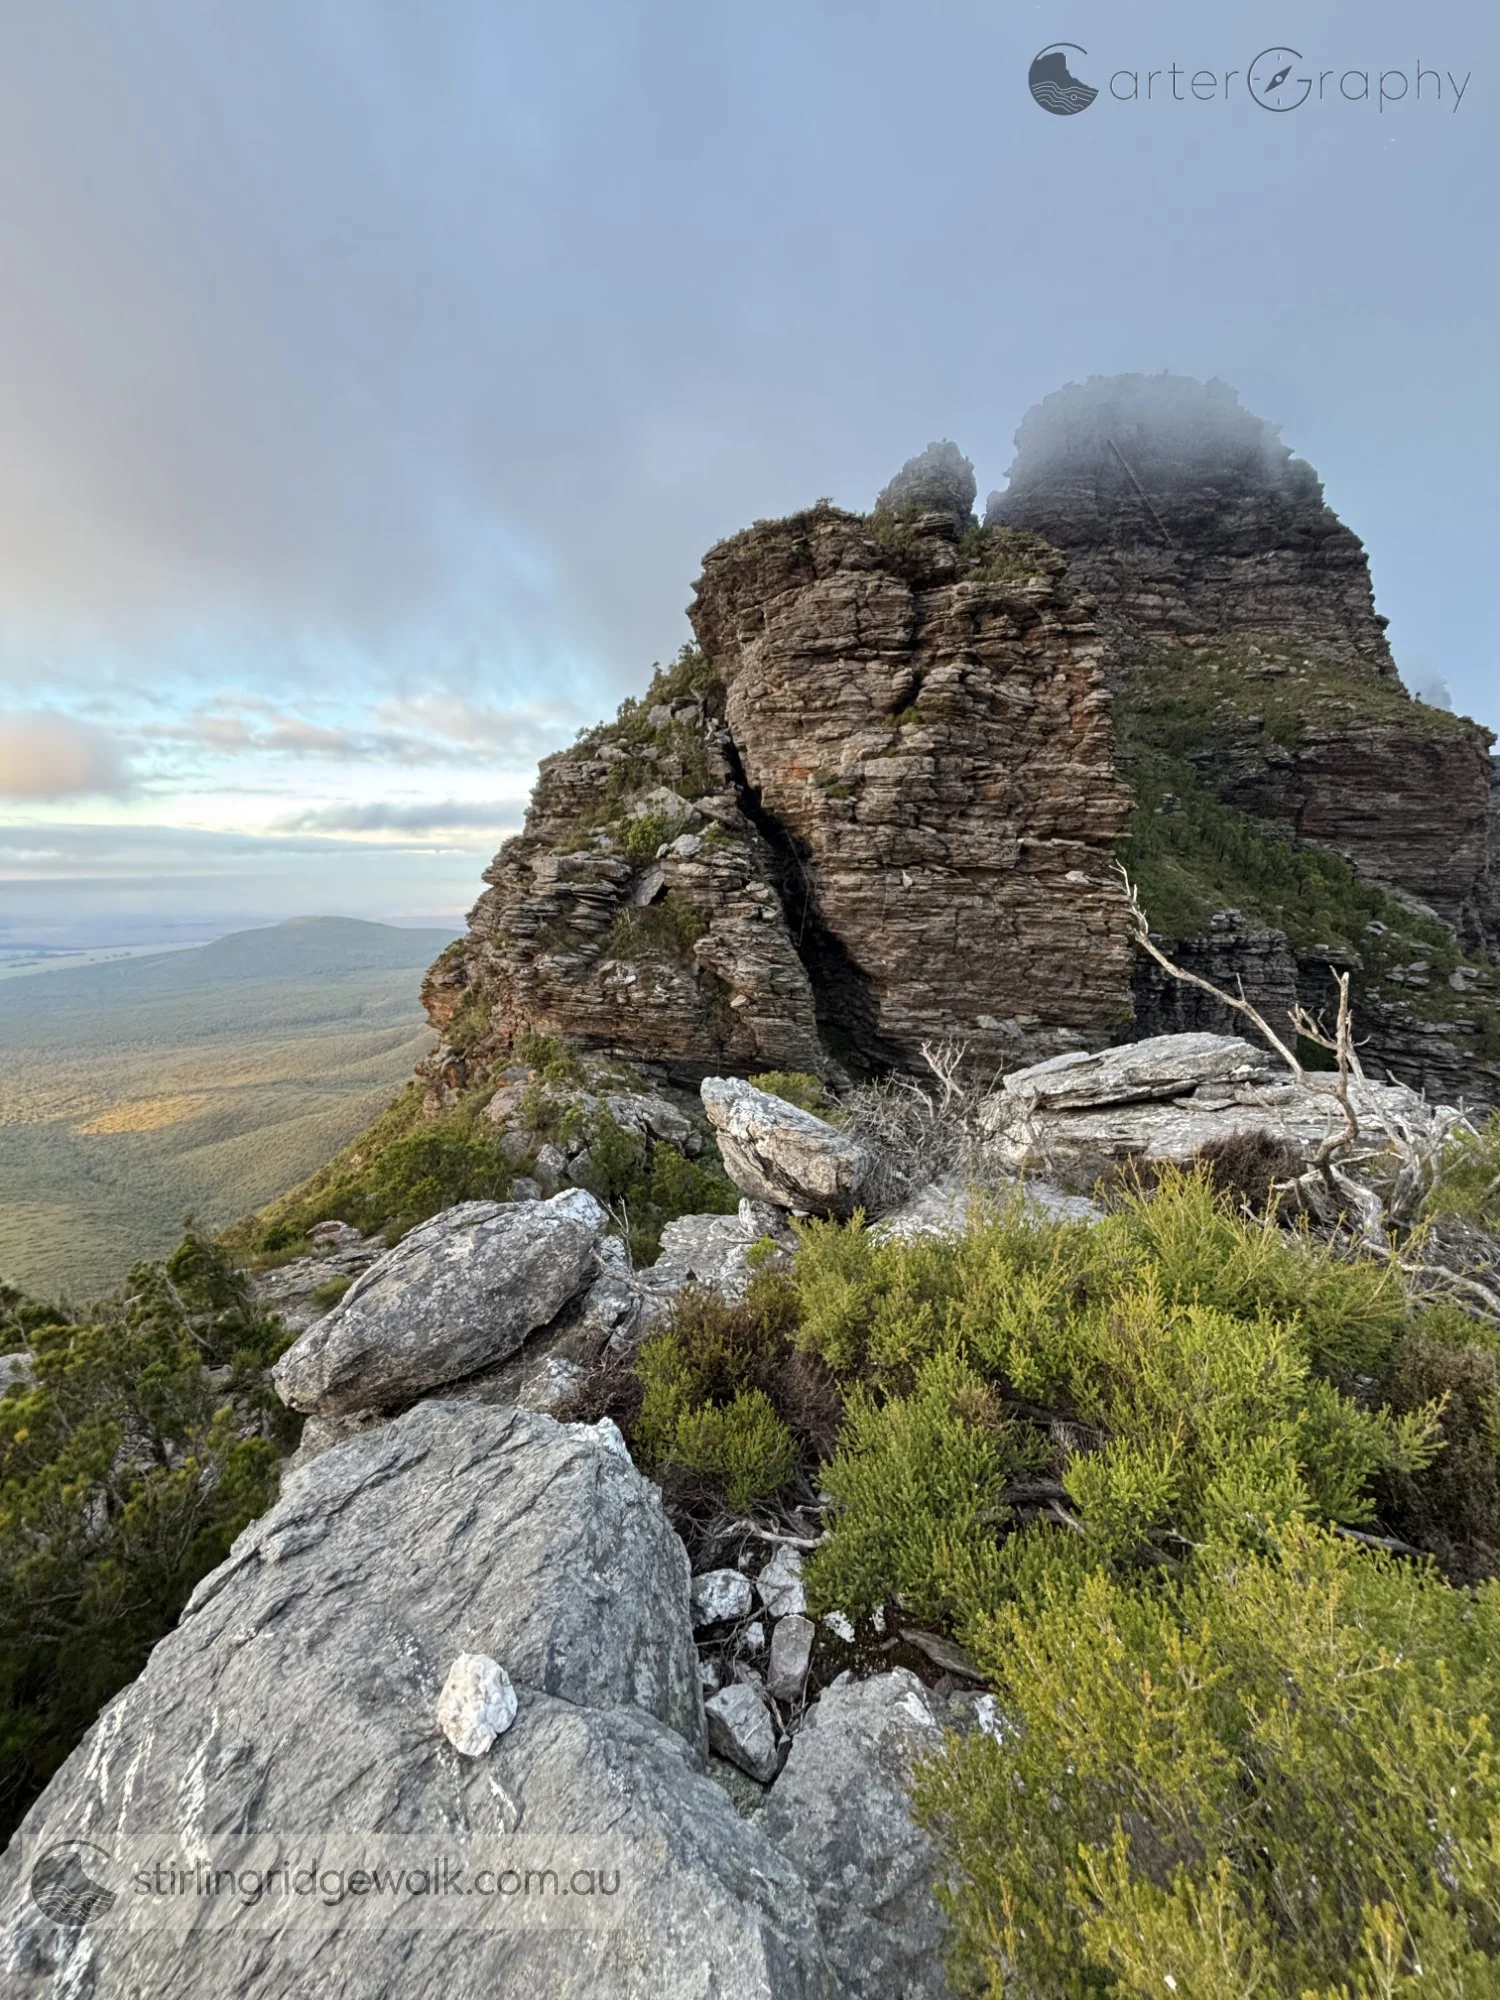
Looking towards 1st Arrow from the top of the Rock Castle, with the summit rising through low cloud in the background.
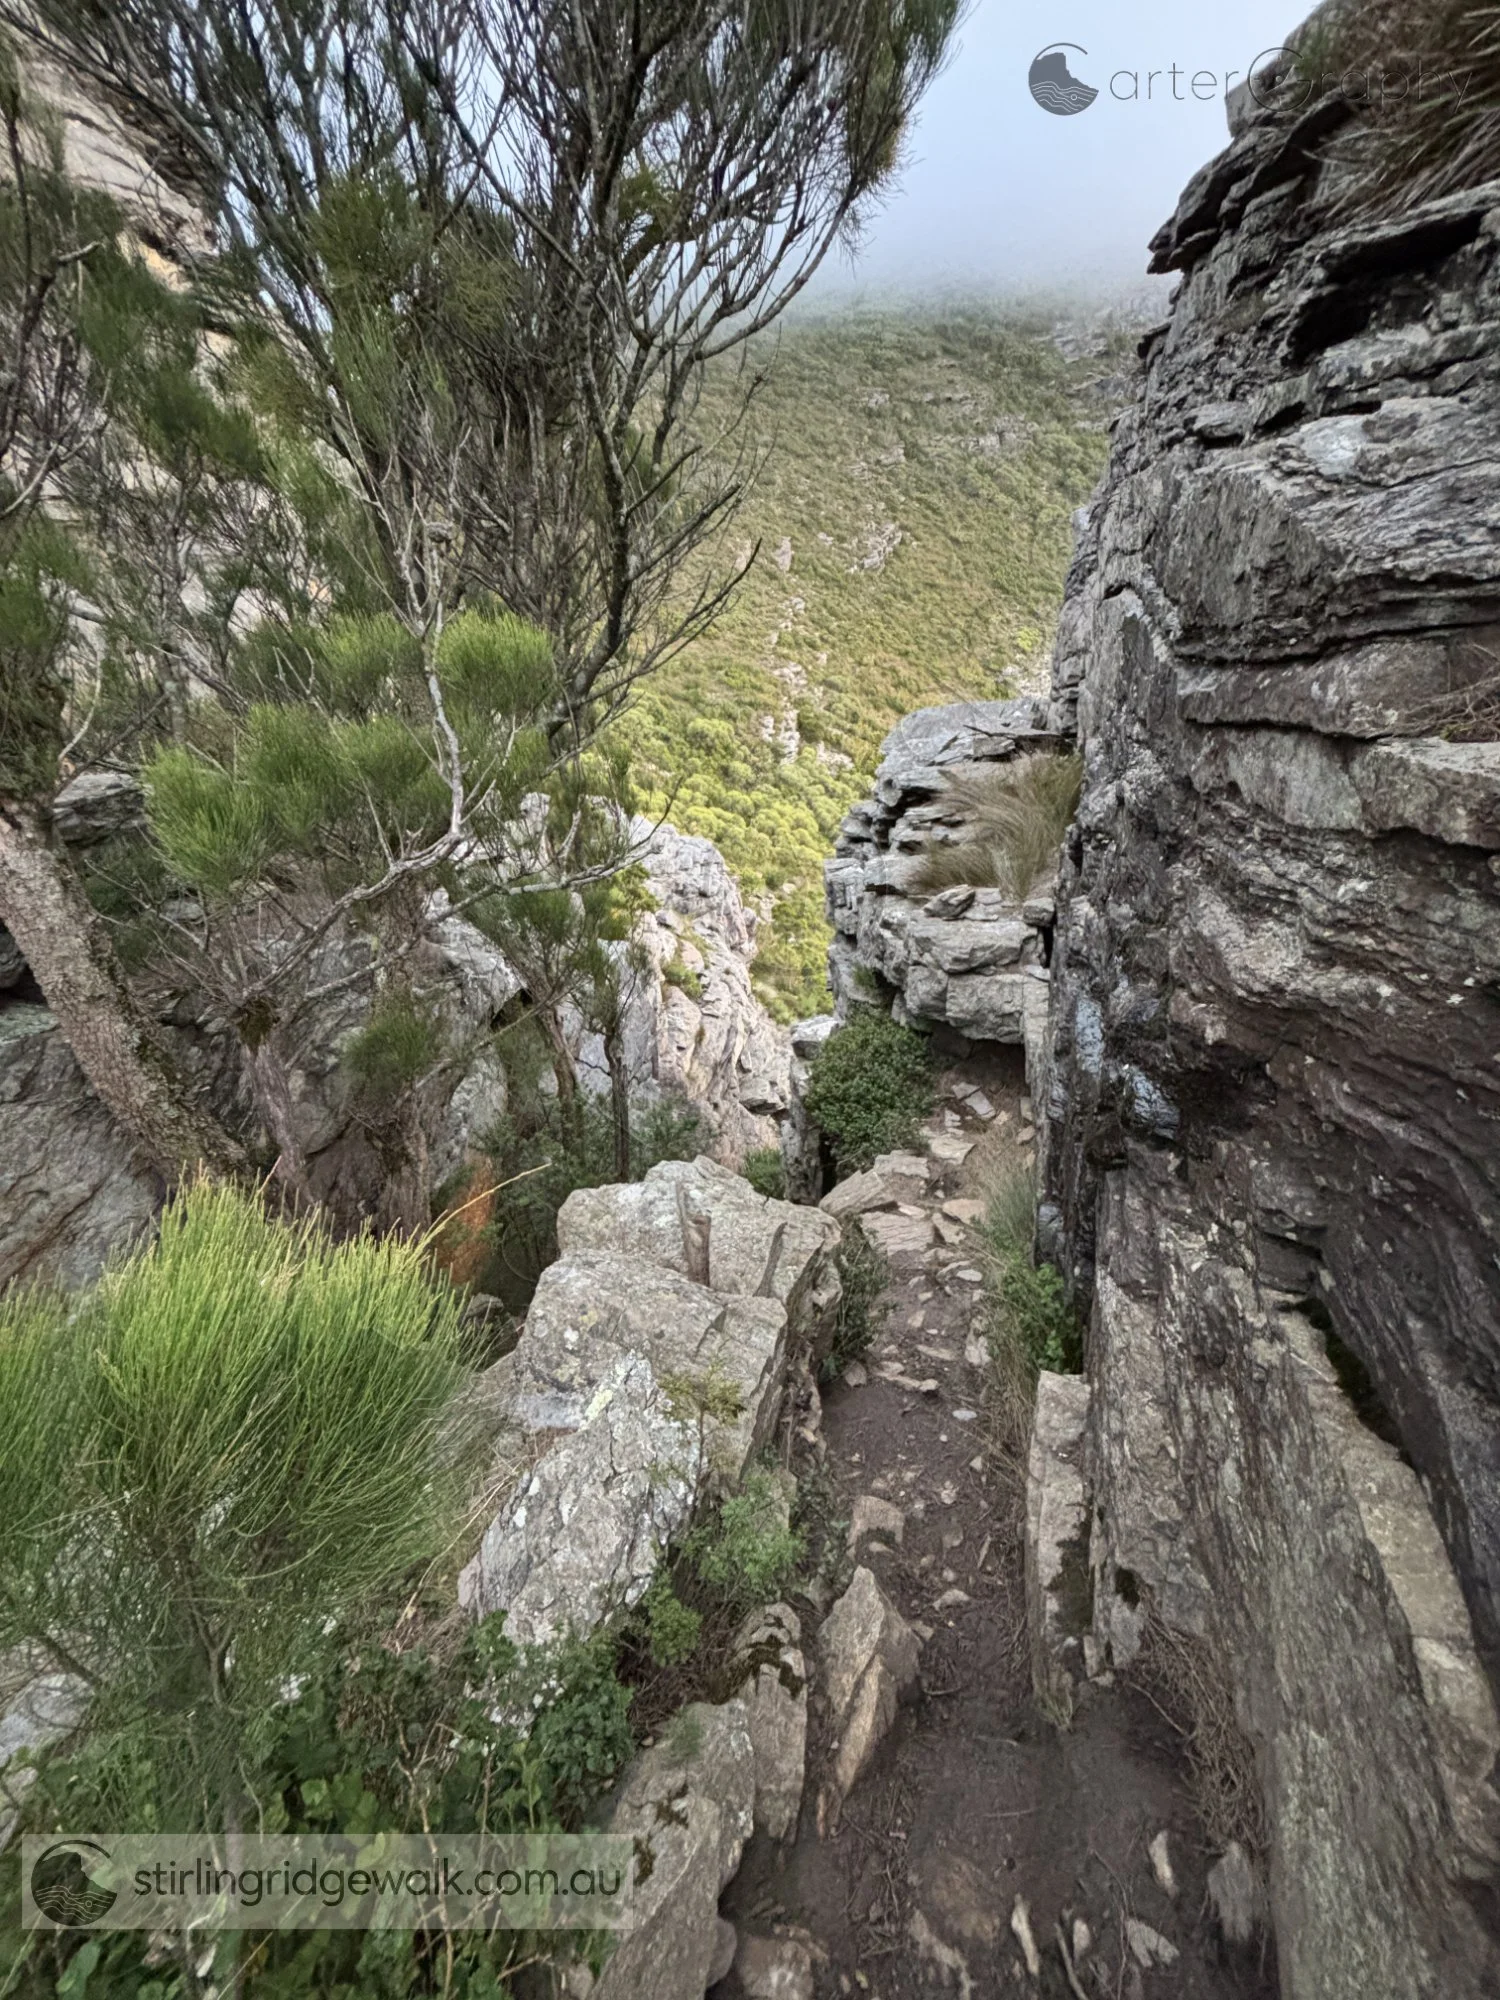
Looking down from the top of the Rock Castle Gully, which separates the two Rock Castle formations. Descent leads into Sheoak Col.
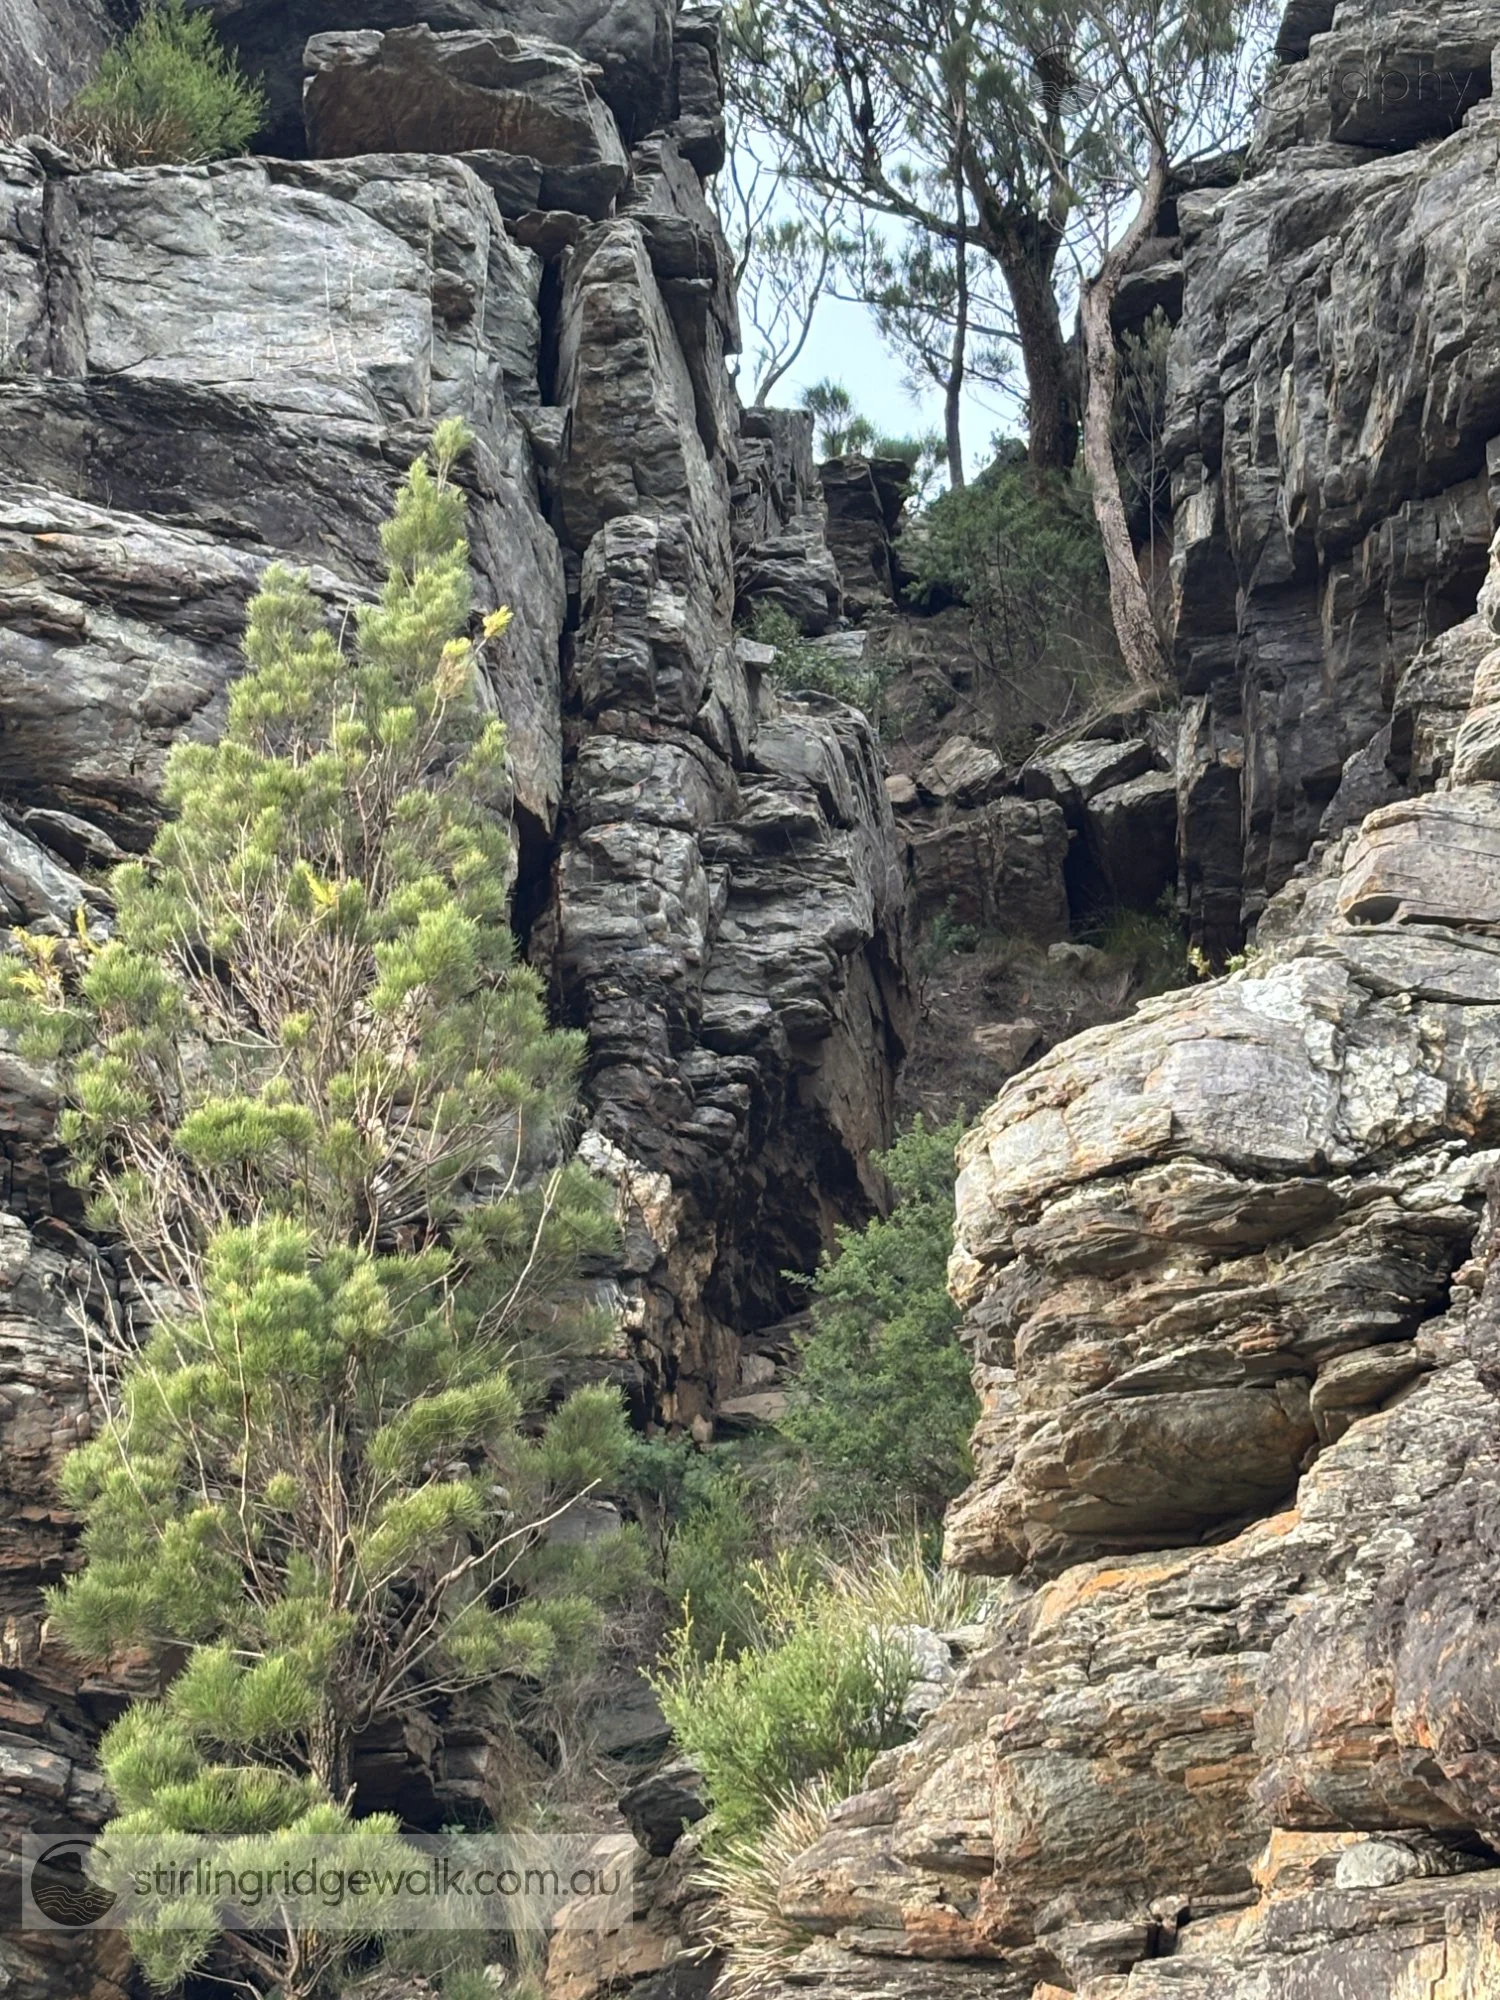
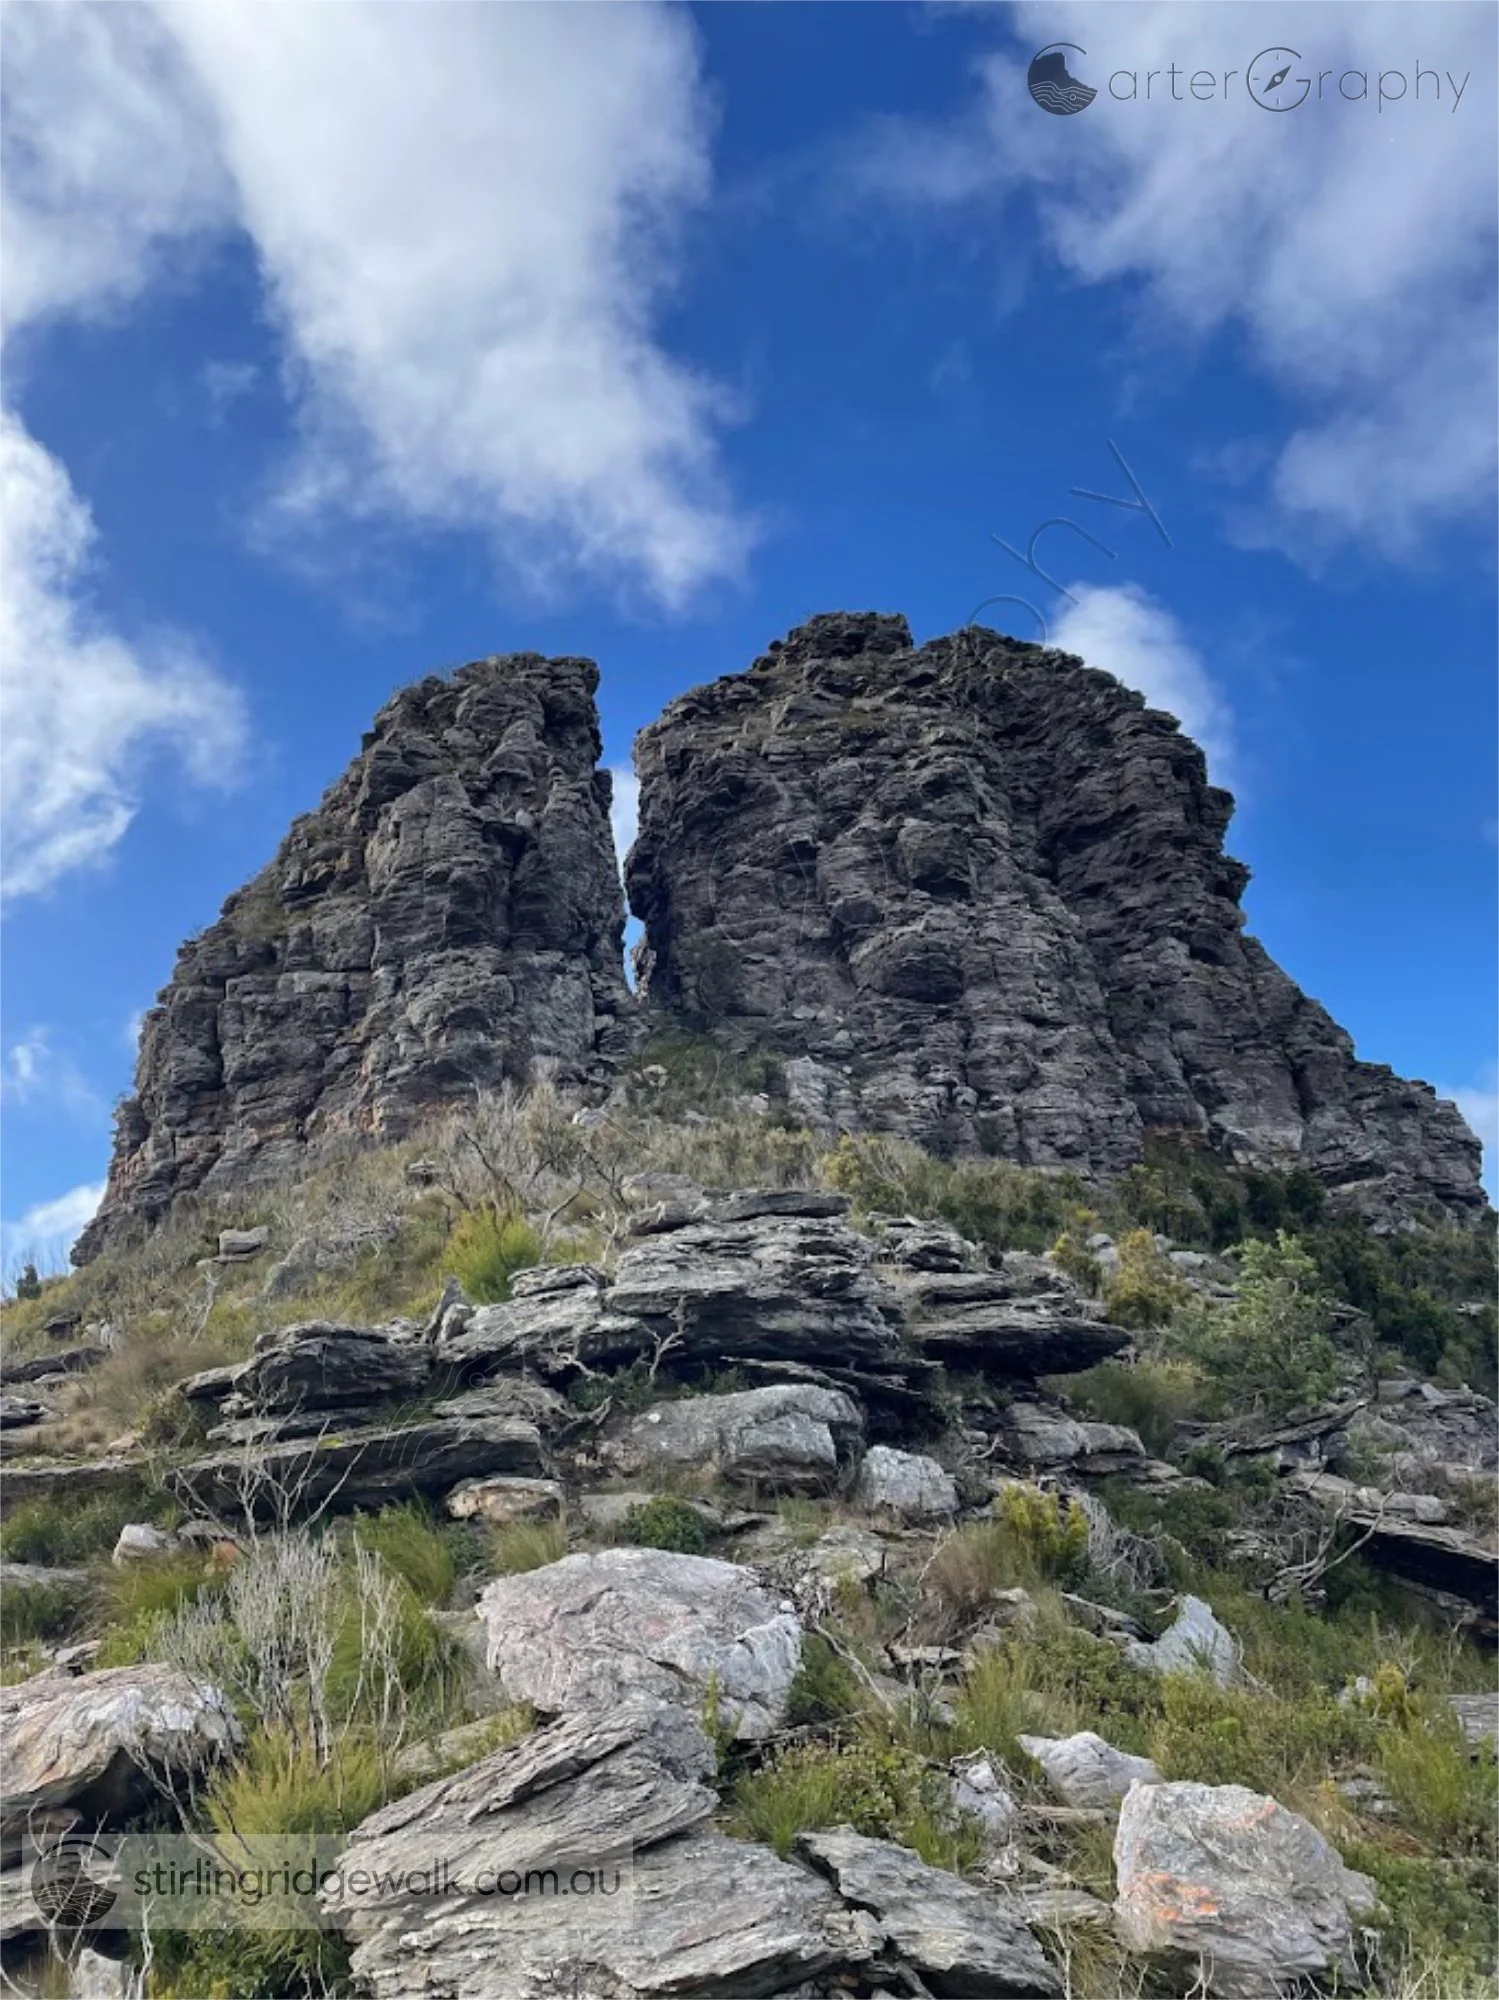
Looking east from the bottom of the Rock Castle Gully, through the narrow cleft separating the two Rock Castle formations.
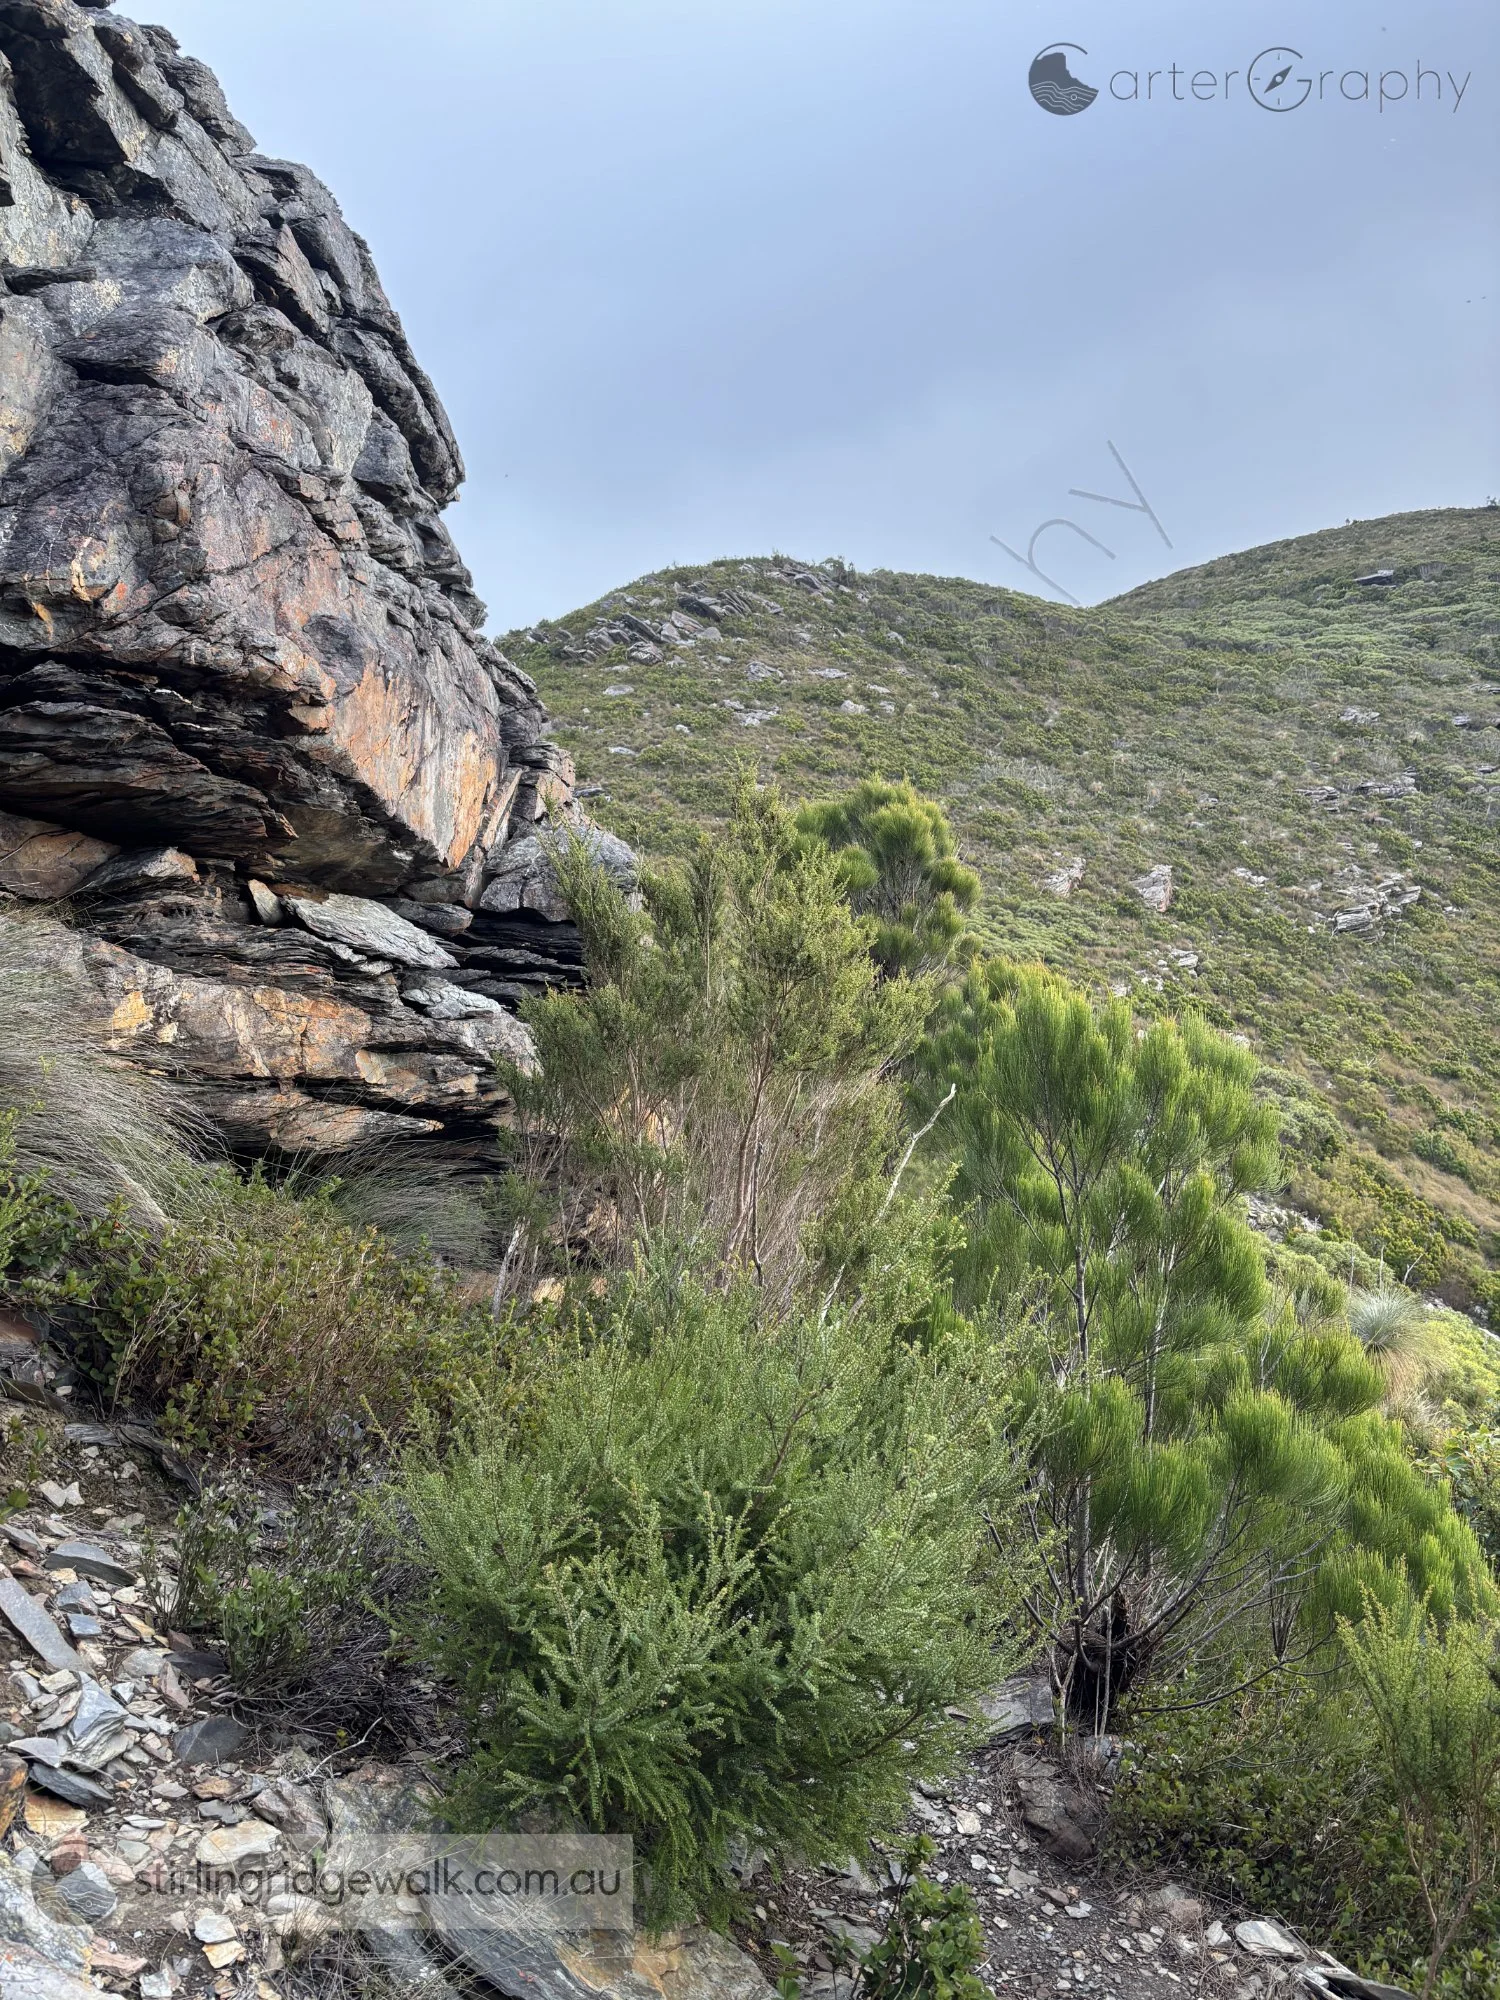
Looking from the bottom of the Rock Castle Gully towards the track leading to Sheoak Col, with the ridgeline leading towards Isongerup North Peak visible in the background.
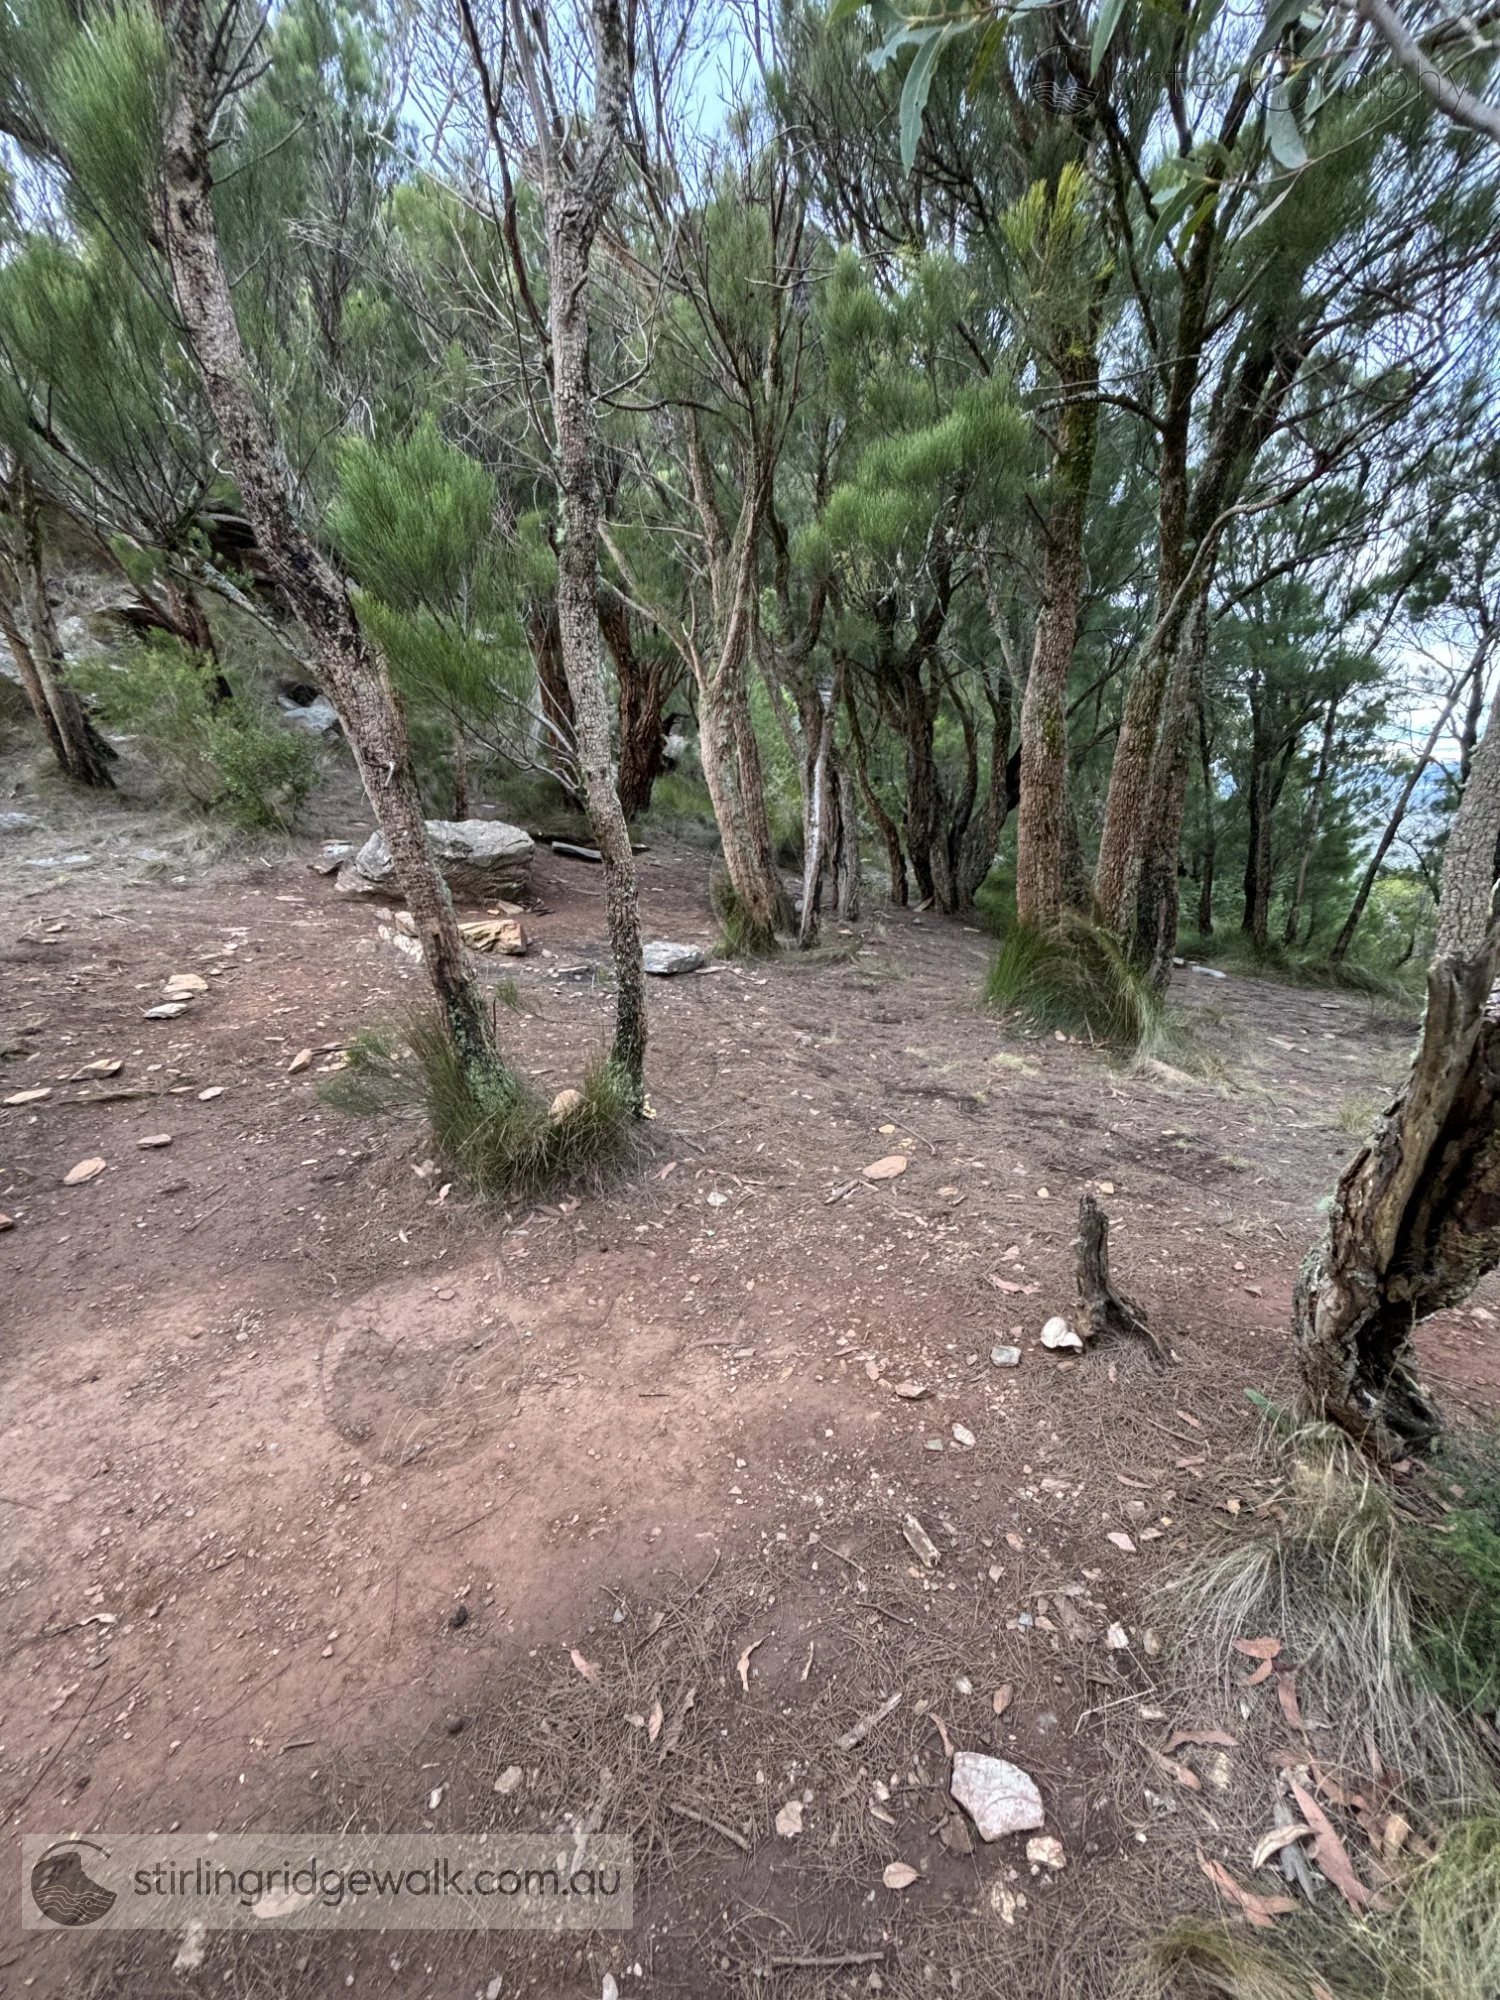
Sheoak Col campsite, a relatively sheltered campsite approximately 100 metres west of the Rock Castle Gully.
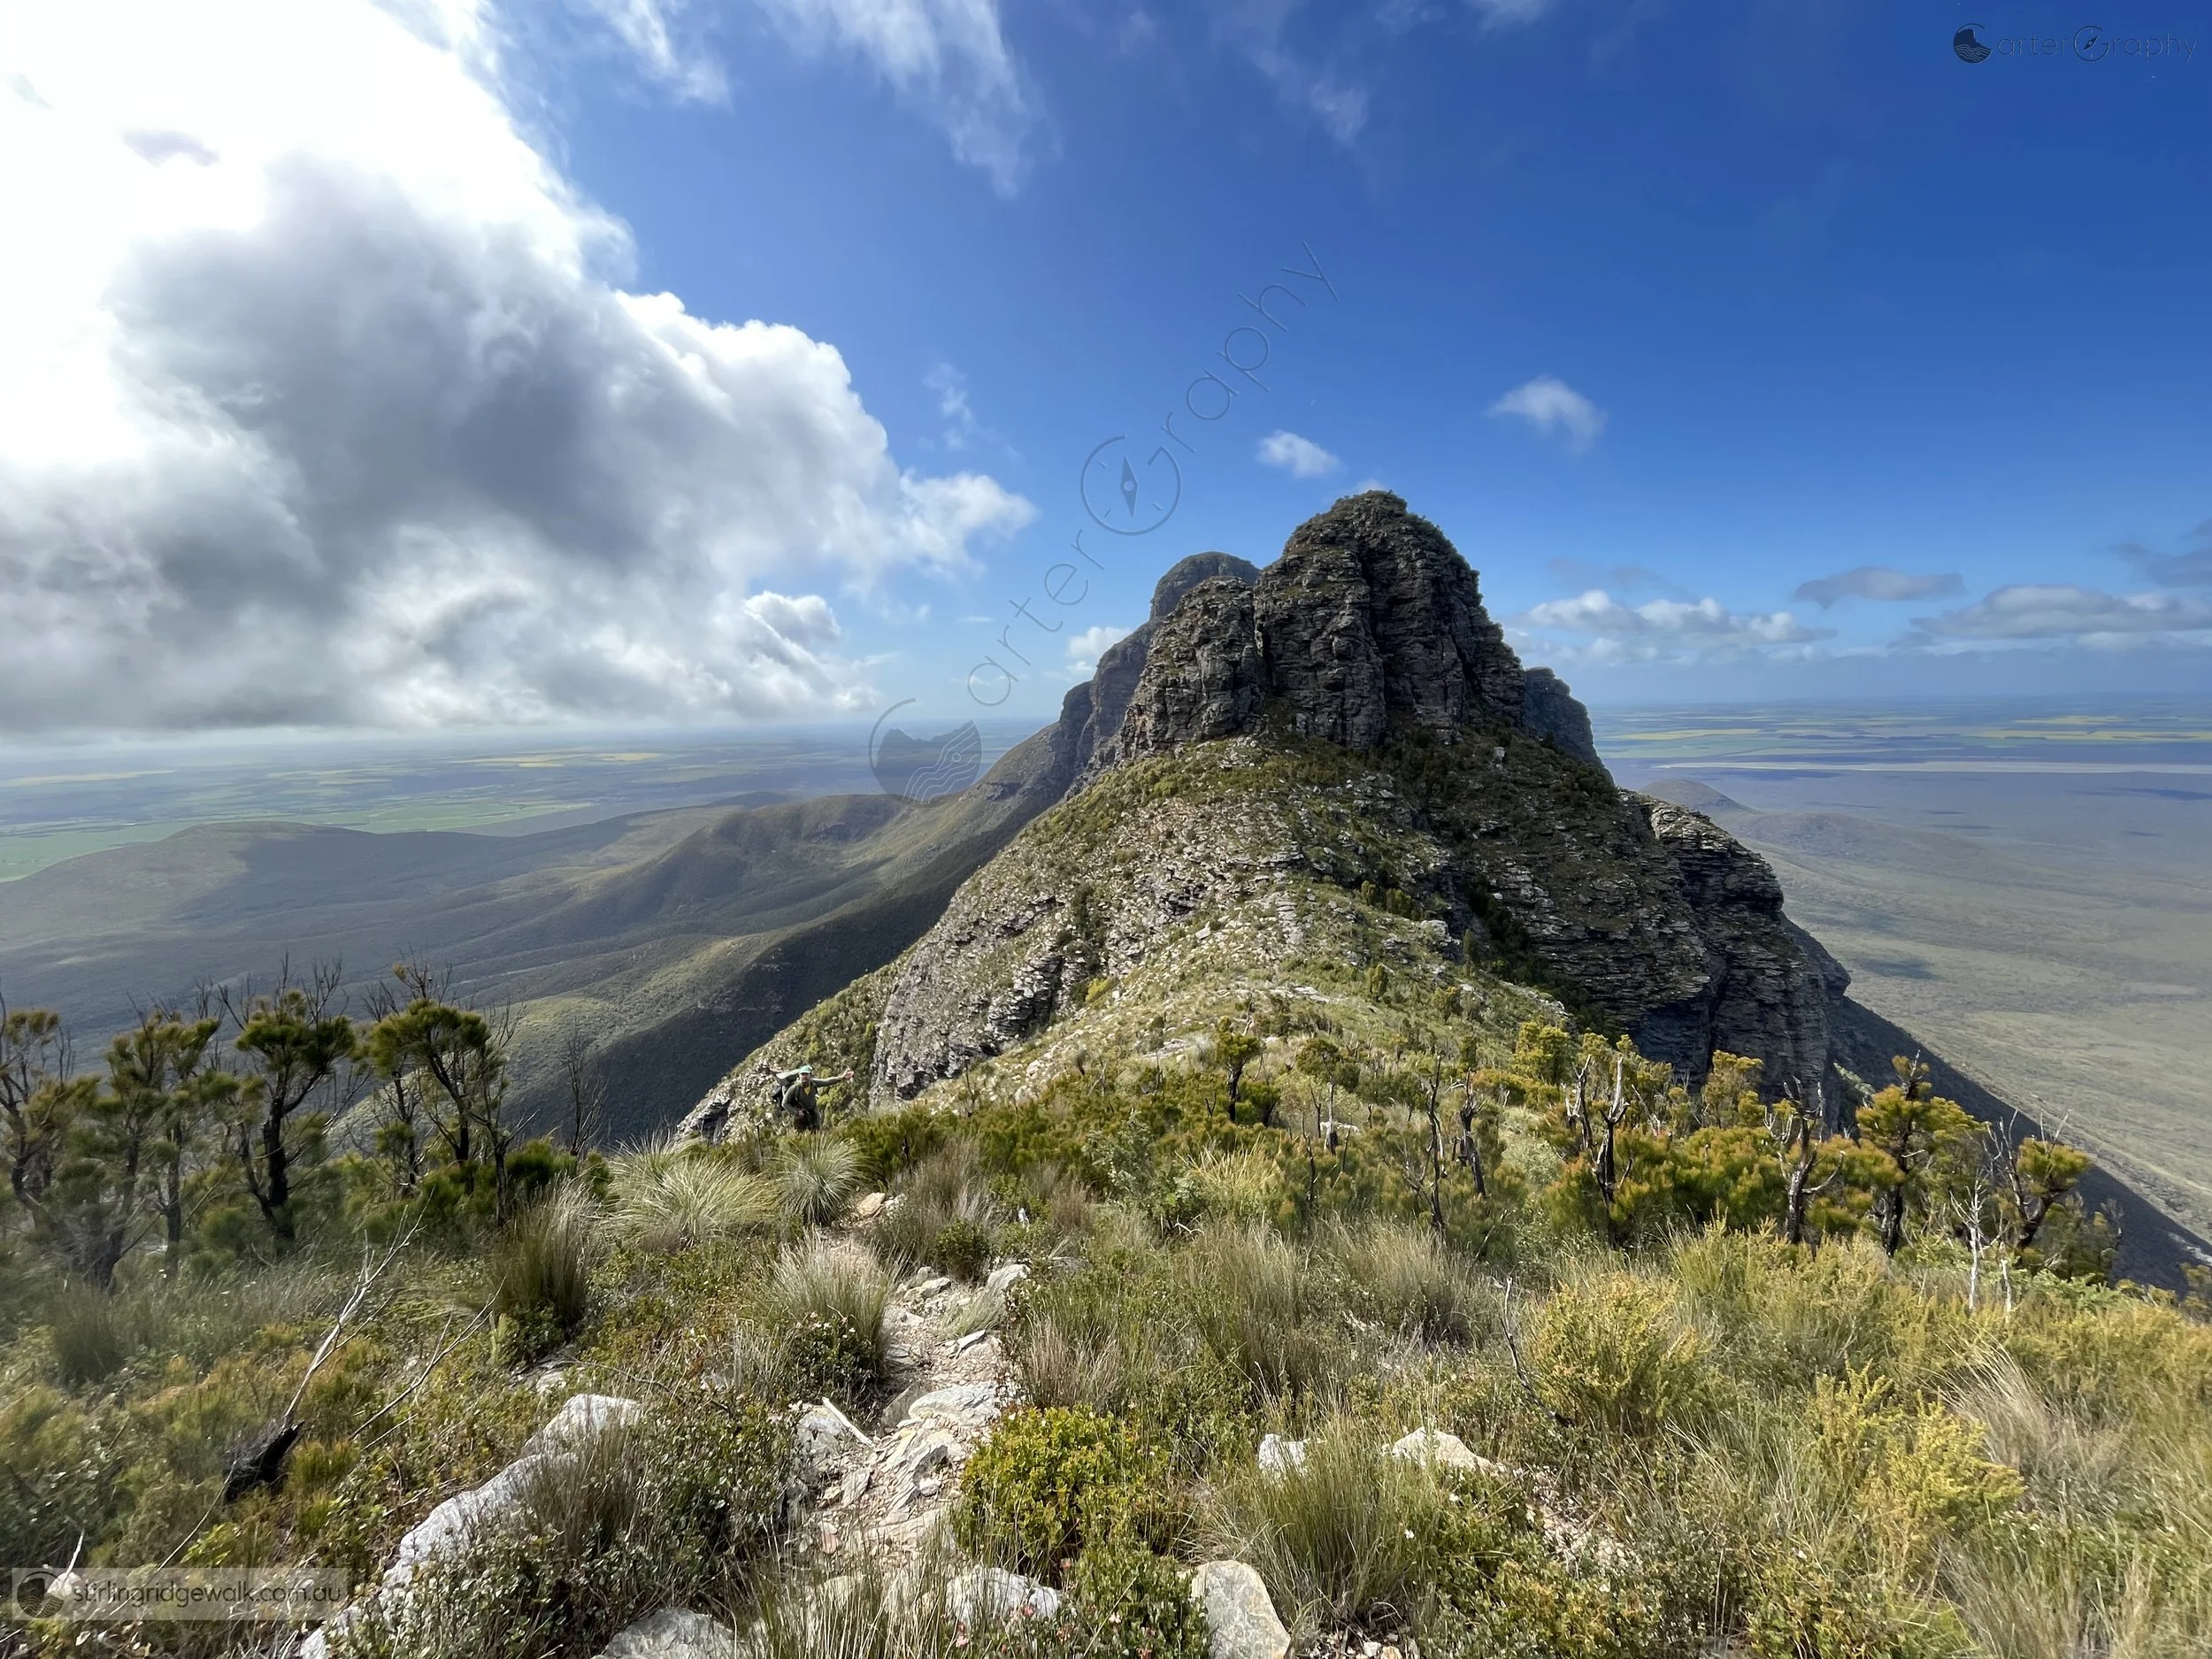
Taken from the ascent to 2nd Arrow, looking east across 3rd Arrow towards Pyungoorup Peak. Ellen Peak is obscured.
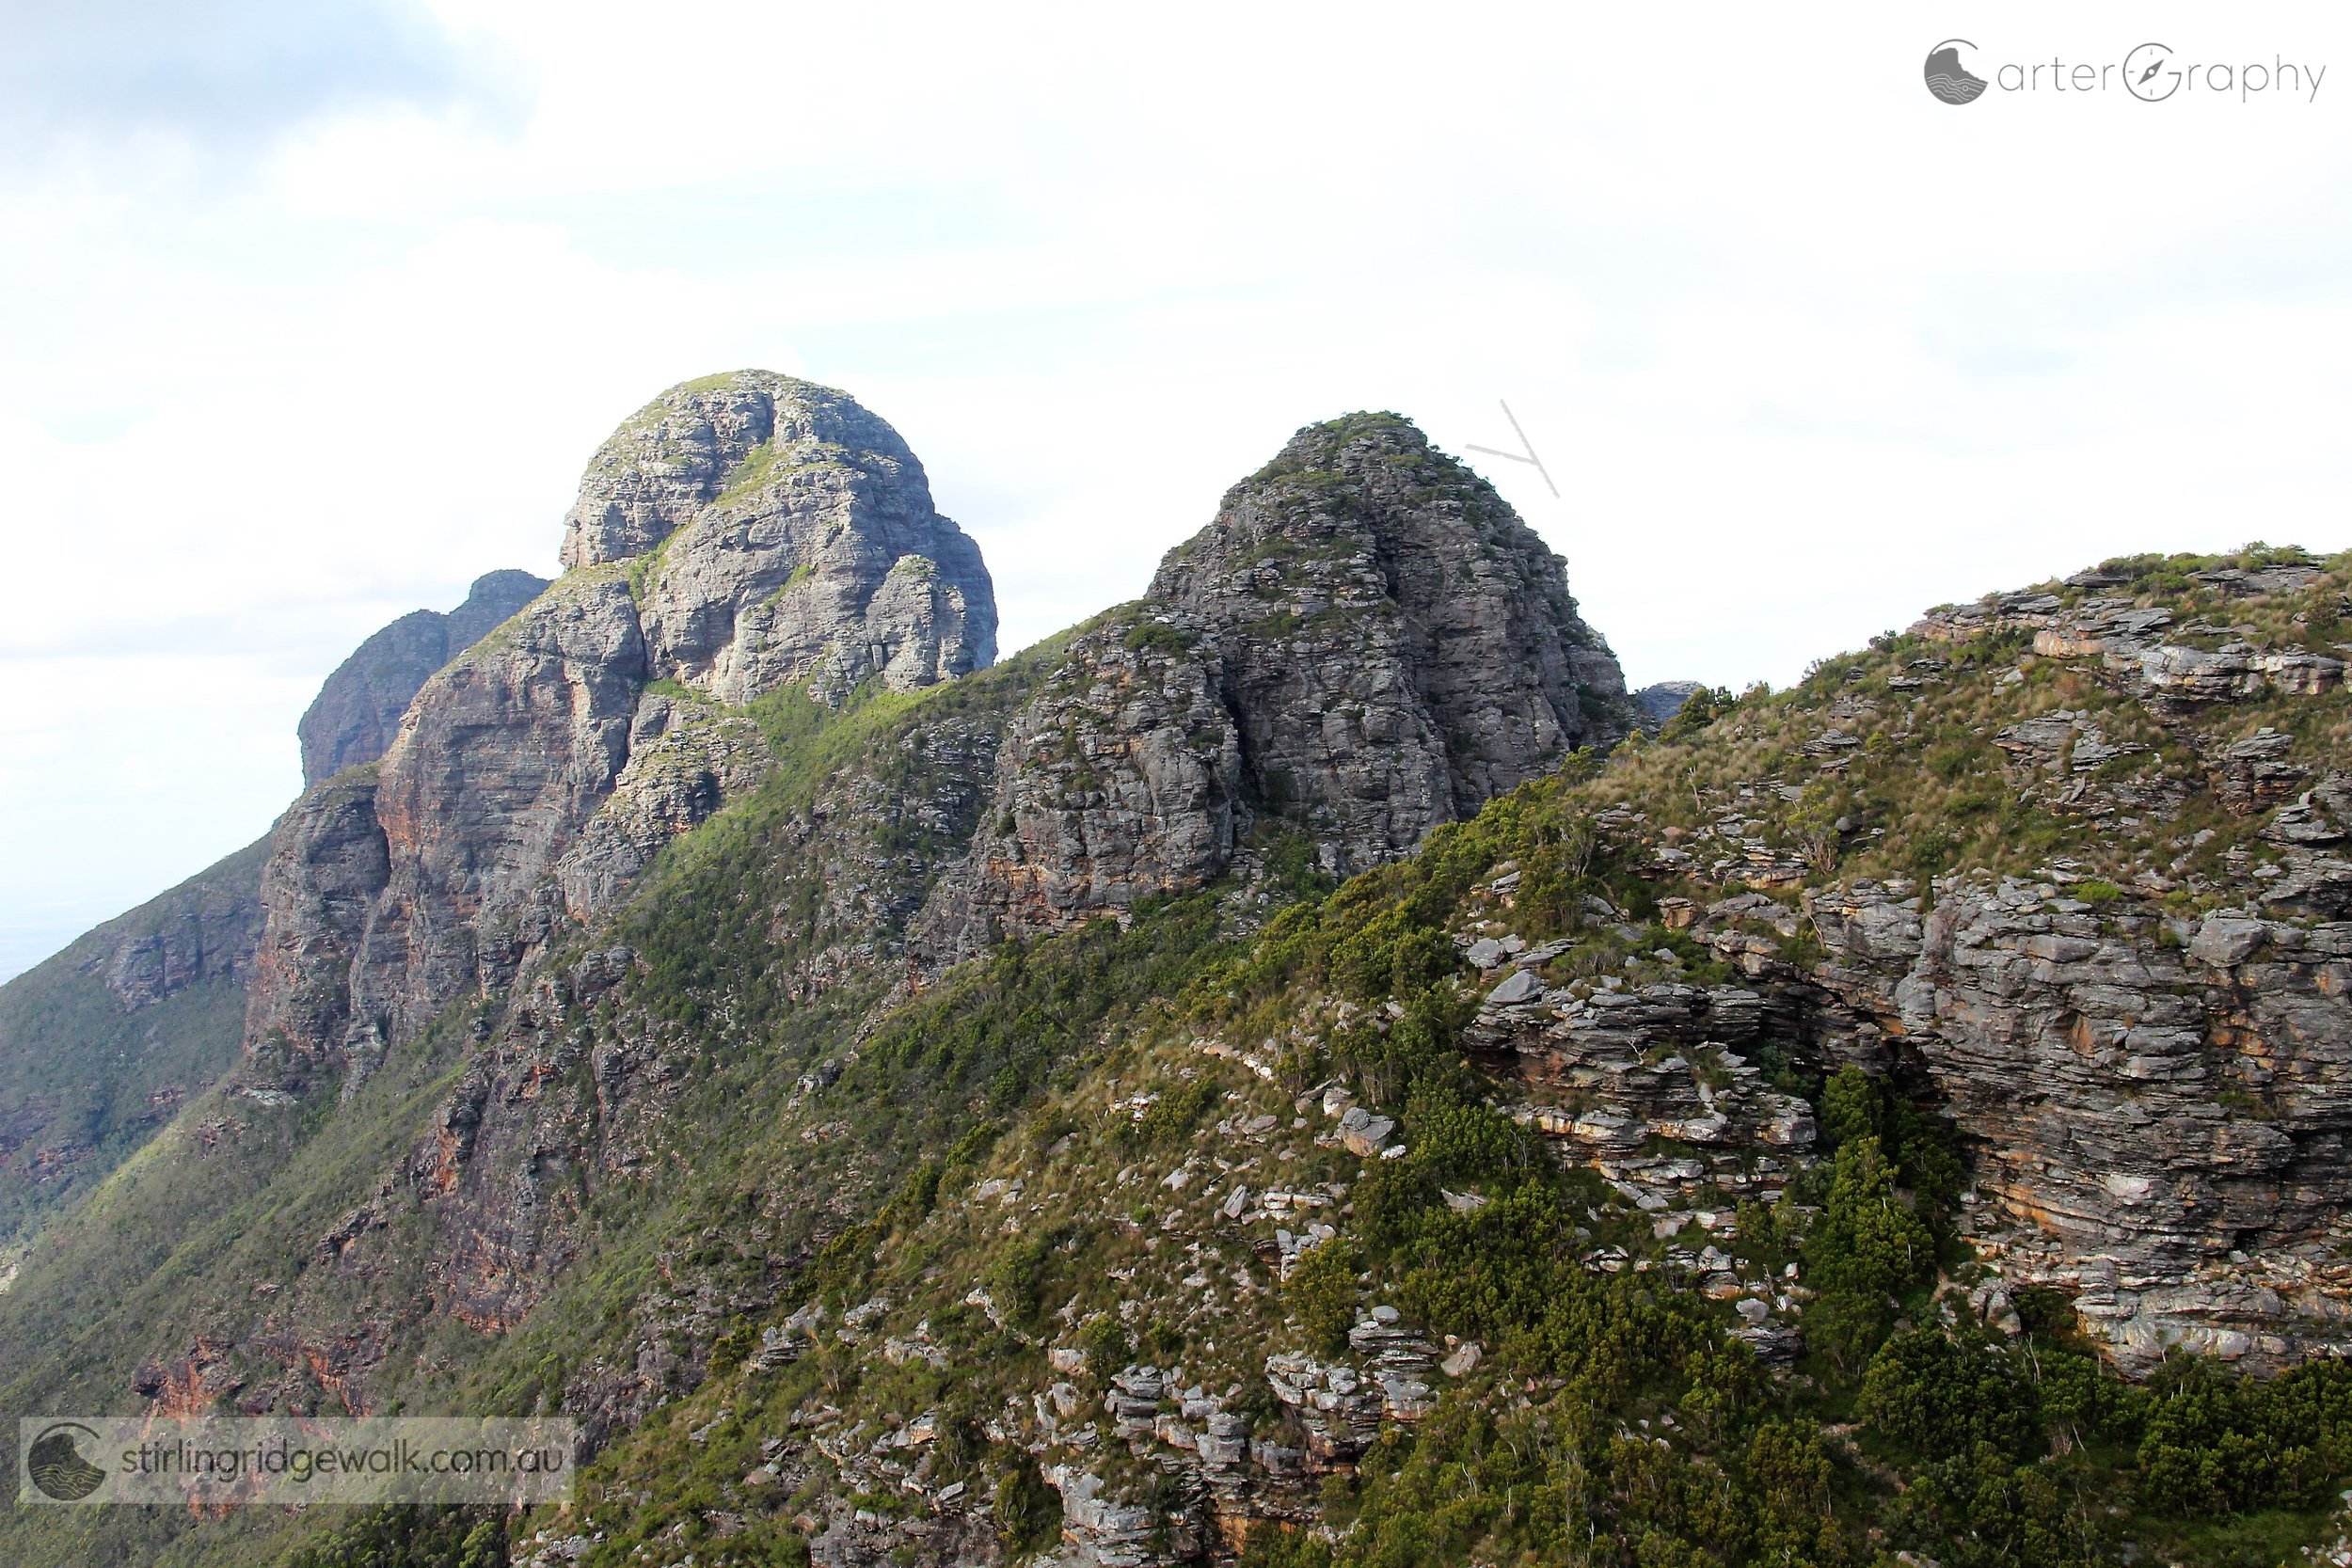
Taken from the summit of 1st Arrow, looking east across 2nd Arrow and 3rd Arrow towards Pyungoorup Peak, with the summit of Ellen Peak just visible behind.
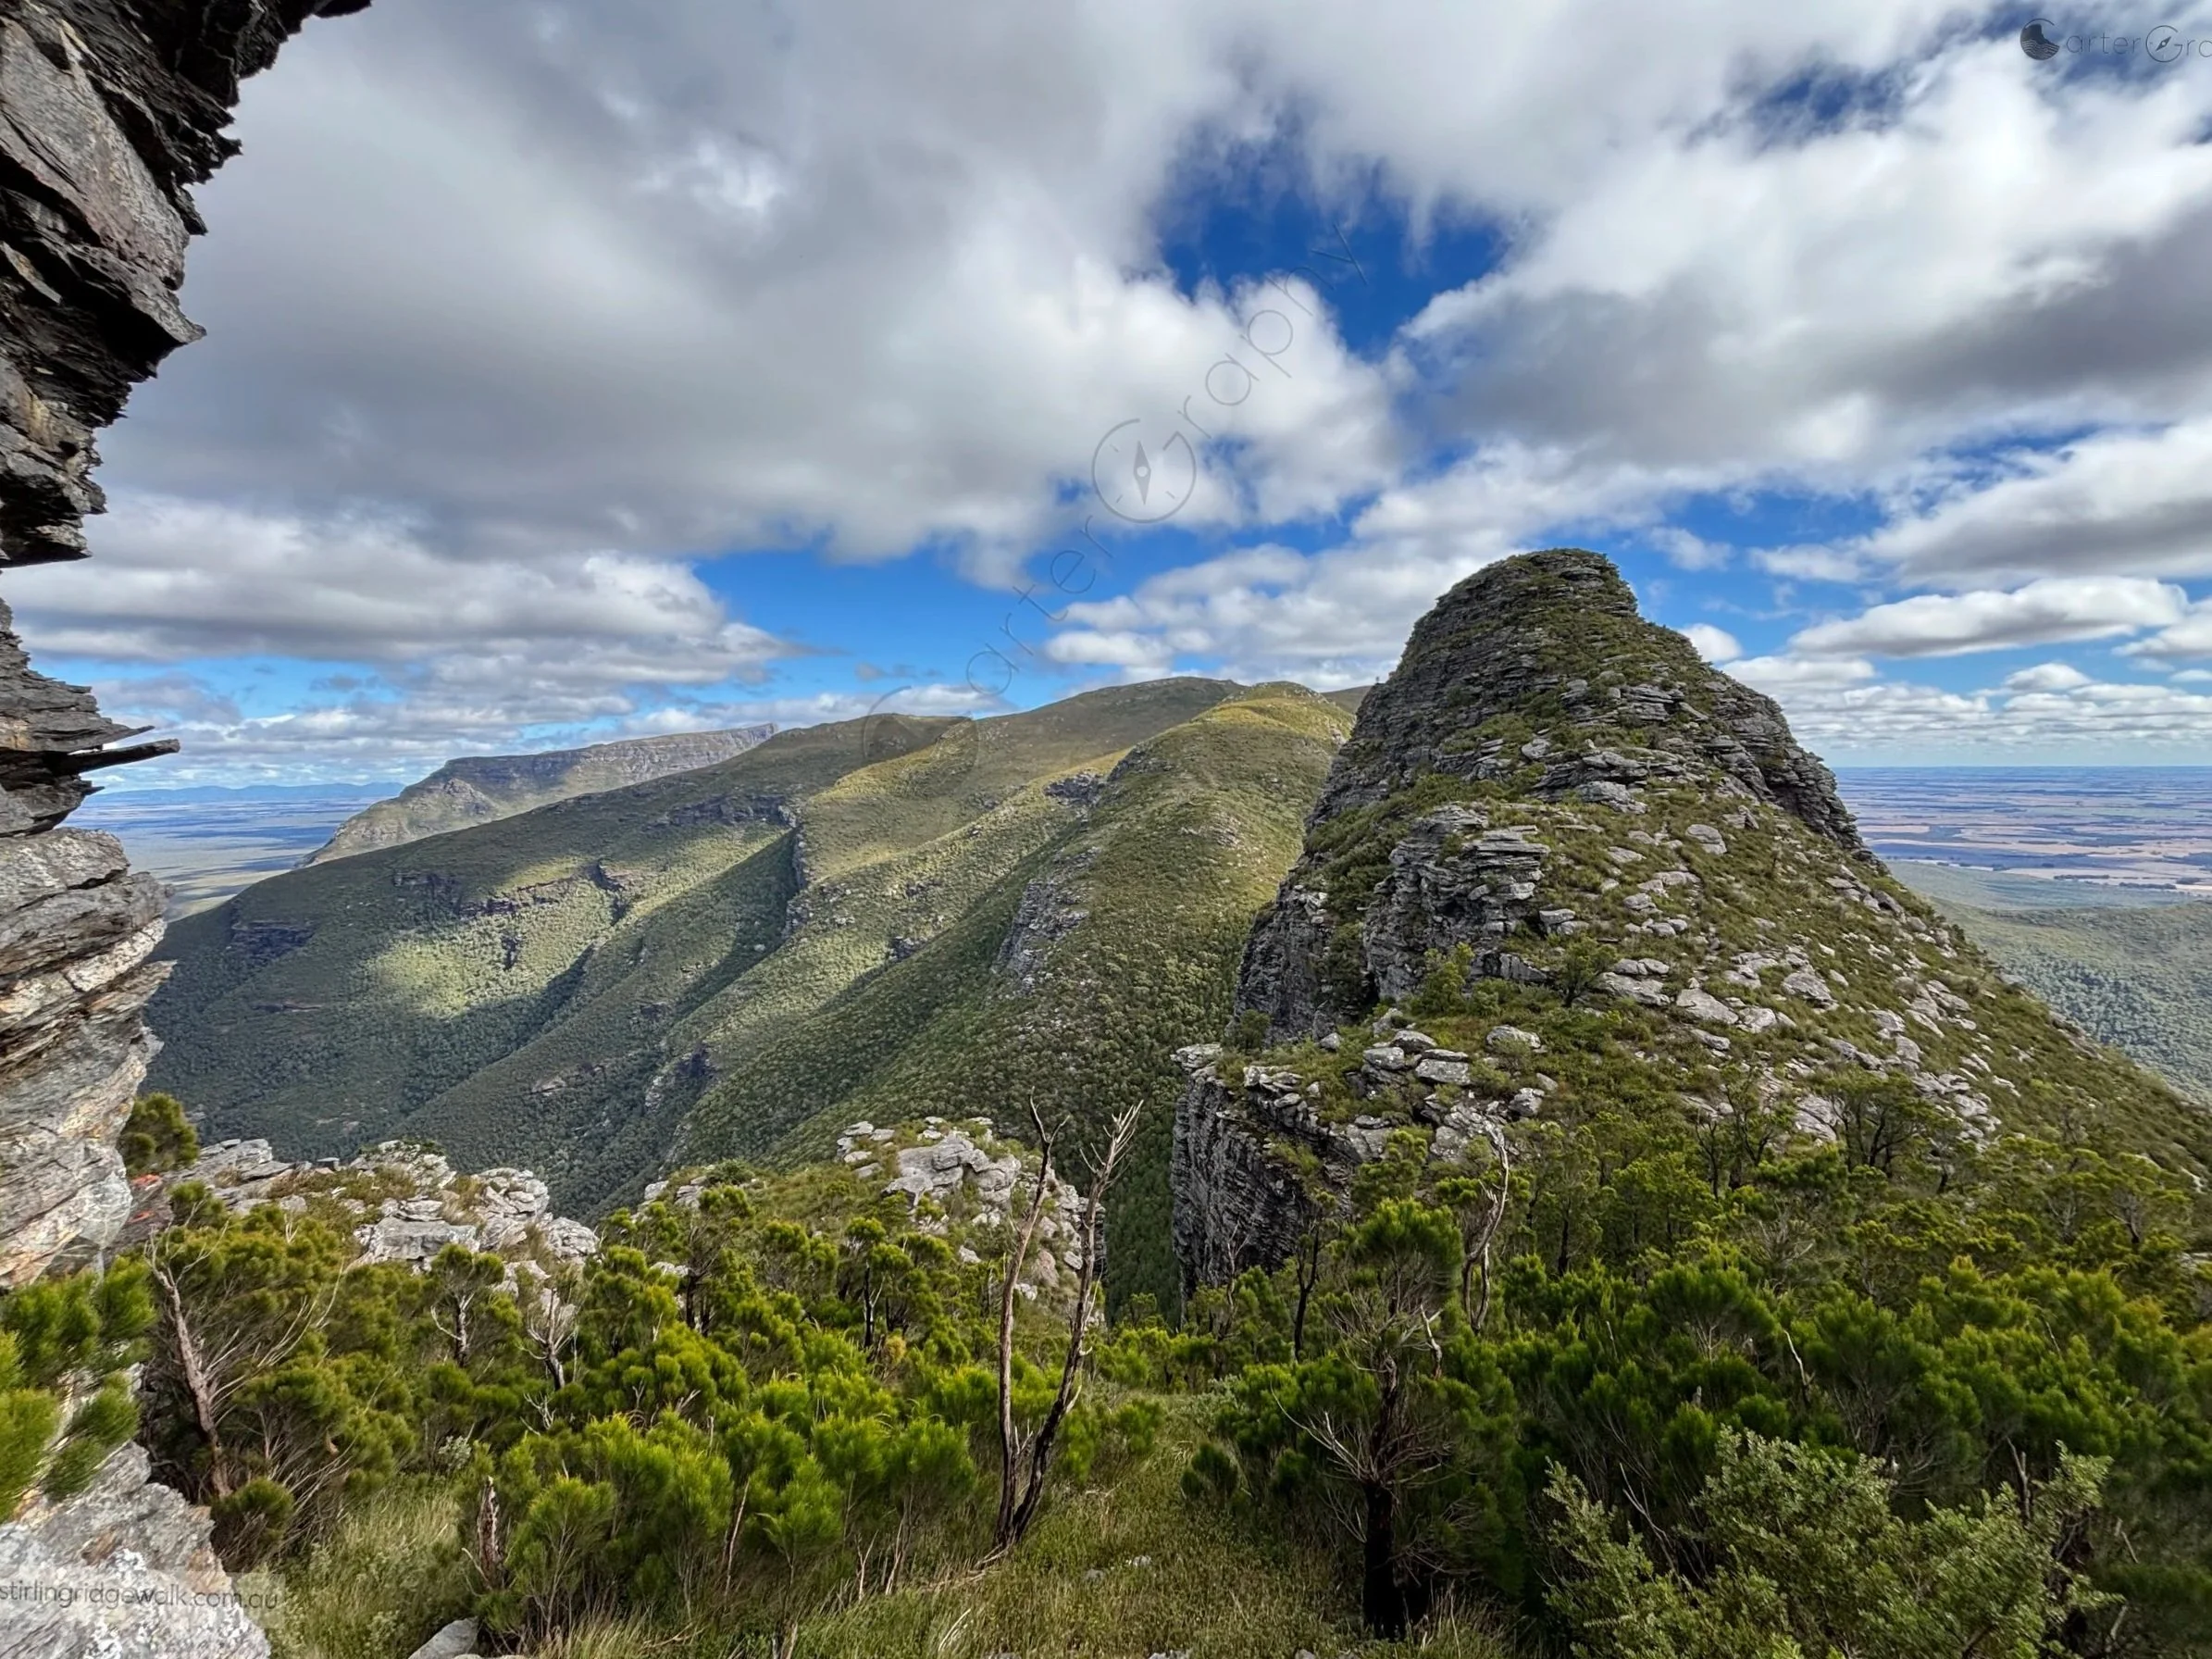
Taken from 2nd Arrow, with 1st Arrow prominent in the foreground. Isongerup Peak rises in the centre background, with Bluff Knoll visible in the distance.