
The best navigators are those who always know where they are
Navigation Point 4. Yellow Ground Marker (route choice)
Navigation Point 4 is located at the yellow ground marker between Ellen Peak and Pyungoorup Peak. It is shown on the map and in the accompanying photographs. The photographs show the junction from different directions, including the view west towards Pyungoorup Peak, the view east back towards Ellen Peak, the approach from the saddle, and the descent south towards Pyungoorup Cave.
This is an important route choice point. From the yellow ground marker, you can continue generally west and uphill towards the summit of Pyungoorup Peak, marked on the map at 1054 metres. This is a valid side trip, but it should be treated as a return visit only. It is an in and out route. You cannot continue over Pyungoorup Peak and then reach Bakers Knob by that line.
To continue on the main Stirling Ridge Walk route towards Bakers Knob, do not keep heading west towards the summit of Pyungoorup Peak. At the yellow ground marker, turn left and descend south towards Pyungoorup Cave. The accompanying photograph looking south shows this descent clearly, with the track dropping away from the ridge towards the cave area.
The map helps explain the choice. Pyungoorup Peak sits to the west of the yellow ground marker, while Pyungoorup Cave sits to the south. The yellow ground marker is therefore the point where walkers need to decide whether they are making the return visit to Pyungoorup Peak summit, or continuing on the main route towards the cave and Baker’s Knob.
For walkers coming from Ellen Peak, this junction is reached after descending from Navigation Point 3 and climbing the small hill east of Pyungoorup Peak. The summit route continues ahead to the west and uphill. The main traverse route turns left and descends south towards Pyungoorup Cave.
For walkers coming from the Bluff Knoll end, Navigation Point 4 works in reverse. After climbing up from Pyungoorup Cave, this is the point where the main route turns east towards Navigation Point 3 and Ellen Peak. Continuing west and uphill from here would take you towards Pyungoorup Peak summit as a side trip, not towards Ellen Peak.
Used together with the map and photographs, Navigation Point 4 acts as a clear guardrail. If you continue west and uphill, you are heading towards Pyungoorup Peak as a return side trip. If you are continuing towards Baker’s Knob from the Ellen Peak direction, turn left at the yellow ground marker and descend south towards Pyungoorup Cave.
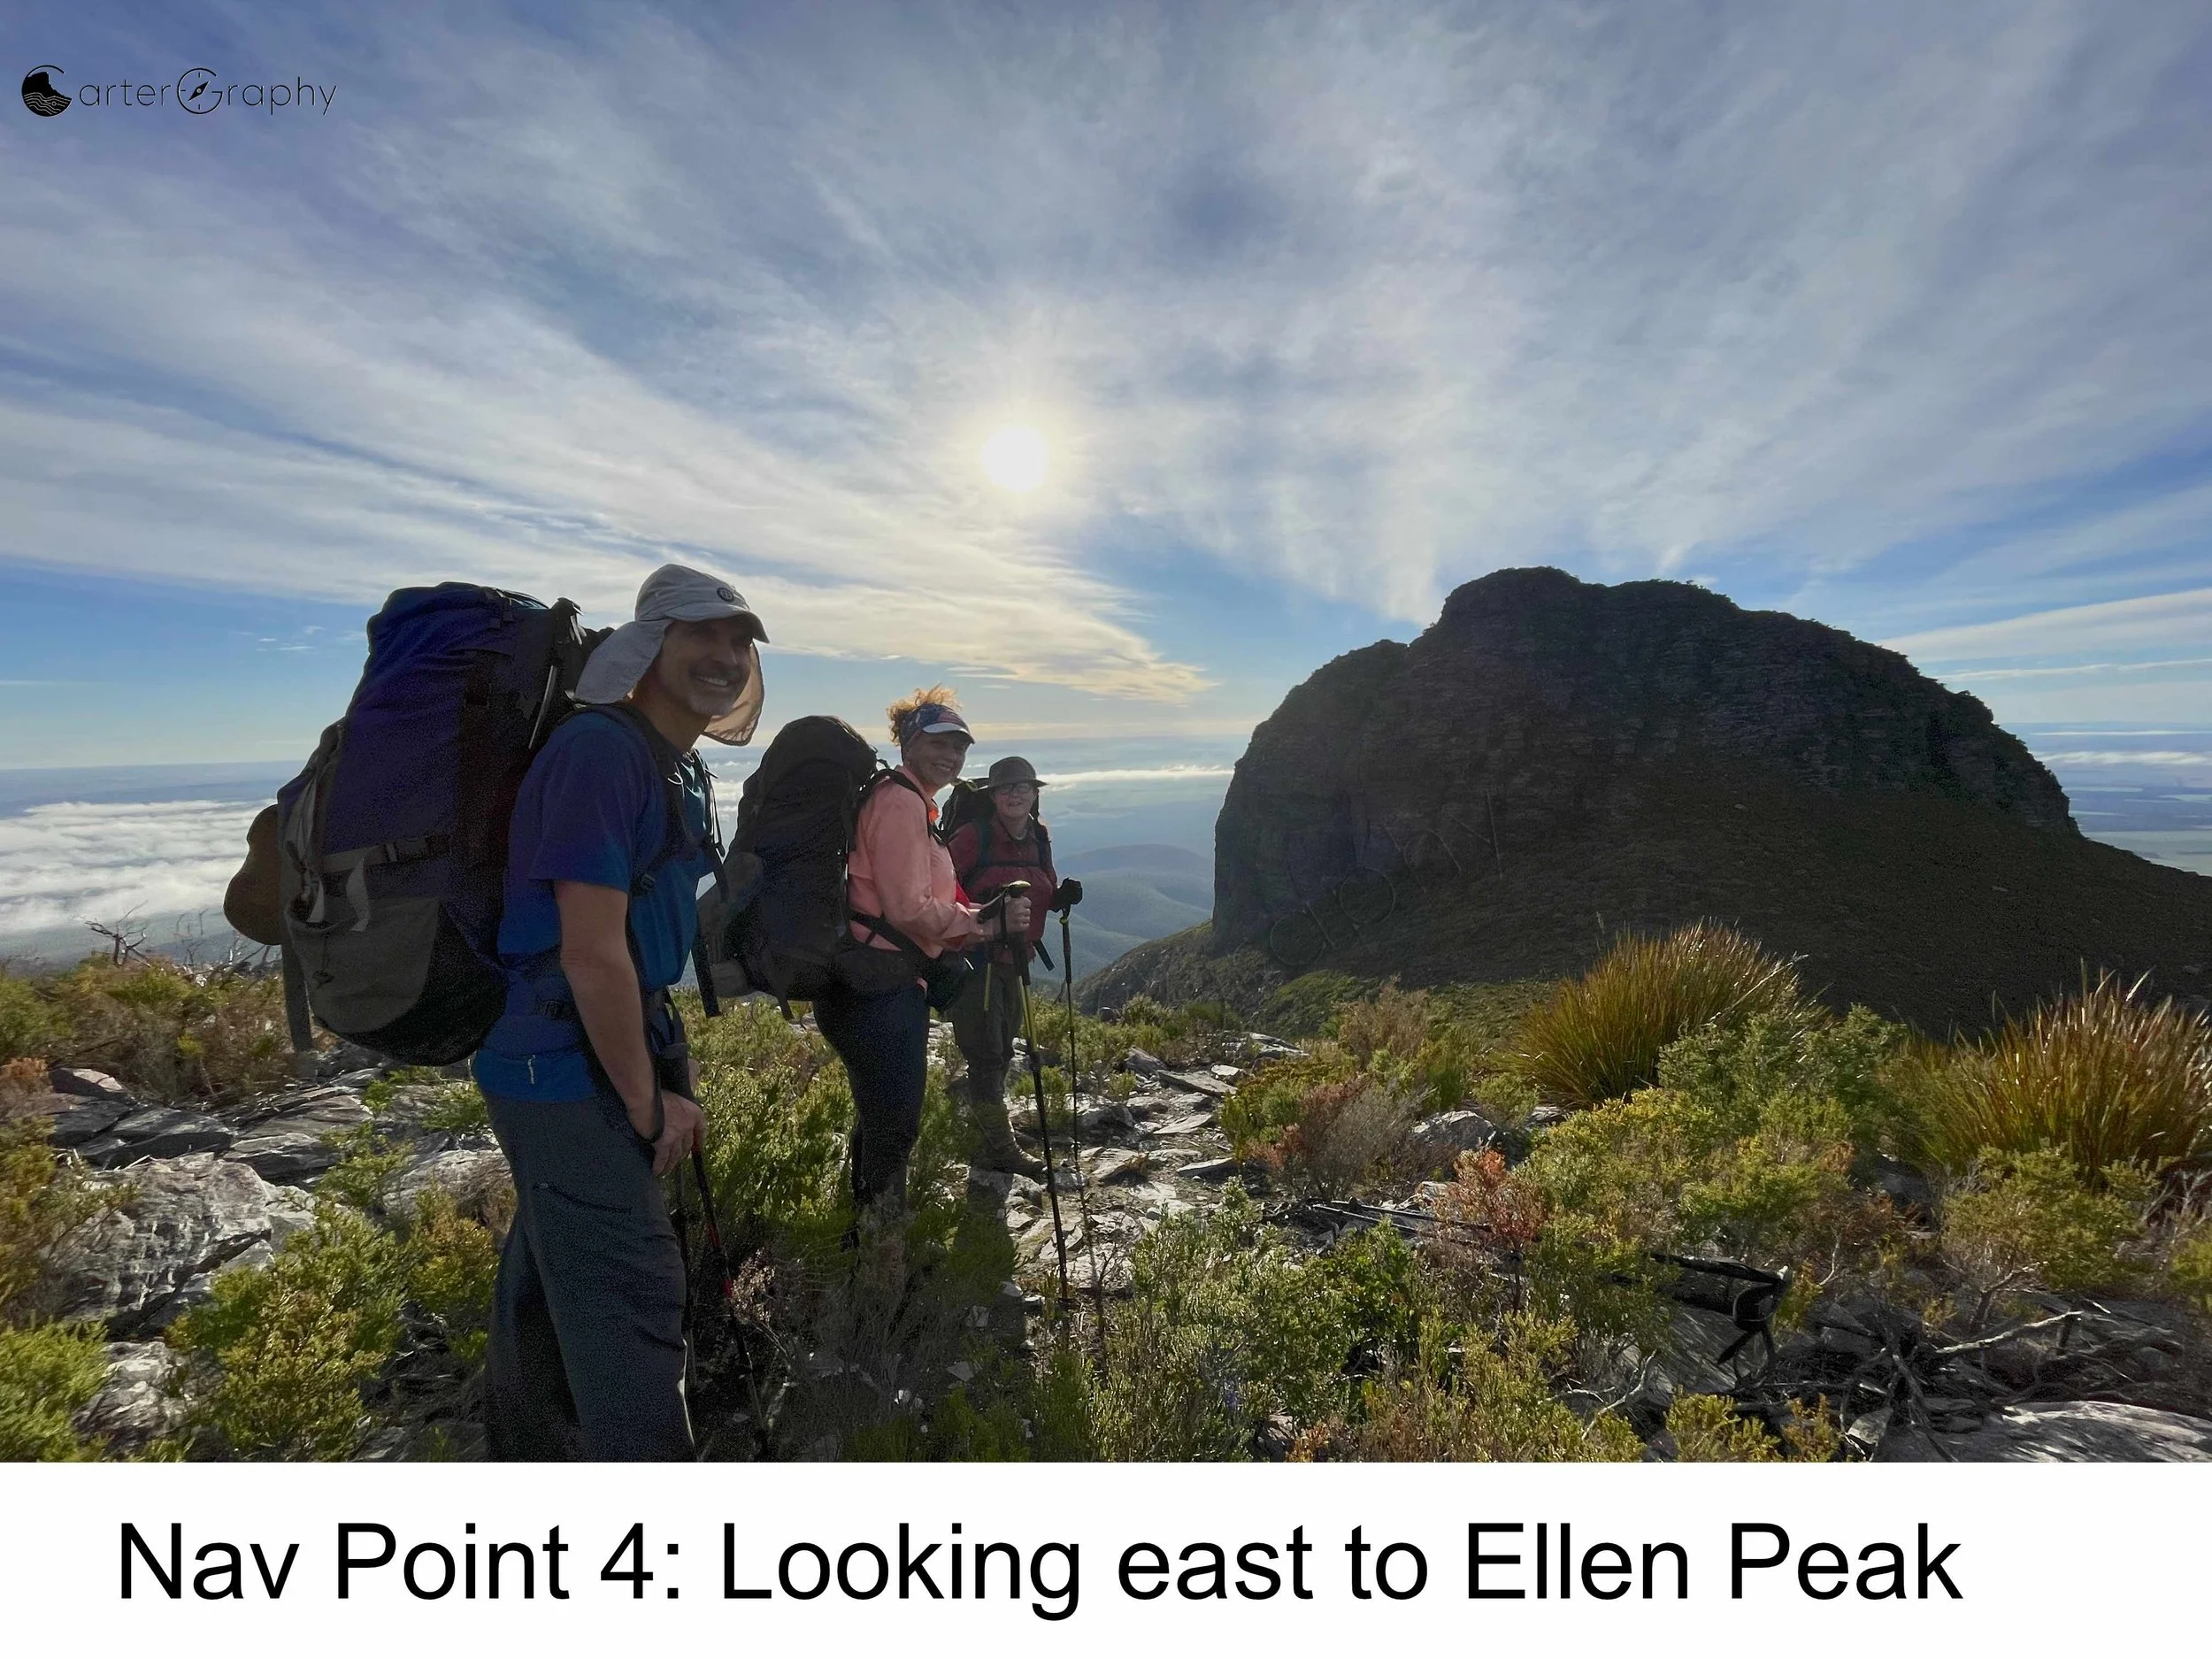
This photograph is taken at Navigation Point 4 looking east towards Ellen Peak.
Looking back from this point provides an excellent perspective of the route you have just travelled. It also gives you an appreciation of the rugged terrain and significant elevation changes that characterise the Stirling Ridge Walk.
From Navigation Point 4, the summit of Pyungoorup Peak is an optional side trip.
After visiting the summit, return to Navigation Point 4 before continuing south towards Pyungoorup Cave or east towards Ellen Peak.
A useful navigation habit is to regularly stop and look back along the route you have travelled. The landscape often looks very different in the opposite direction, and recognising landmarks from both directions can make navigation much easier if you ever need to retrace your steps or visibility deteriorates.
Looking east to Navigation Point 3
Compare this photograph with your map. Notice how the contour lines show the track climbing to a small hill before descending slightly to Navigation Point 4. As shown on the map, Navigation Point 4 is not located on the crest of the hill, but a short distance further west.
As you climb from the saddle, it is easy to assume that the hill ahead is Pyungoorup Peak. This is a classic false summit. It is only after reaching the crest that the true Pyungoorup Peak comes into view, revealing that it is both higher and further west than first appears.
At Navigation Point 4, the summit of Pyungoorup Peak is an optional side trip. After visiting the summit, return to Navigation Point 4.
From Navigation Point 4, the map shows two options:
Head east to Navigation Point 3 and Ellen Peak.
Head south to Pyungoorup Cave and the remainder of the Stirling Ridge Walk.
This is a good example of how photographs and contour lines complement each other. The photograph helps you recognise the terrain, while the contour lines explain why the ridge hides the true summit until you reach the crest.
Looking west to Pyungoorup Peak
This photograph is taken at Navigation Point 4 from the saddle. Compare it with your map and note how this junction corresponds with the routes shown on the map.
At Navigation Point 4 you have three route options.
The orange variation route (photo) leads to the optional summit of Pyungoorup Peak. This is an out and back side trip. After visiting the summit, you must return to Navigation Point 4 before continuing your journey.
The yellow main route (map) continues south towards Pyungoorup Cave and the remainder of the Stirling Ridge Walk.
The yellow main route (map) behind you heads east towards Navigation Point 3 and Ellen Peak.
Notice how the contour lines on the map show that Navigation Point 4 is located at this important junction. By comparing the photograph with the contour lines and track layout on the map, you can confidently confirm your location before deciding which route to follow.
This photograph demonstrates how the map, contour lines and surrounding terrain work together to help you identify your position and choose the correct route.
Looking SSE from Navigation Point 4
This photograph is taken at Navigation Point 4 looking south southeast towards Pyungoorup Cave. Compare this photograph with your map and note how the yellow main route leaves Navigation Point 4 and descends towards Pyungoorup Cave.
Compare this photograph with the contour lines on your map. Notice how the contour lines show the main route descending south towards Pyungoorup Cave. Using the photograph together with the map and contour lines allows you to confidently confirm your location and select the correct route.
The yellow ground marker identifies Navigation Point 4 and provides an additional point of reference, particularly in poor visibility when surrounding landmarks may be obscured. As with all ground markers, it is not permanently secured and may shift slightly over time. Always use it in conjunction with your map, contour lines and the surrounding terrain, rather than relying on its exact position alone.
Looking west to Navigation Point 4
This photograph is taken from the summit of Ellen Peak looking west. Compare this photograph with your map and notice how the previous three navigation point photographs fit together.
From this elevated viewpoint you can clearly see the yellow main route on the map climbing from the Ellen Peak Saddle campsite to Navigation Point 4. You can also see the yellow main route on the map descending south from Navigation Point 4 towards Pyungoorup Cave.
Compare this photograph with the contour lines on your map. From this perspective it is much easier to appreciate how the terrain and ridgelines relate to the routes shown on the map.
This photograph provides an overview of the entire section, helping to place the previous three navigation point photographs into context and reinforcing how the map, contour lines and terrain work together to assist navigation.
Navigation Point 4 — Departing South towards Pyungoorup Cave
This video begins at Navigation Point 4, identified by the yellow ground marker in relatively poor visibility. The map is used to confirm the route ahead before the trekkers leave the Navigation Point and continue south towards Pyungoorup Cave.
The footage demonstrates the importance of establishing the correct direction of travel before leaving a known position, particularly when poor visibility limits the surrounding terrain features that would normally assist with navigation.
Video: Navigation Point 4 Yellow Ground Marker