Why orientate the map?
Your map is your primary navigation tool. A compass simply helps you align the map with the real world.
A map is correctly orientated when the directions shown on the map correspond with the same directions in the surrounding landscape. Once the map is aligned, the mountains, ridges, valleys and tracks all appear where you expect to see them.
Instead of mentally rotating the map every time you look at it, you simply compare the terrain in front of you with what is printed on the map.
Why it matters
When your map is correctly orientated:
• Terrain features become much easier to recognise.
• Contours begin to look like the mountains around you.
• Peaks appear where the map says they should.
• Navigation becomes faster and far less confusing.
Even experienced navigators regularly orientate their map throughout the day. It only takes a few seconds and helps maintain constant awareness of your surroundings.
Section 4.Orientating the map
Orientating the Map by Eye
Whenever you can clearly recognise several surrounding features, you can often orientate your map without using a compass.
Simply rotate the map until the mountains, ridges and tracks shown on the map match the landscape around you.
For example, while starting walking the North East track towards Ellen Peak, you might use the junction at Old Kojaneerup Track and North East track. By rotating the map until those features occupy the same relative positions as they do in the landscape, your map becomes correctly orientated.
Later on the Stirling Ridge Walk, you might use prominent features such as Baker's Knob, Third Arrow, Isongerup Peak or Bluff Knoll, to achieve the same result.
This is often the quickest and most intuitive way to orientate a map. Many experienced navigators continually rotate their map as they walk so it always matches the surrounding terrain, only reaching for the compass when visibility is poor or there are too few recognisable features to orientate the map confidently.
For taking bearings from a map it is not required to be orientated or set.
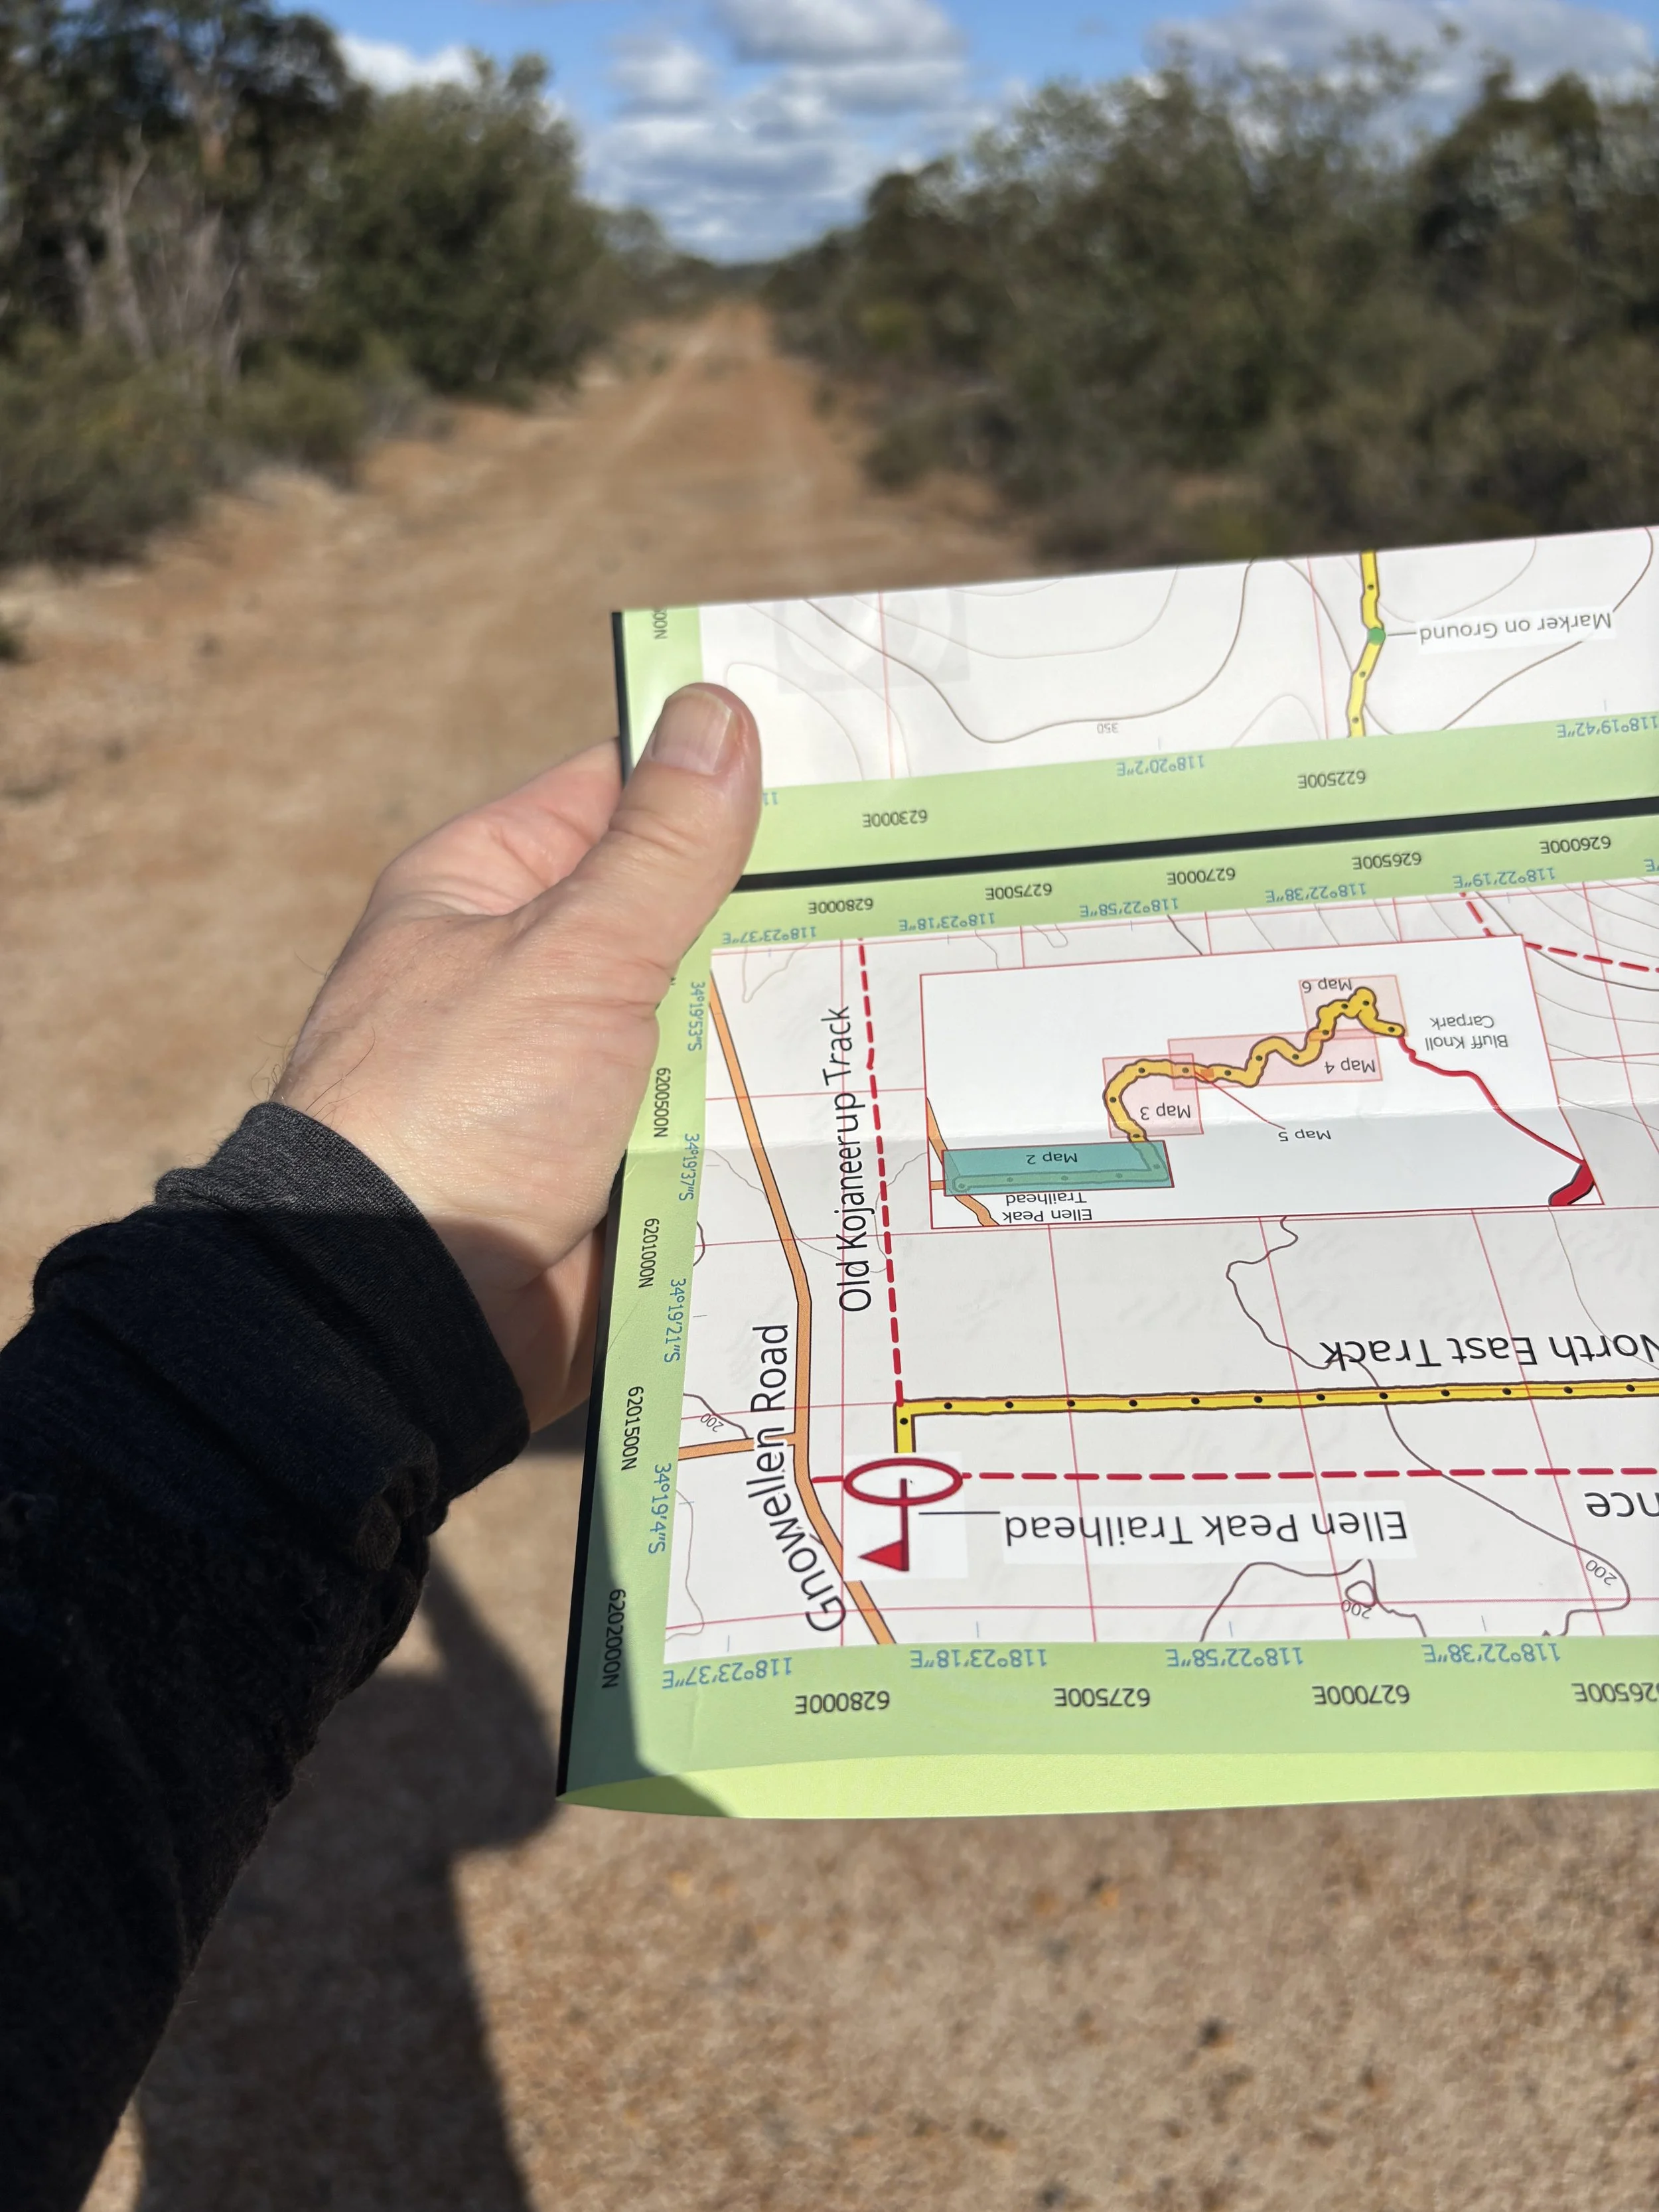
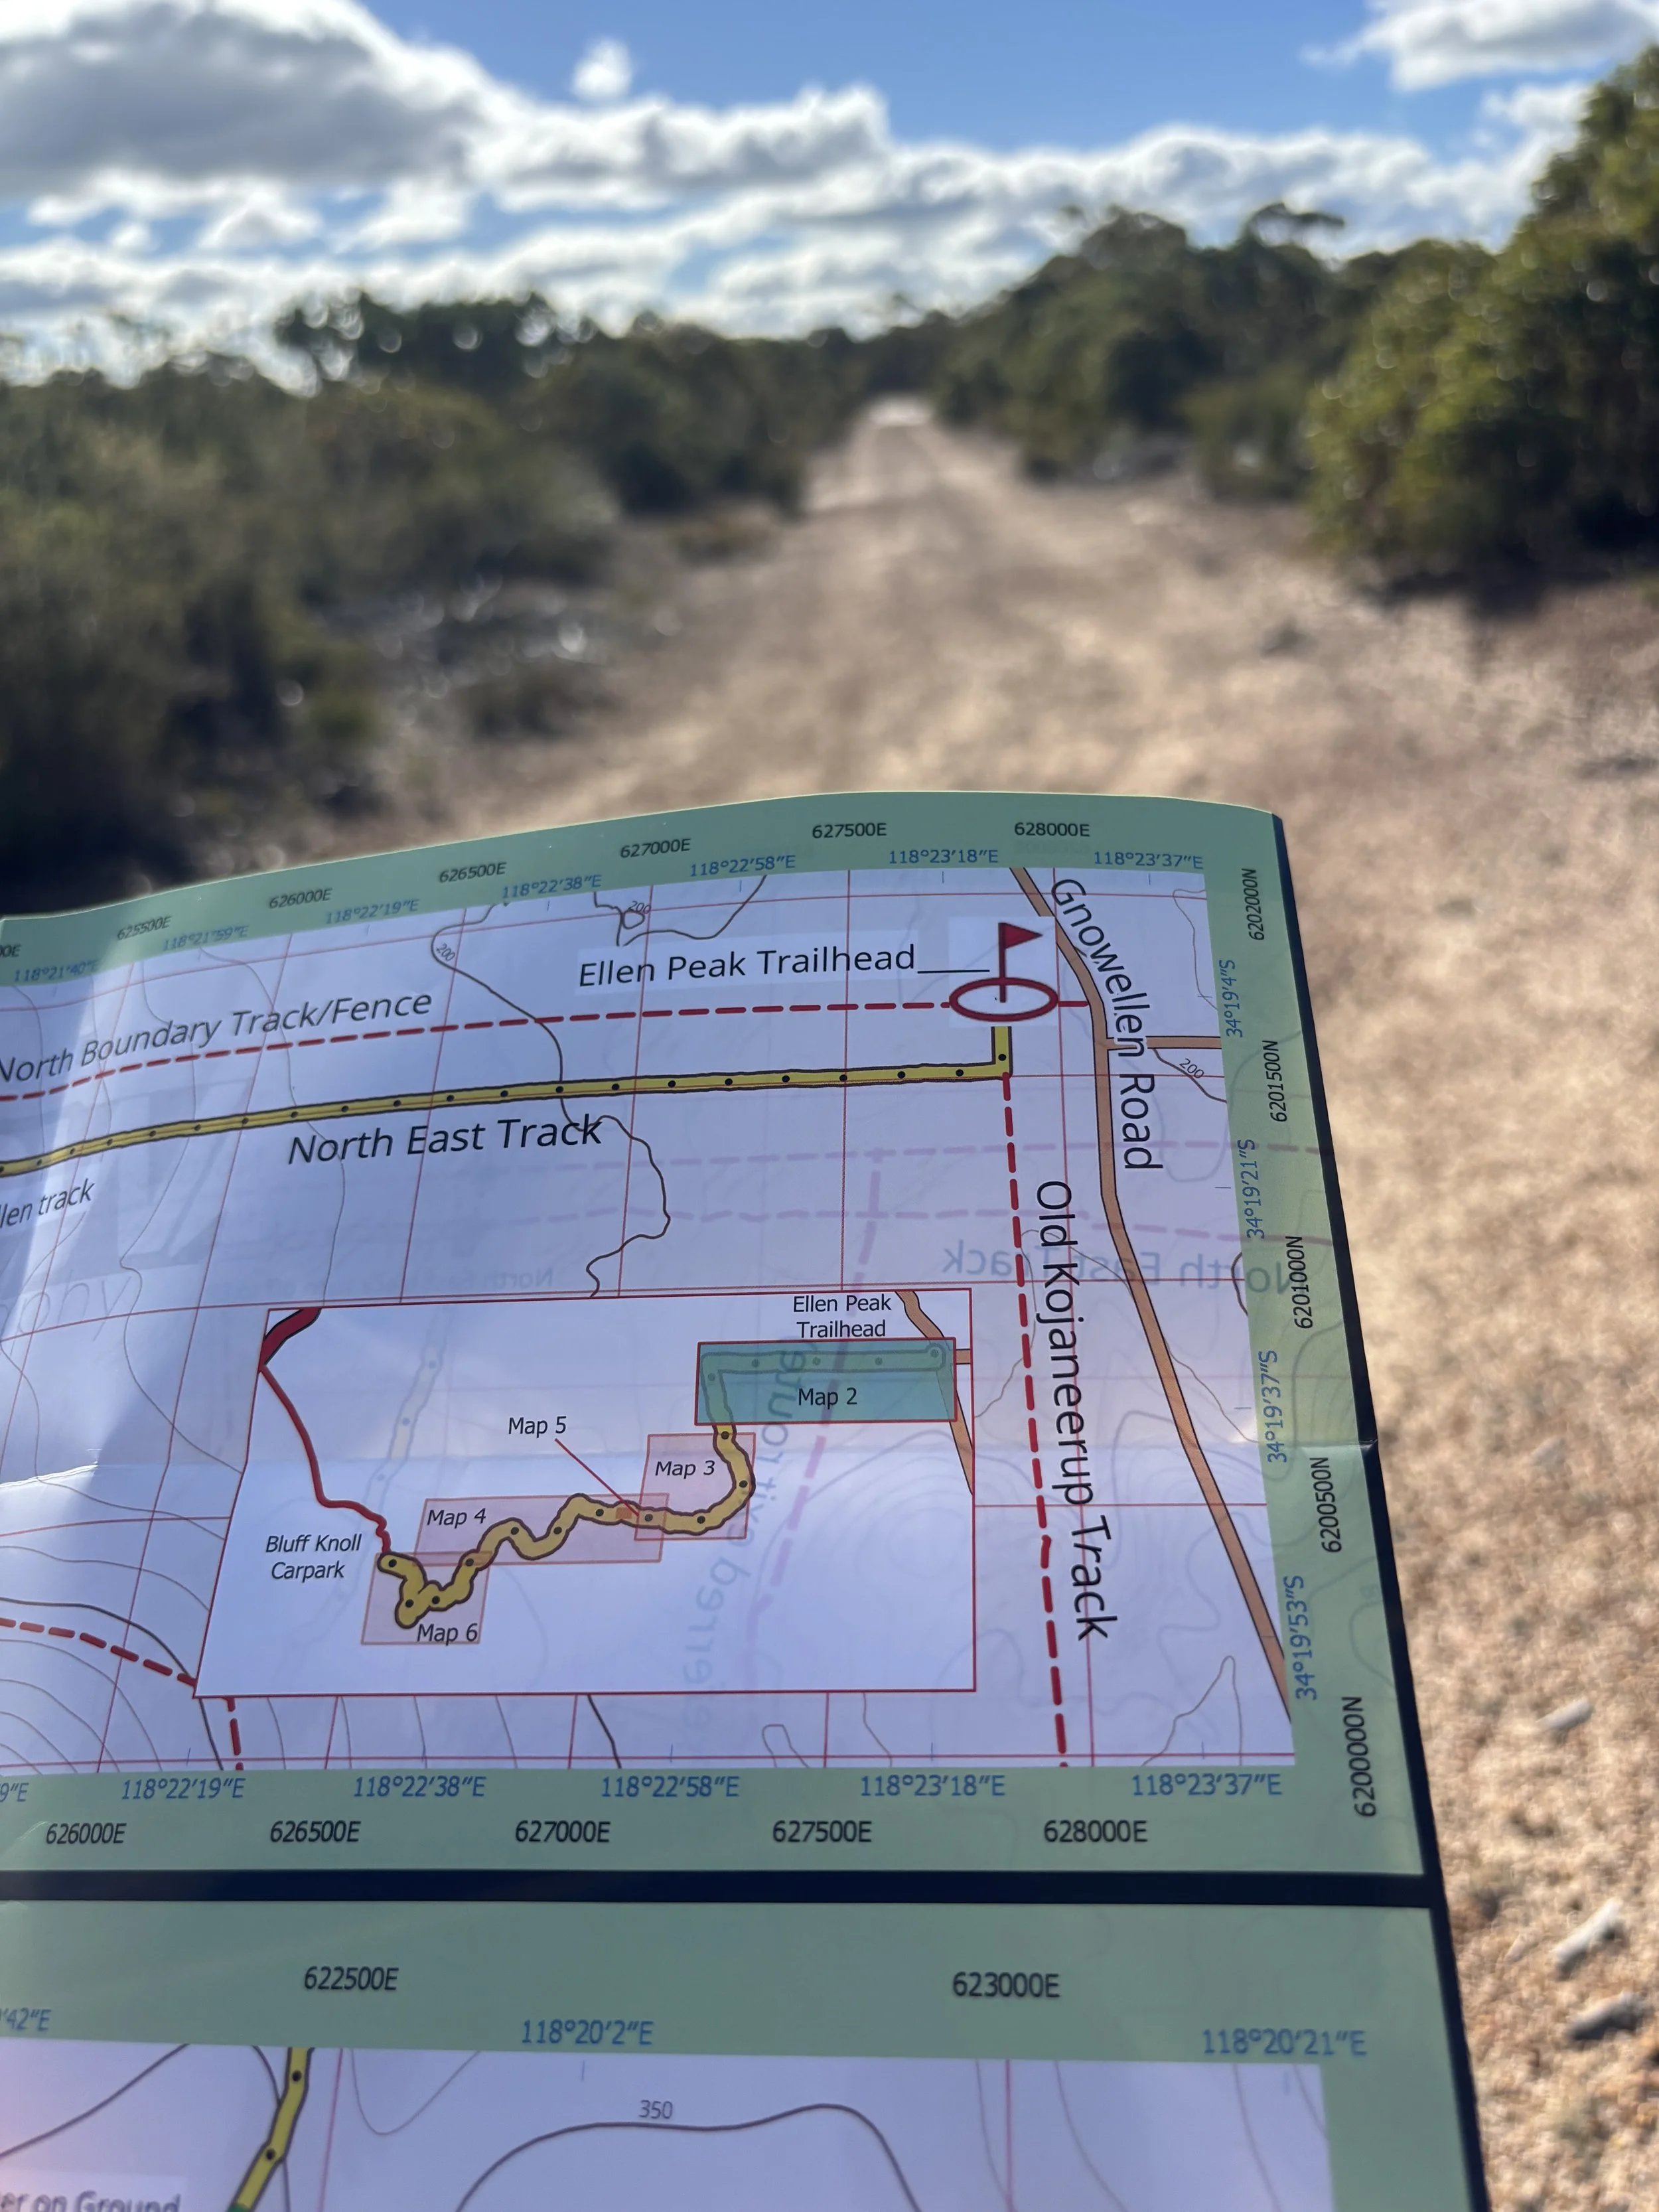
Orientate Your Map Using a Compass
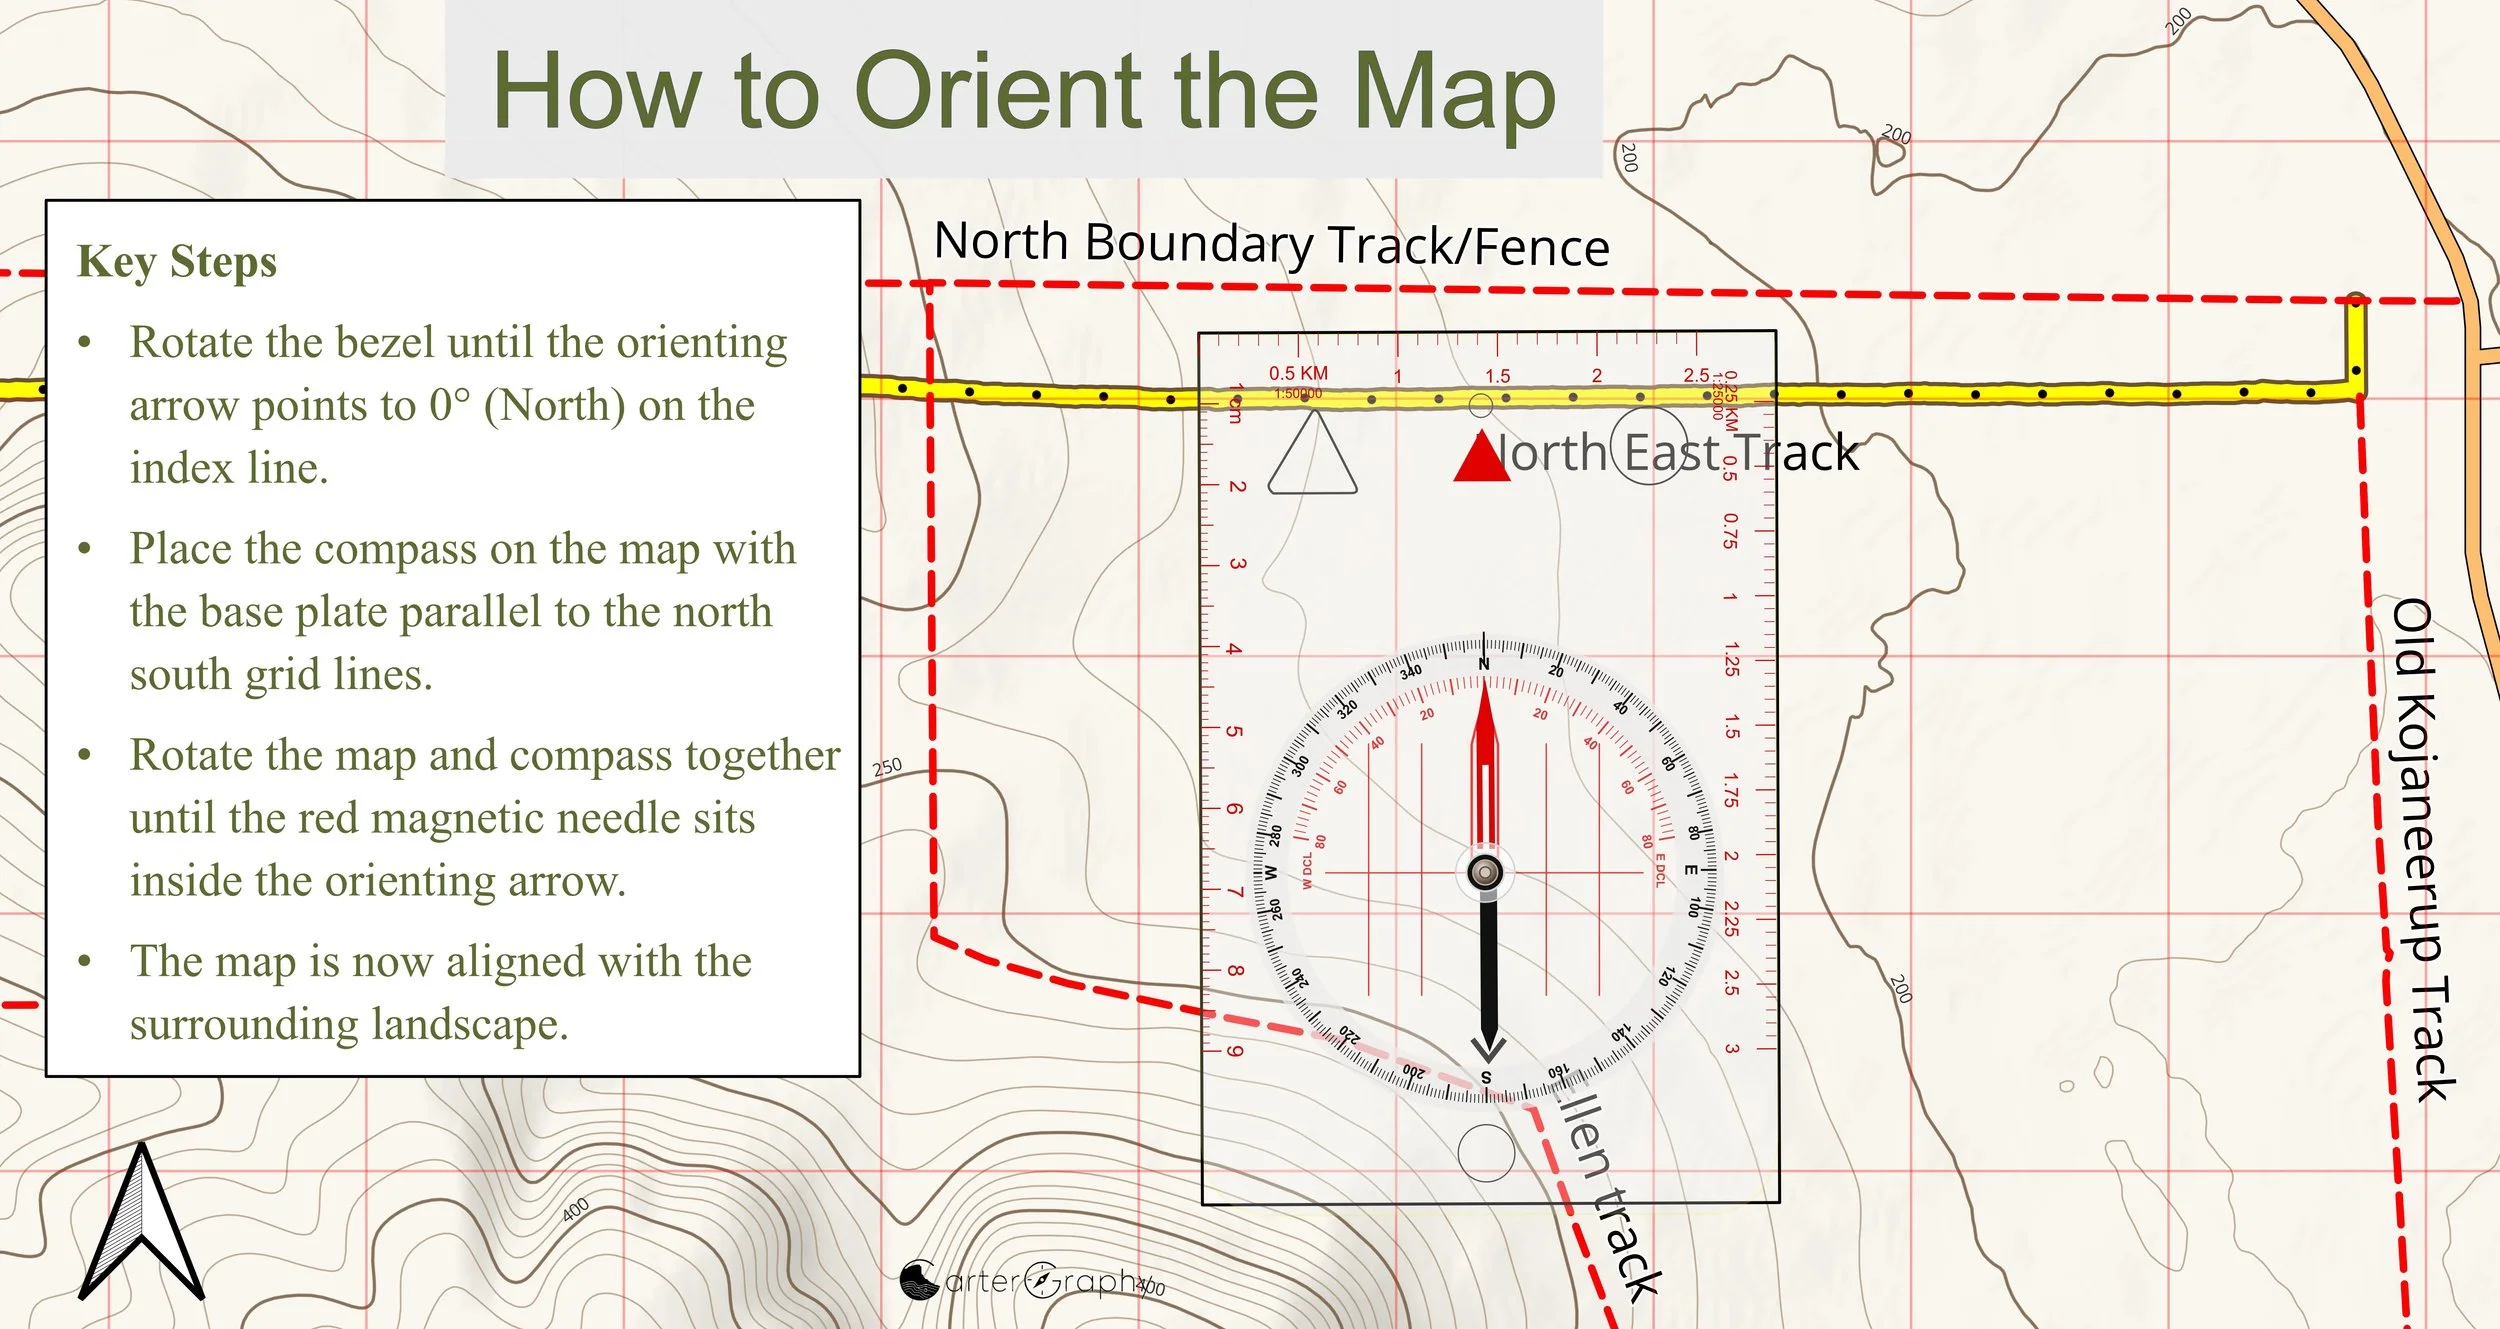
Lay your map on a reasonably flat surface.
Rotate the compass housing until the bearing index reads North (0°/360°).
This automatically aligns the orienting lines with the Direction of Travel arrow, allowing them to match the map's North–South grid lines (Eastings) when the compass is placed on the map.
If your compass has an adjustable declination, set it to the local magnetic declination.
For the Stirling Ridge Walk, magnetic declination is approximately 1.4° West. This is a very small angle and, for simply orientating your map, most walkers will notice little practical difference whether the declination is adjusted or not. However, for the greatest accuracy and to develop good navigation habits, it is recommended that you apply the correct declination whenever possible.
Place the compass on the map so the Direction of Travel arrow points towards the top of the map (Grid North), with either long edge of the baseplate parallel to a North–South grid line.
Rotate the entire map and compass together until the red magnetic needle sits inside the orienting arrow ("Red in the Shed").
Your map is now correctly orientated. Compare the surrounding landscape with the map. The ridges, peaks, valleys and tracks should all appear in the same relative positions as they do on the map.
Note: If your compass has been correctly adjusted for the local magnetic declination, there is no need to manually add or subtract the declination when taking bearings from the map which you intend to use to determine direction of travel. The compass automatically compensates for the difference between Grid North and Magnetic North, simplifying the navigation process and reducing the chance of calculation errors.
See Section 2: Rotating Housing (Bezel) for detailed information on using a compass that allows declination adjustment.
Check the landscape
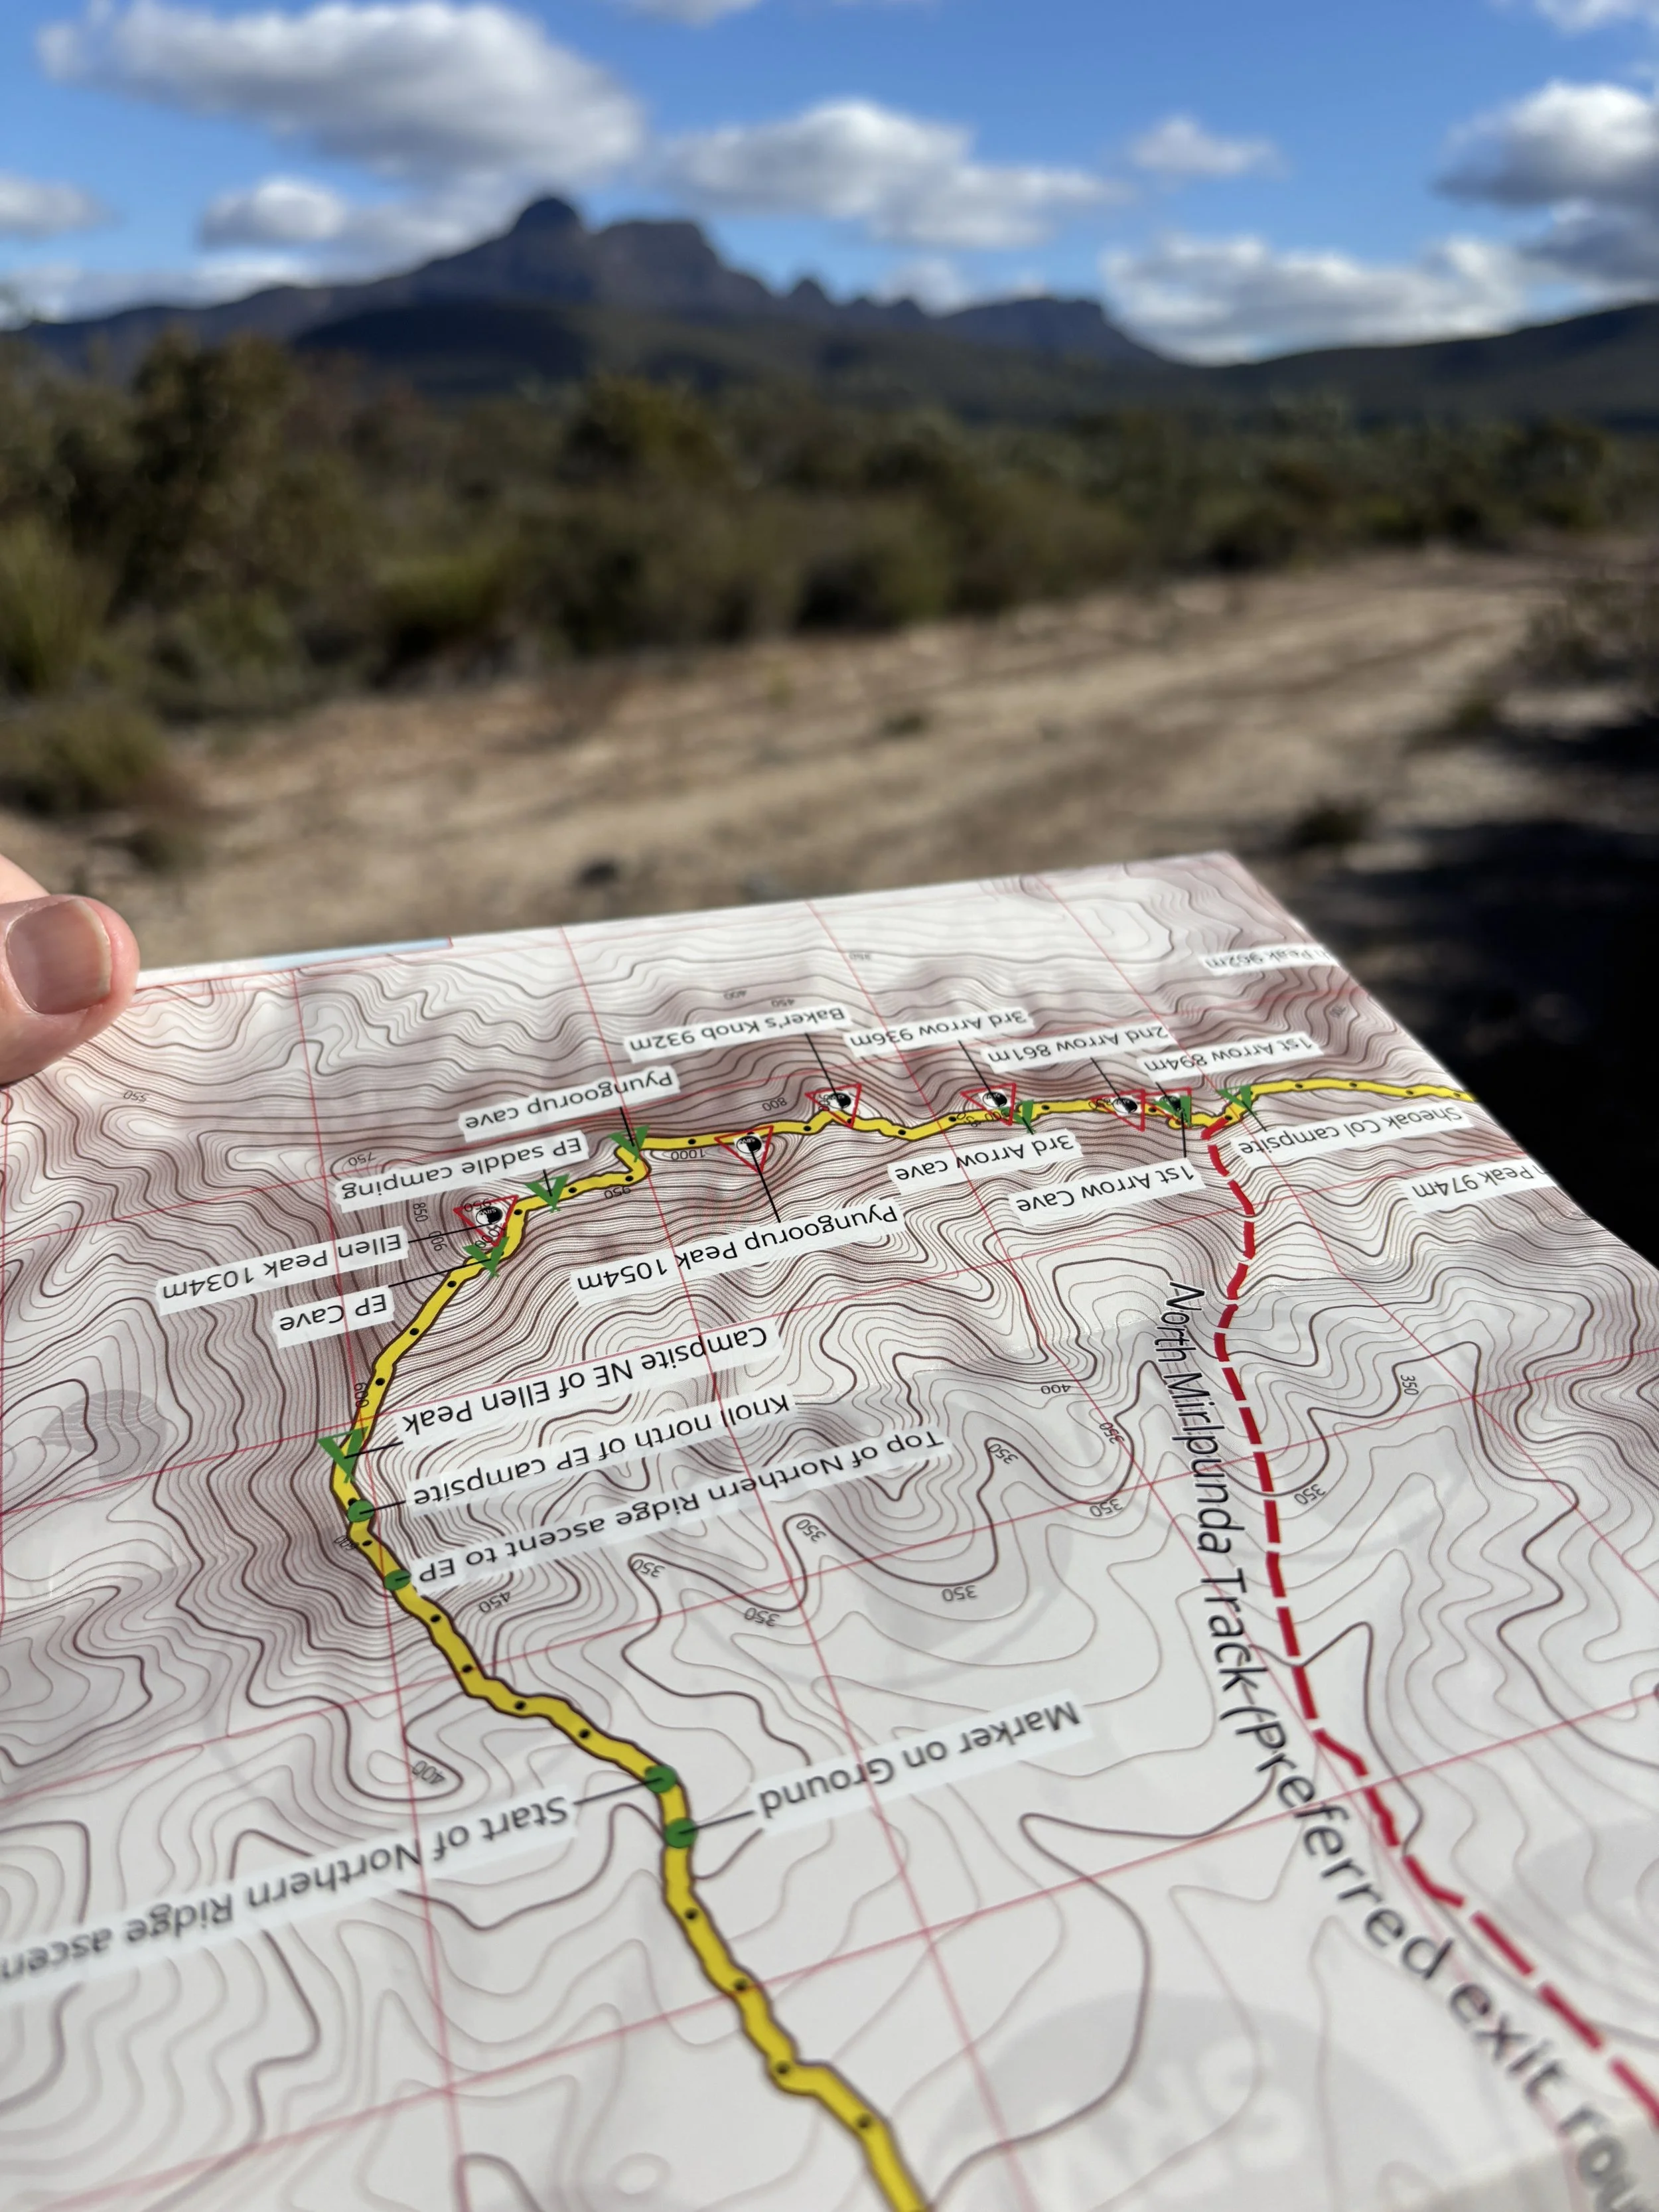
Once the map has been orientated, compare it with the surrounding terrain.
A fence shown on your left should also appear on your left.
A junction shown ahead of you should lie ahead.
A prominent peak such as Moir Hill should occupy the same relative position on both the map and in the landscape.
If something doesn't appear to match, stop and work out why before continuing.
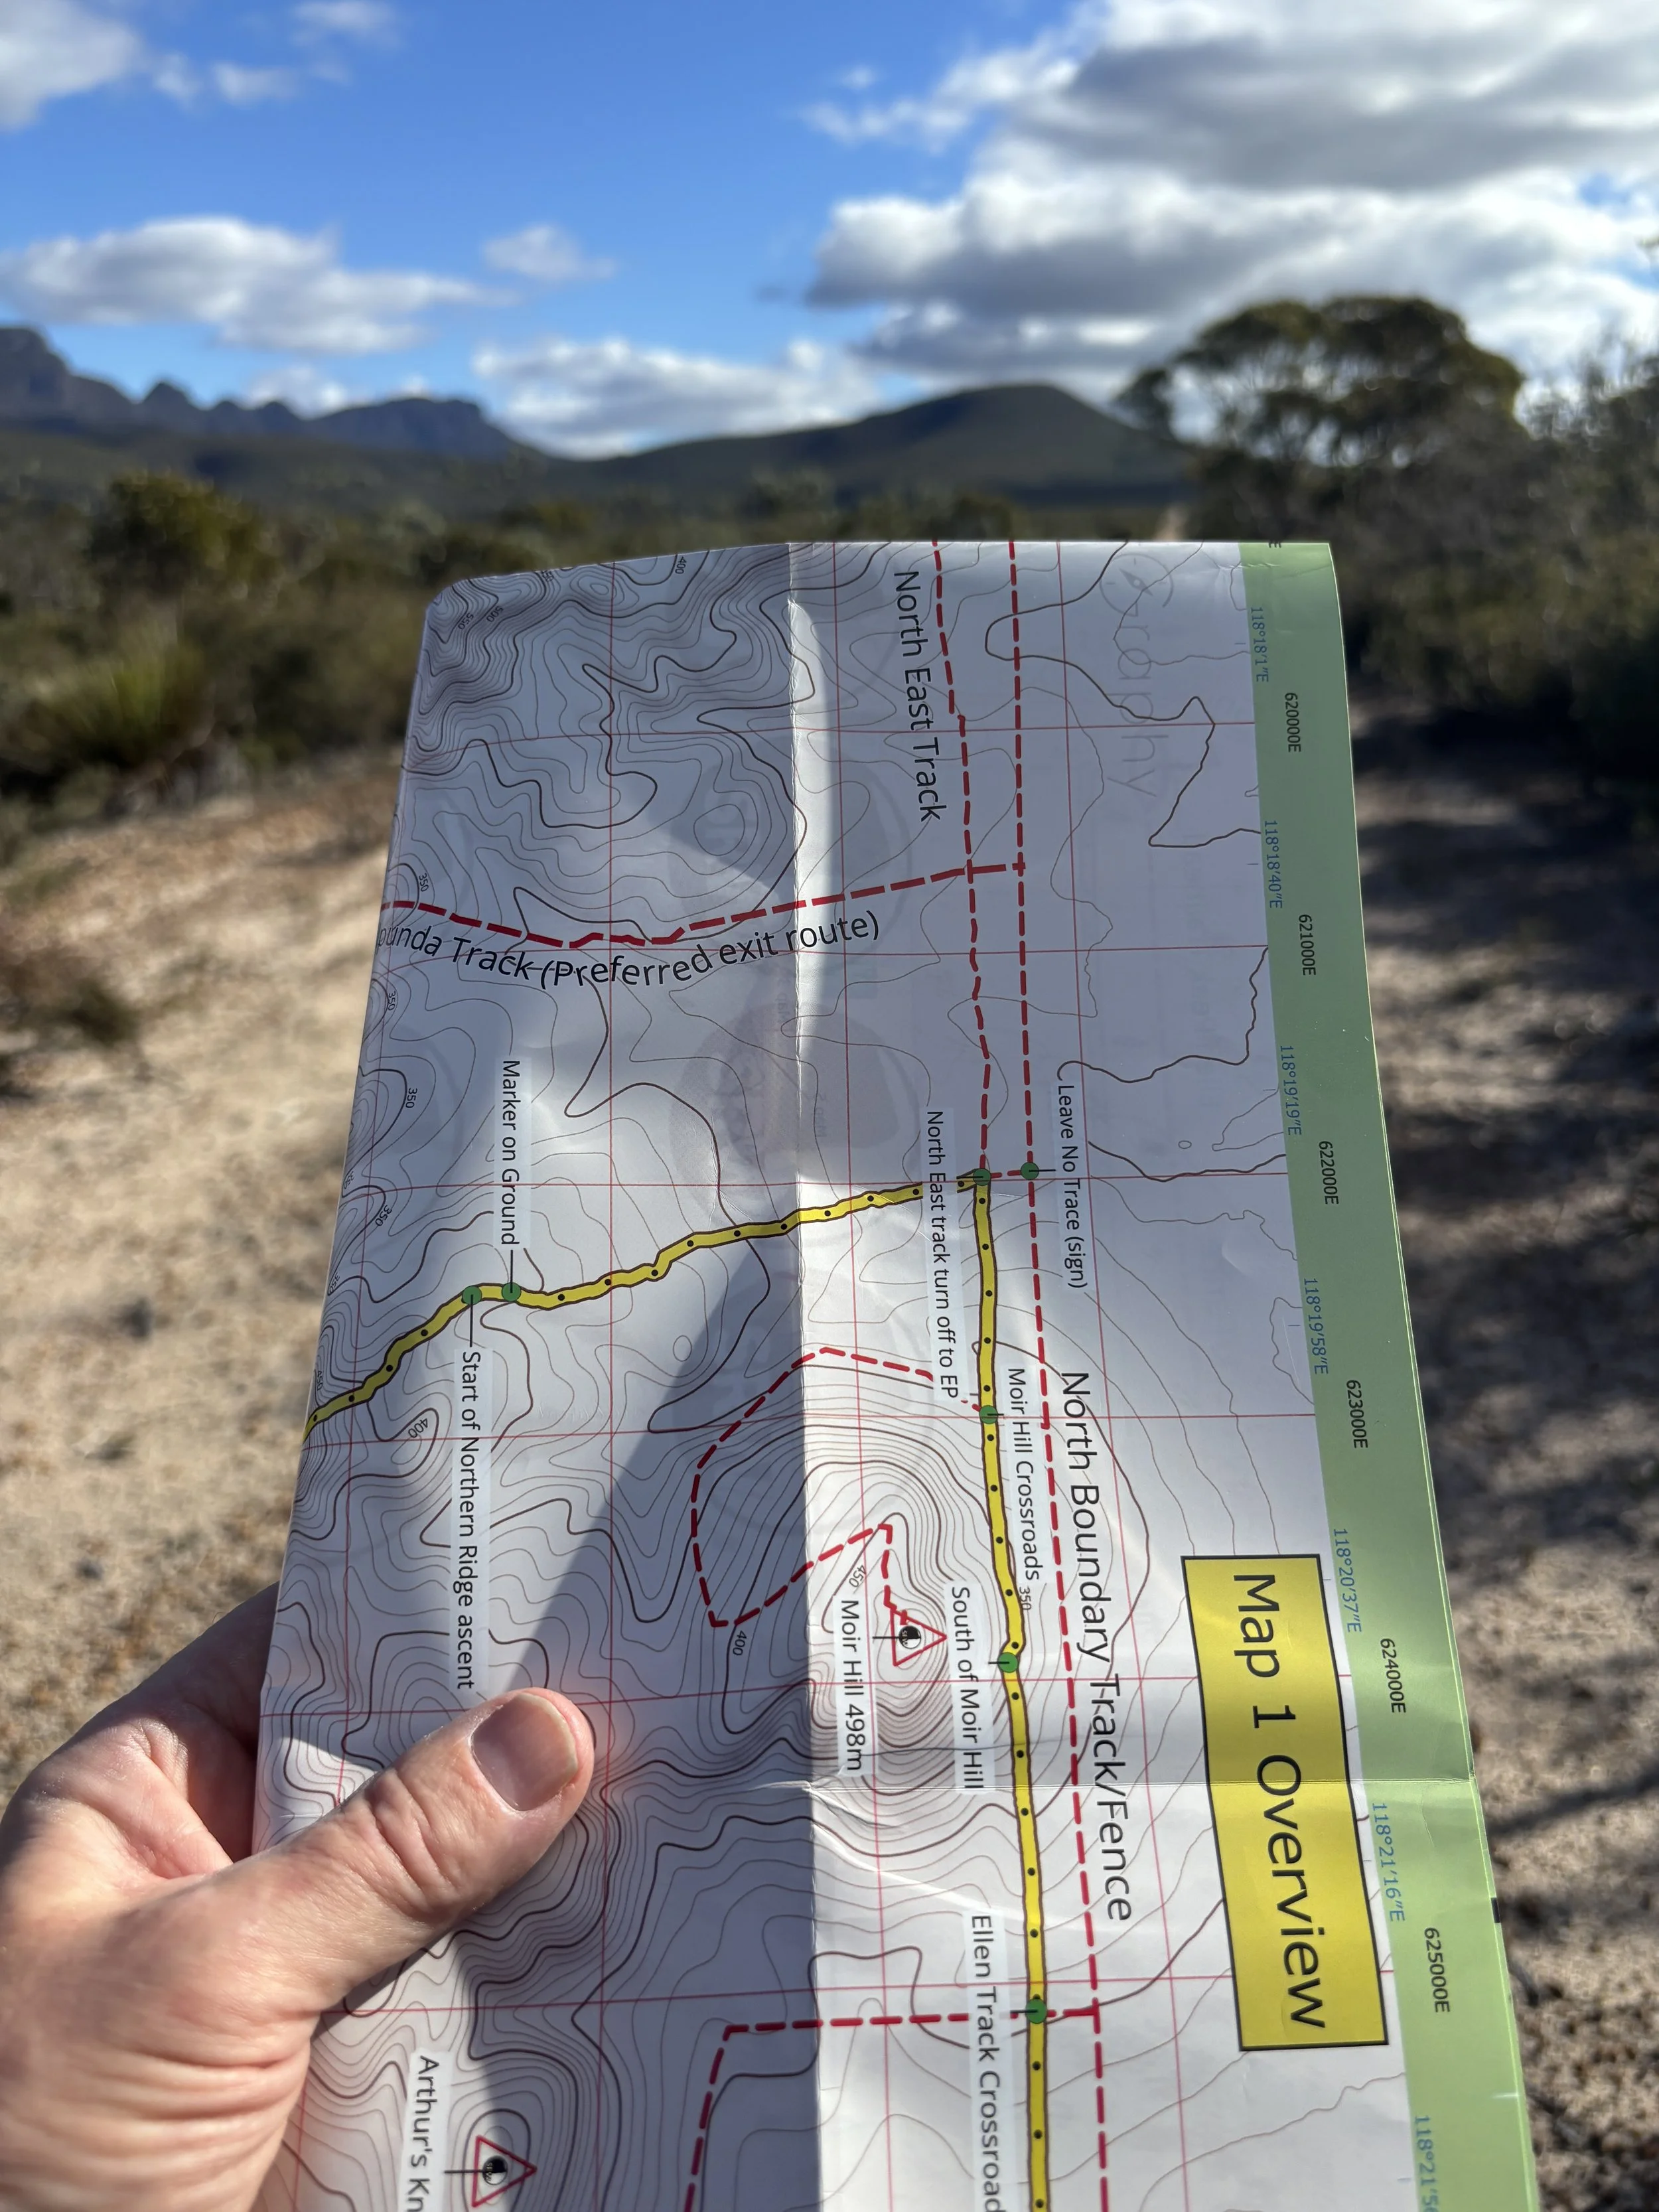
A practical tip:
Don't think of orientating your map as something you only do at the start of the walk.
Whenever you stop for a navigation check, take a few seconds to reorientate your map. It keeps the terrain and the map working together, making every navigation decision easier.