Stirling Ridge Walk Navigation Map
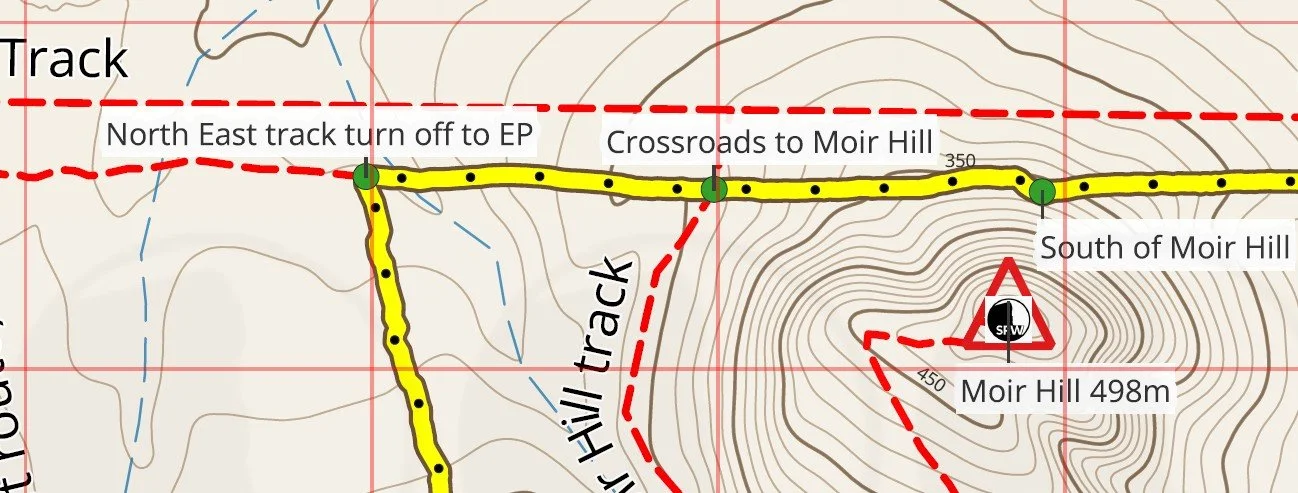
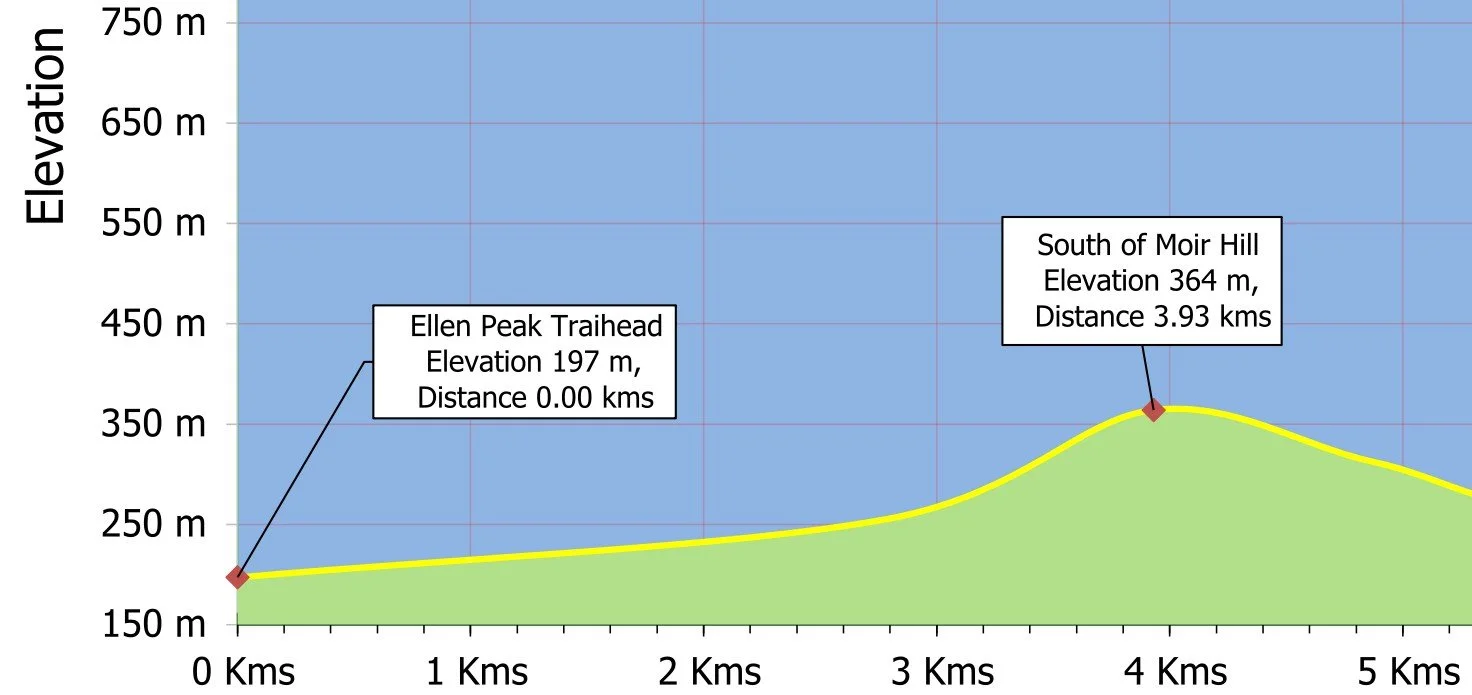
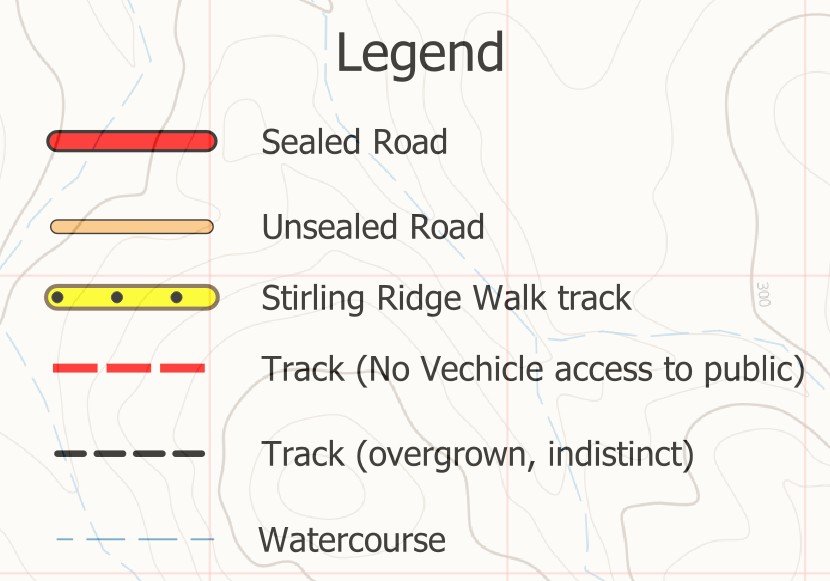
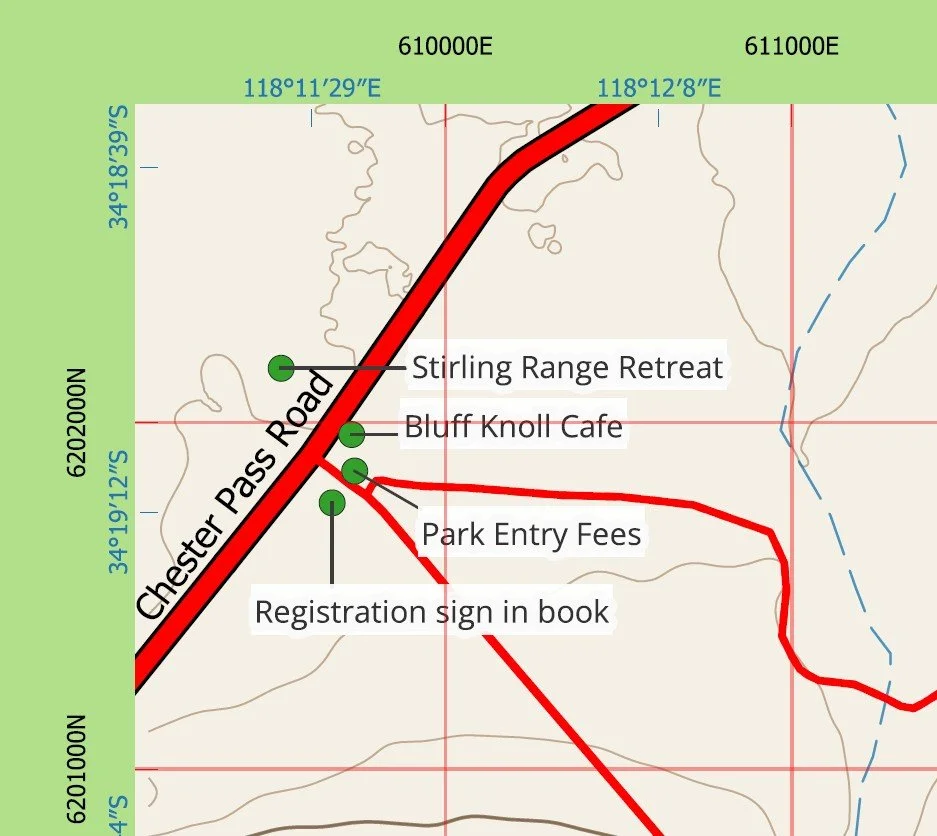
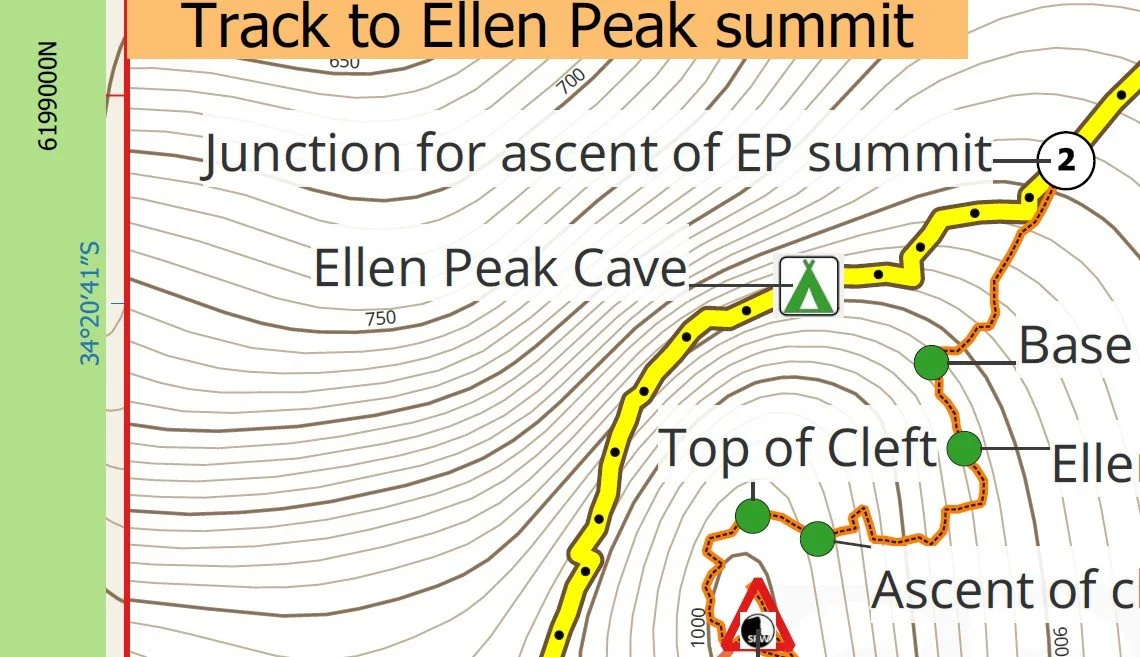
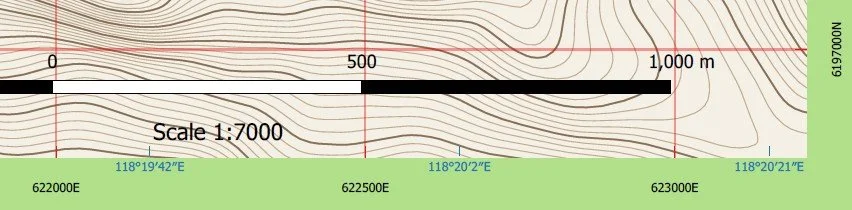
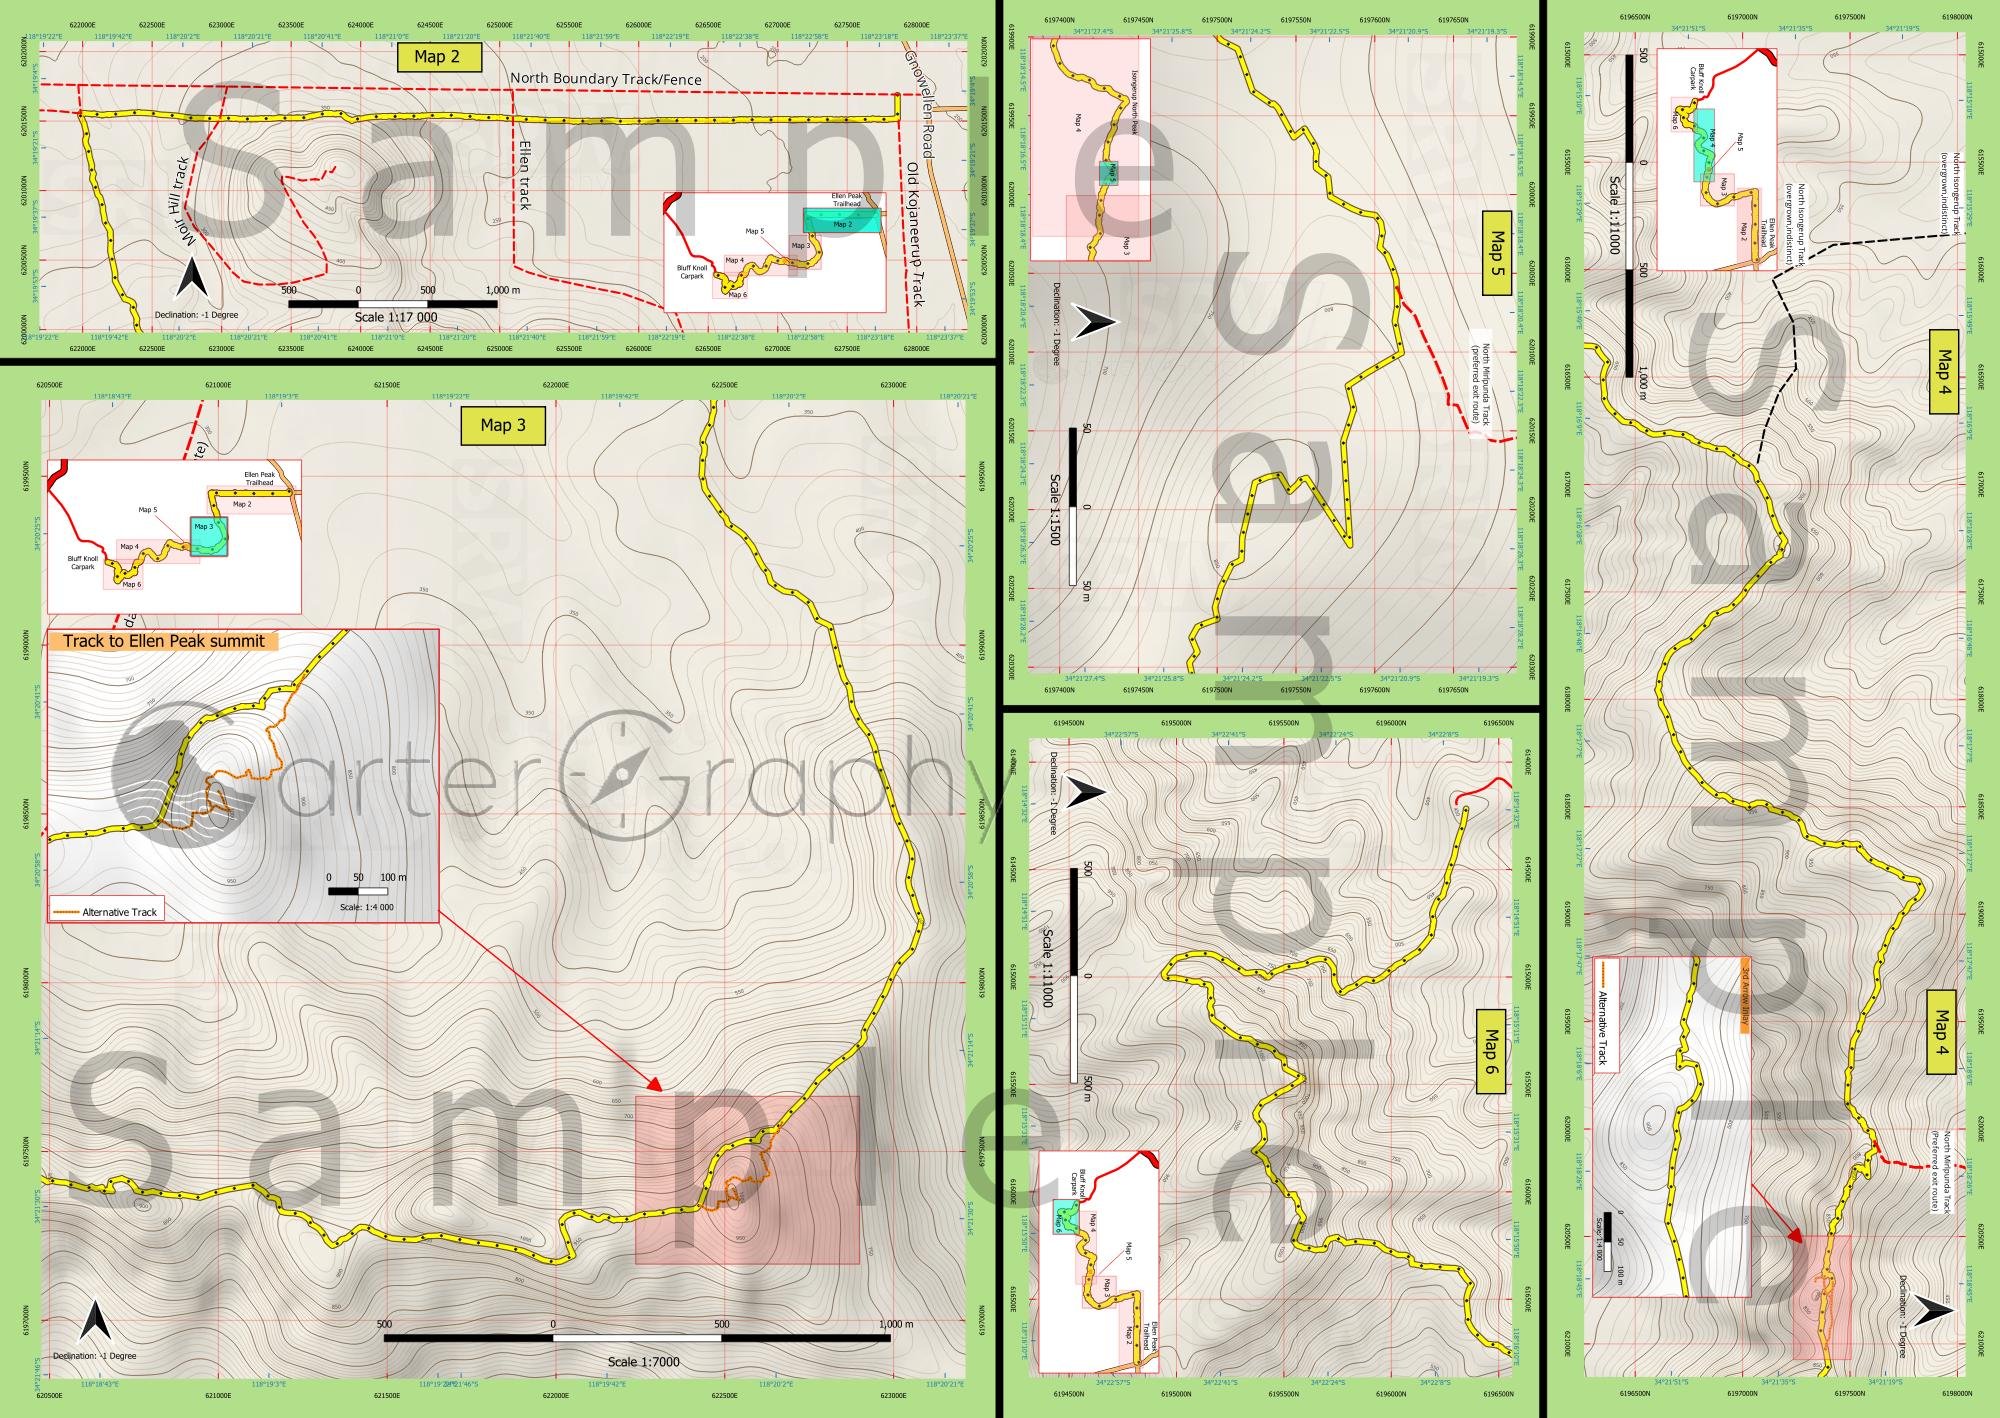
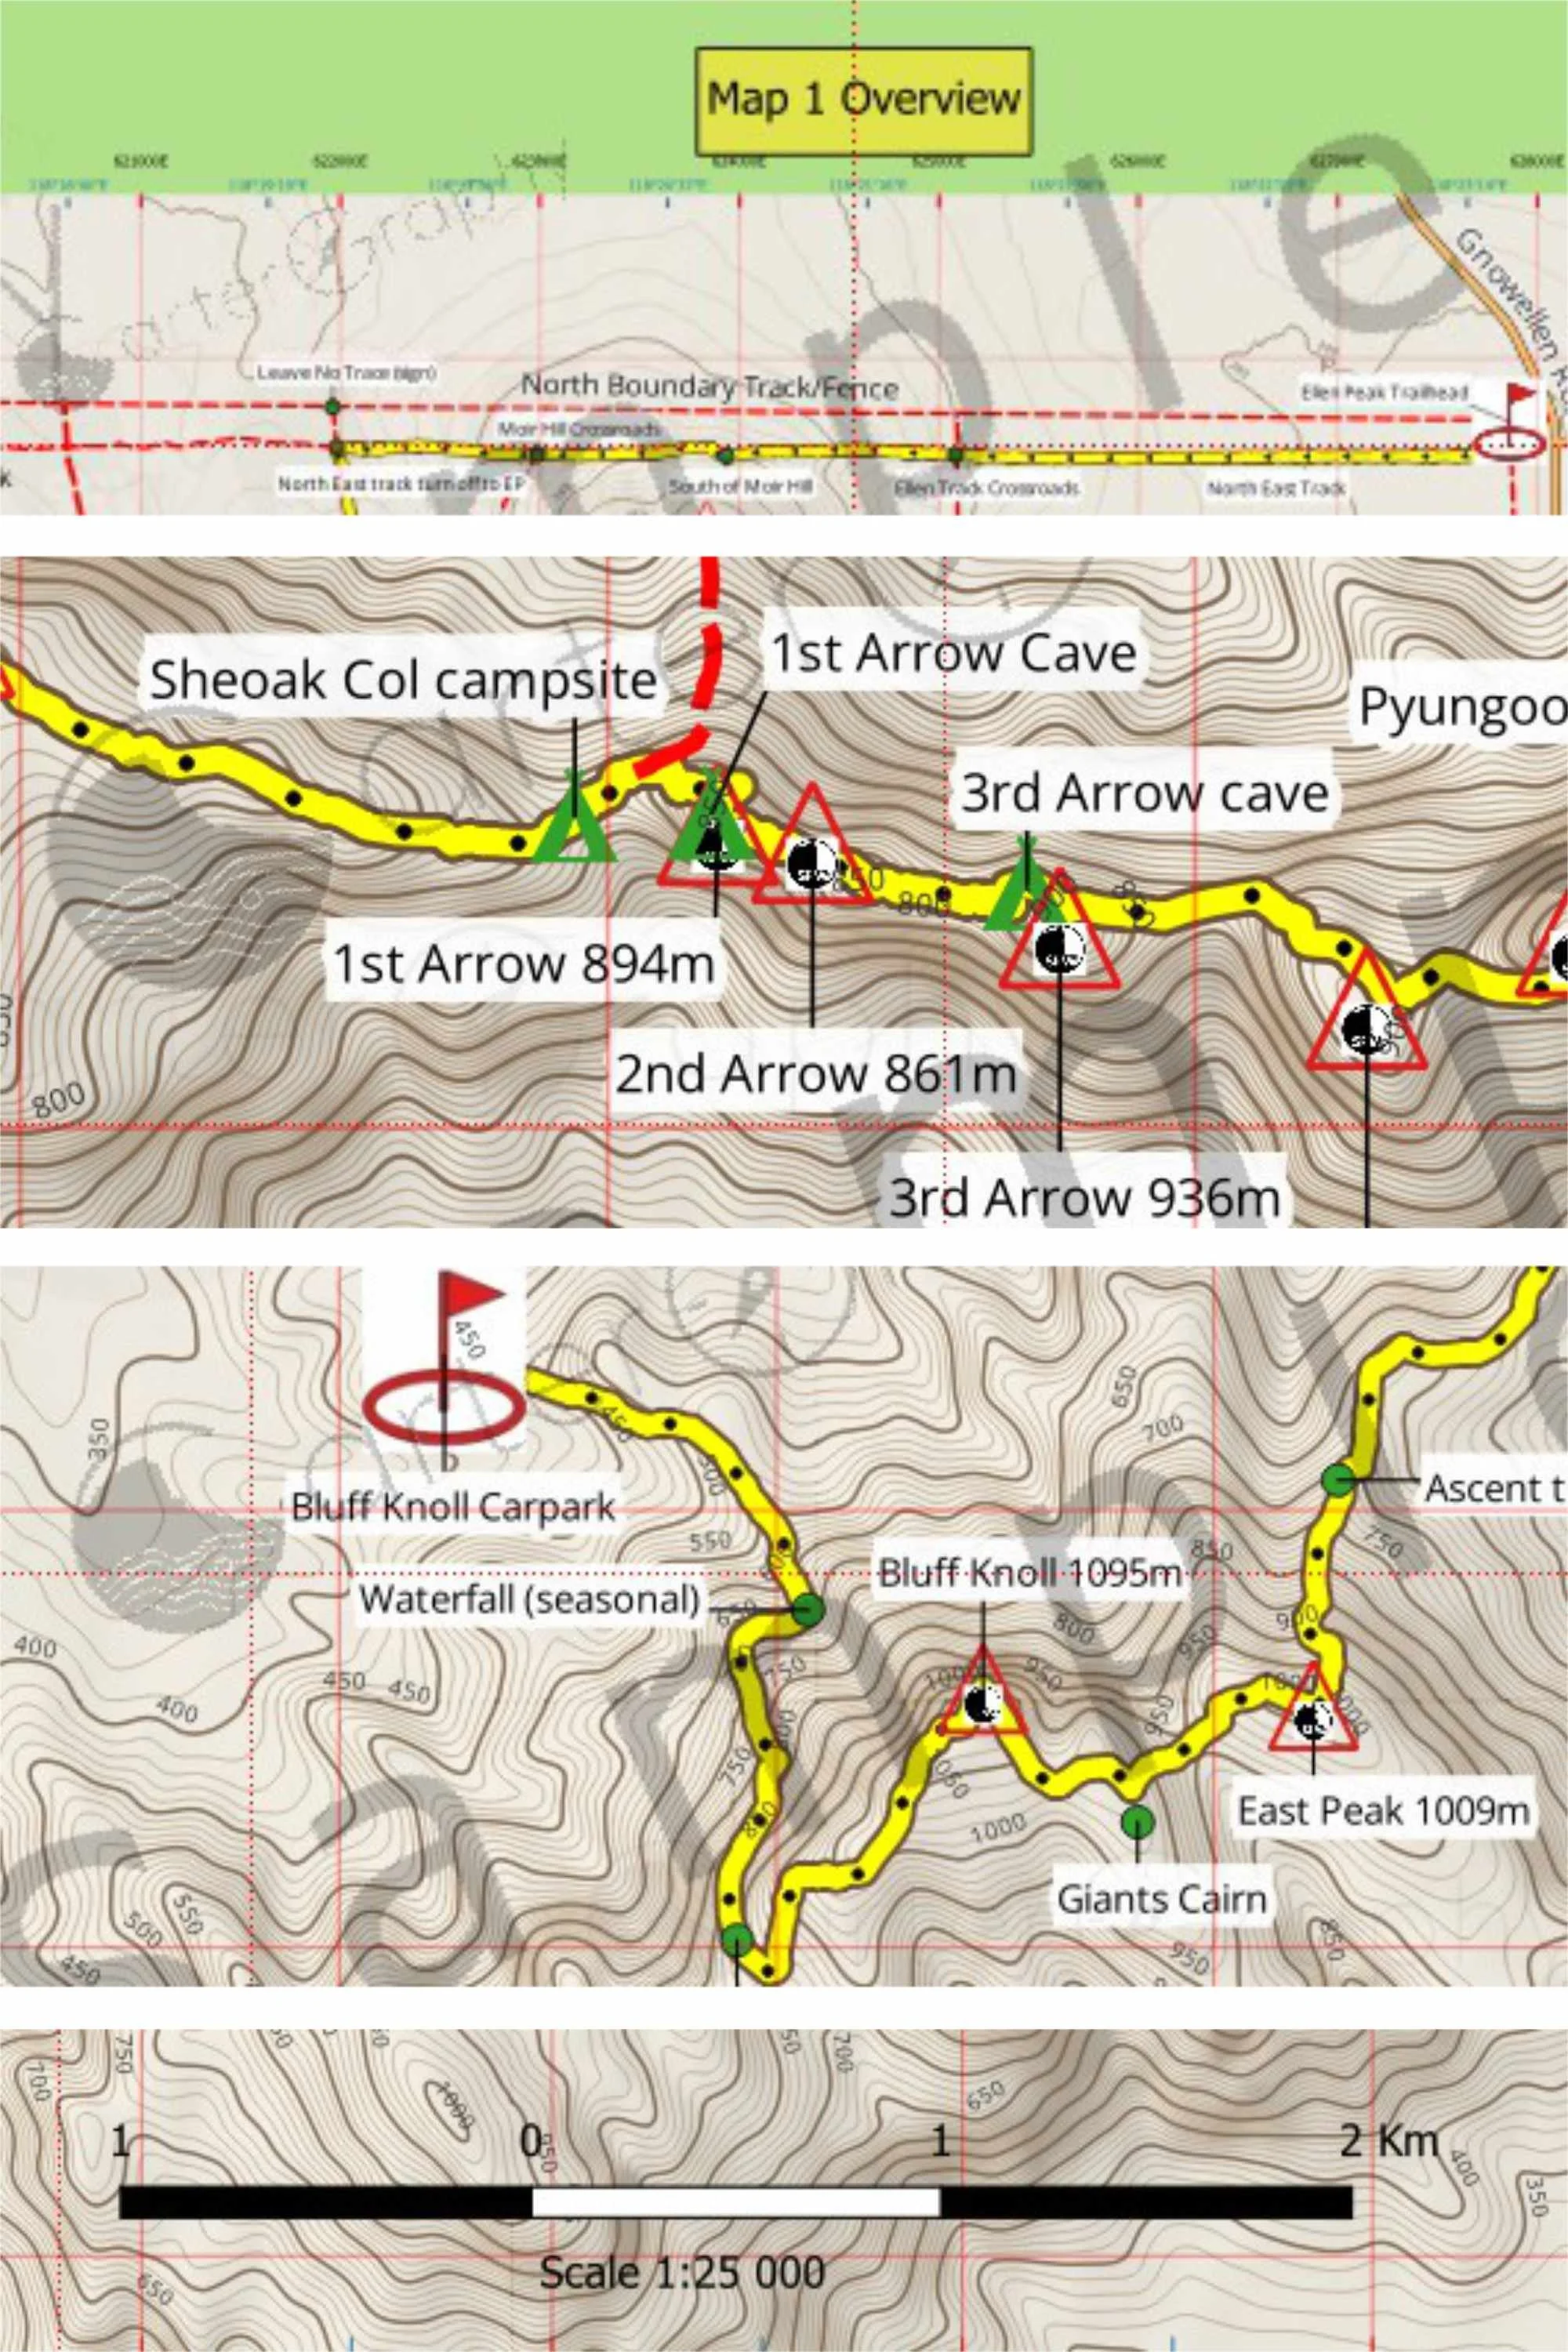
This site supports the printed Stirling Ridge Walk Navigation Map. It explains how the map is structured, how to interpret the grid and coordinate information, and how the overview and detailed panels are designed to work together.
The printed map itself is not reproduced on this site. Any map images shown here are used as examples for explanation only. The full navigation map is supplied as a printed product. Each map panel has got numerous waypoints and critical navigation points.
If you have purchased the printed map, you can request the access for the protected navigation point information that corresponds with the points shown on the map.
What You Will Find on This Website
This website explains how the printed Stirling Ridge Walk map is organised, how to read its sections, and how the supporting online information is used. It includes map examples, usage notes, navigation point information for map purchasers, and gallery images of the terrain covered by the map.
Planning and Safety
Prepare for the Stirling Ridge Walk through four areas: using this website effectively, assessing whether you are ready, understanding distance and walking times, and knowing when changing or abandoning the original plan may be necessary.
Getting There
Plan your journey to and from the Stirling Ridge Walk, with driving information from Perth and Albany, directions to the Ellen Peak Trailhead and Bluff Knoll Car Park, and guidance for arranging access at either end of the Ridge.
Map Usage
Learn how to read the overview side, detailed panels, numbered sections, overlay boxes, inlays, scale, grid spacing, and coordinate information.
Navigation Points Information
Navigation points information is password-protected and intended for printed map purchasers who request access with serial number on back of map.
Map Navigation
Learn how printed maps support navigation, including navigation styles, UTM and MGA, map zones and scales, GPS tracks, and how printed maps can be used as a core navigation tool.
Compass Navigation
Learn the parts of a compass and how to use them, including orientating the map, taking and plotting bearings, resection, and using back bearings to check your direction.
Gallery
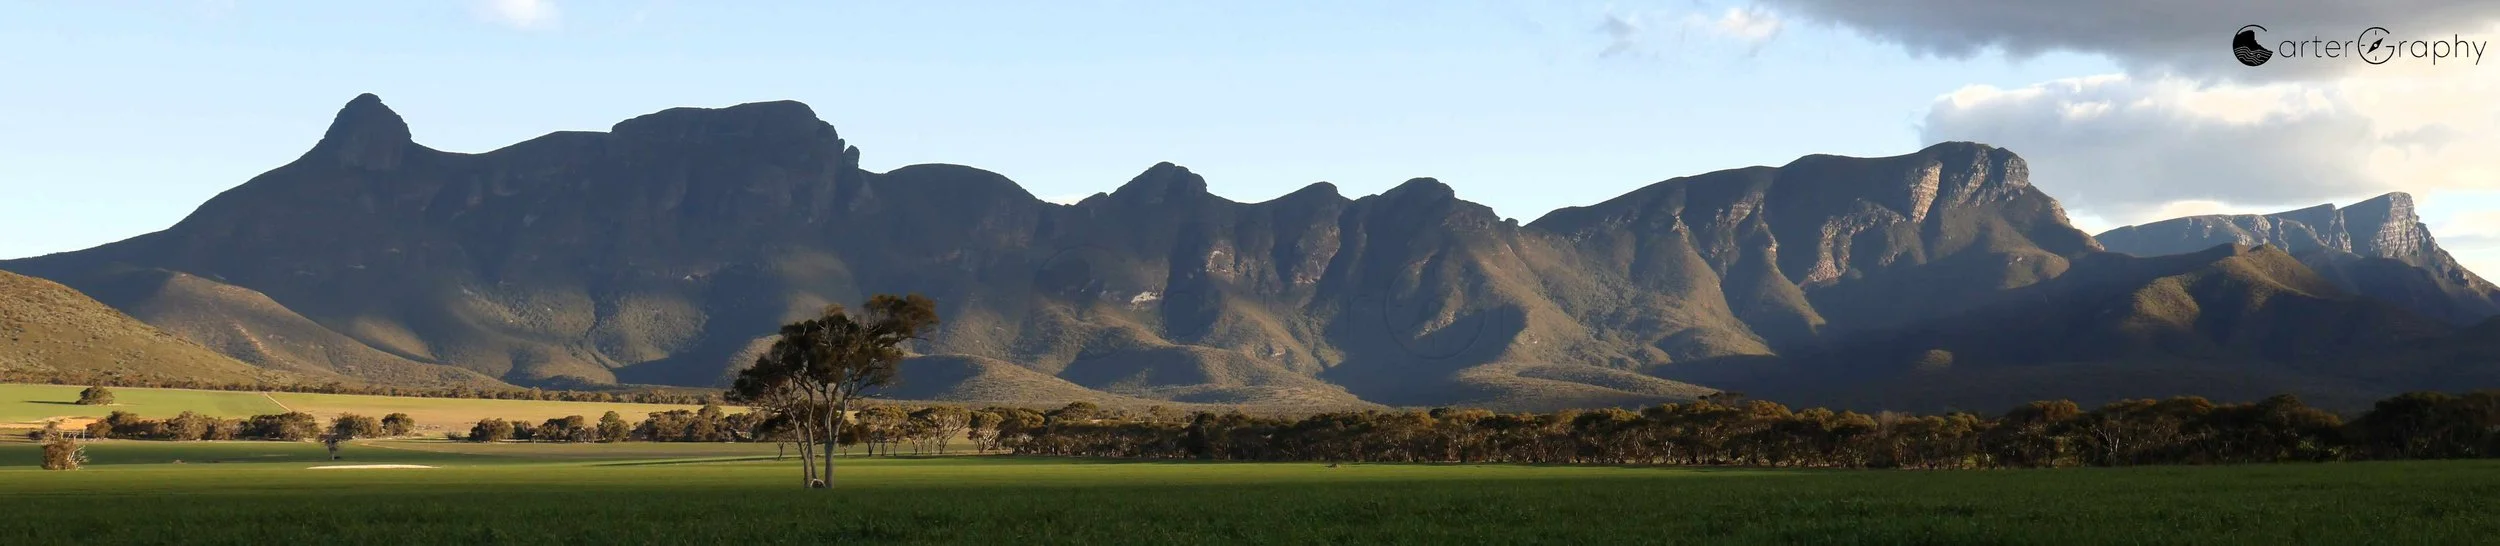
View images of the Stirling Range terrain covered by the map.
About the Map
This project grew out of a long connection with the Stirling Ridge Walk and many years spent in the outdoors.
Over roughly 15 years, I have completed the ridge walk numerous times and returned to the range for photography trips and other outdoor visits. More broadly, my interests have long centered on bushwalking, trekking, camping, rock climbing, and navigation in wild places.
That background informed the design of the map, the stage breakdowns, the waypoints, and the supporting notes, with the aim of creating a resource that is practical, clear, and genuinely useful for people planning or undertaking the Stirling Ridge Walk.